Why Did Mine Come Back? - Government Support Paperwork
Anyone assembling government support paperwork for a Korean funding program for the first time tends to stall in the same place. You send everything on the checklist, a request for corrections arrives anyway, and the notice explaining what was missing runs to a single line.
Government support paperwork usually comes back not because a document was left out, but because the form it arrived in did not match the rules.
Two applicants can work from the same checklist and get opposite results, because they stopped at different stages of preparation. Someone who has merely gathered the documents and someone who has matched the submission spec are not sending the same files.
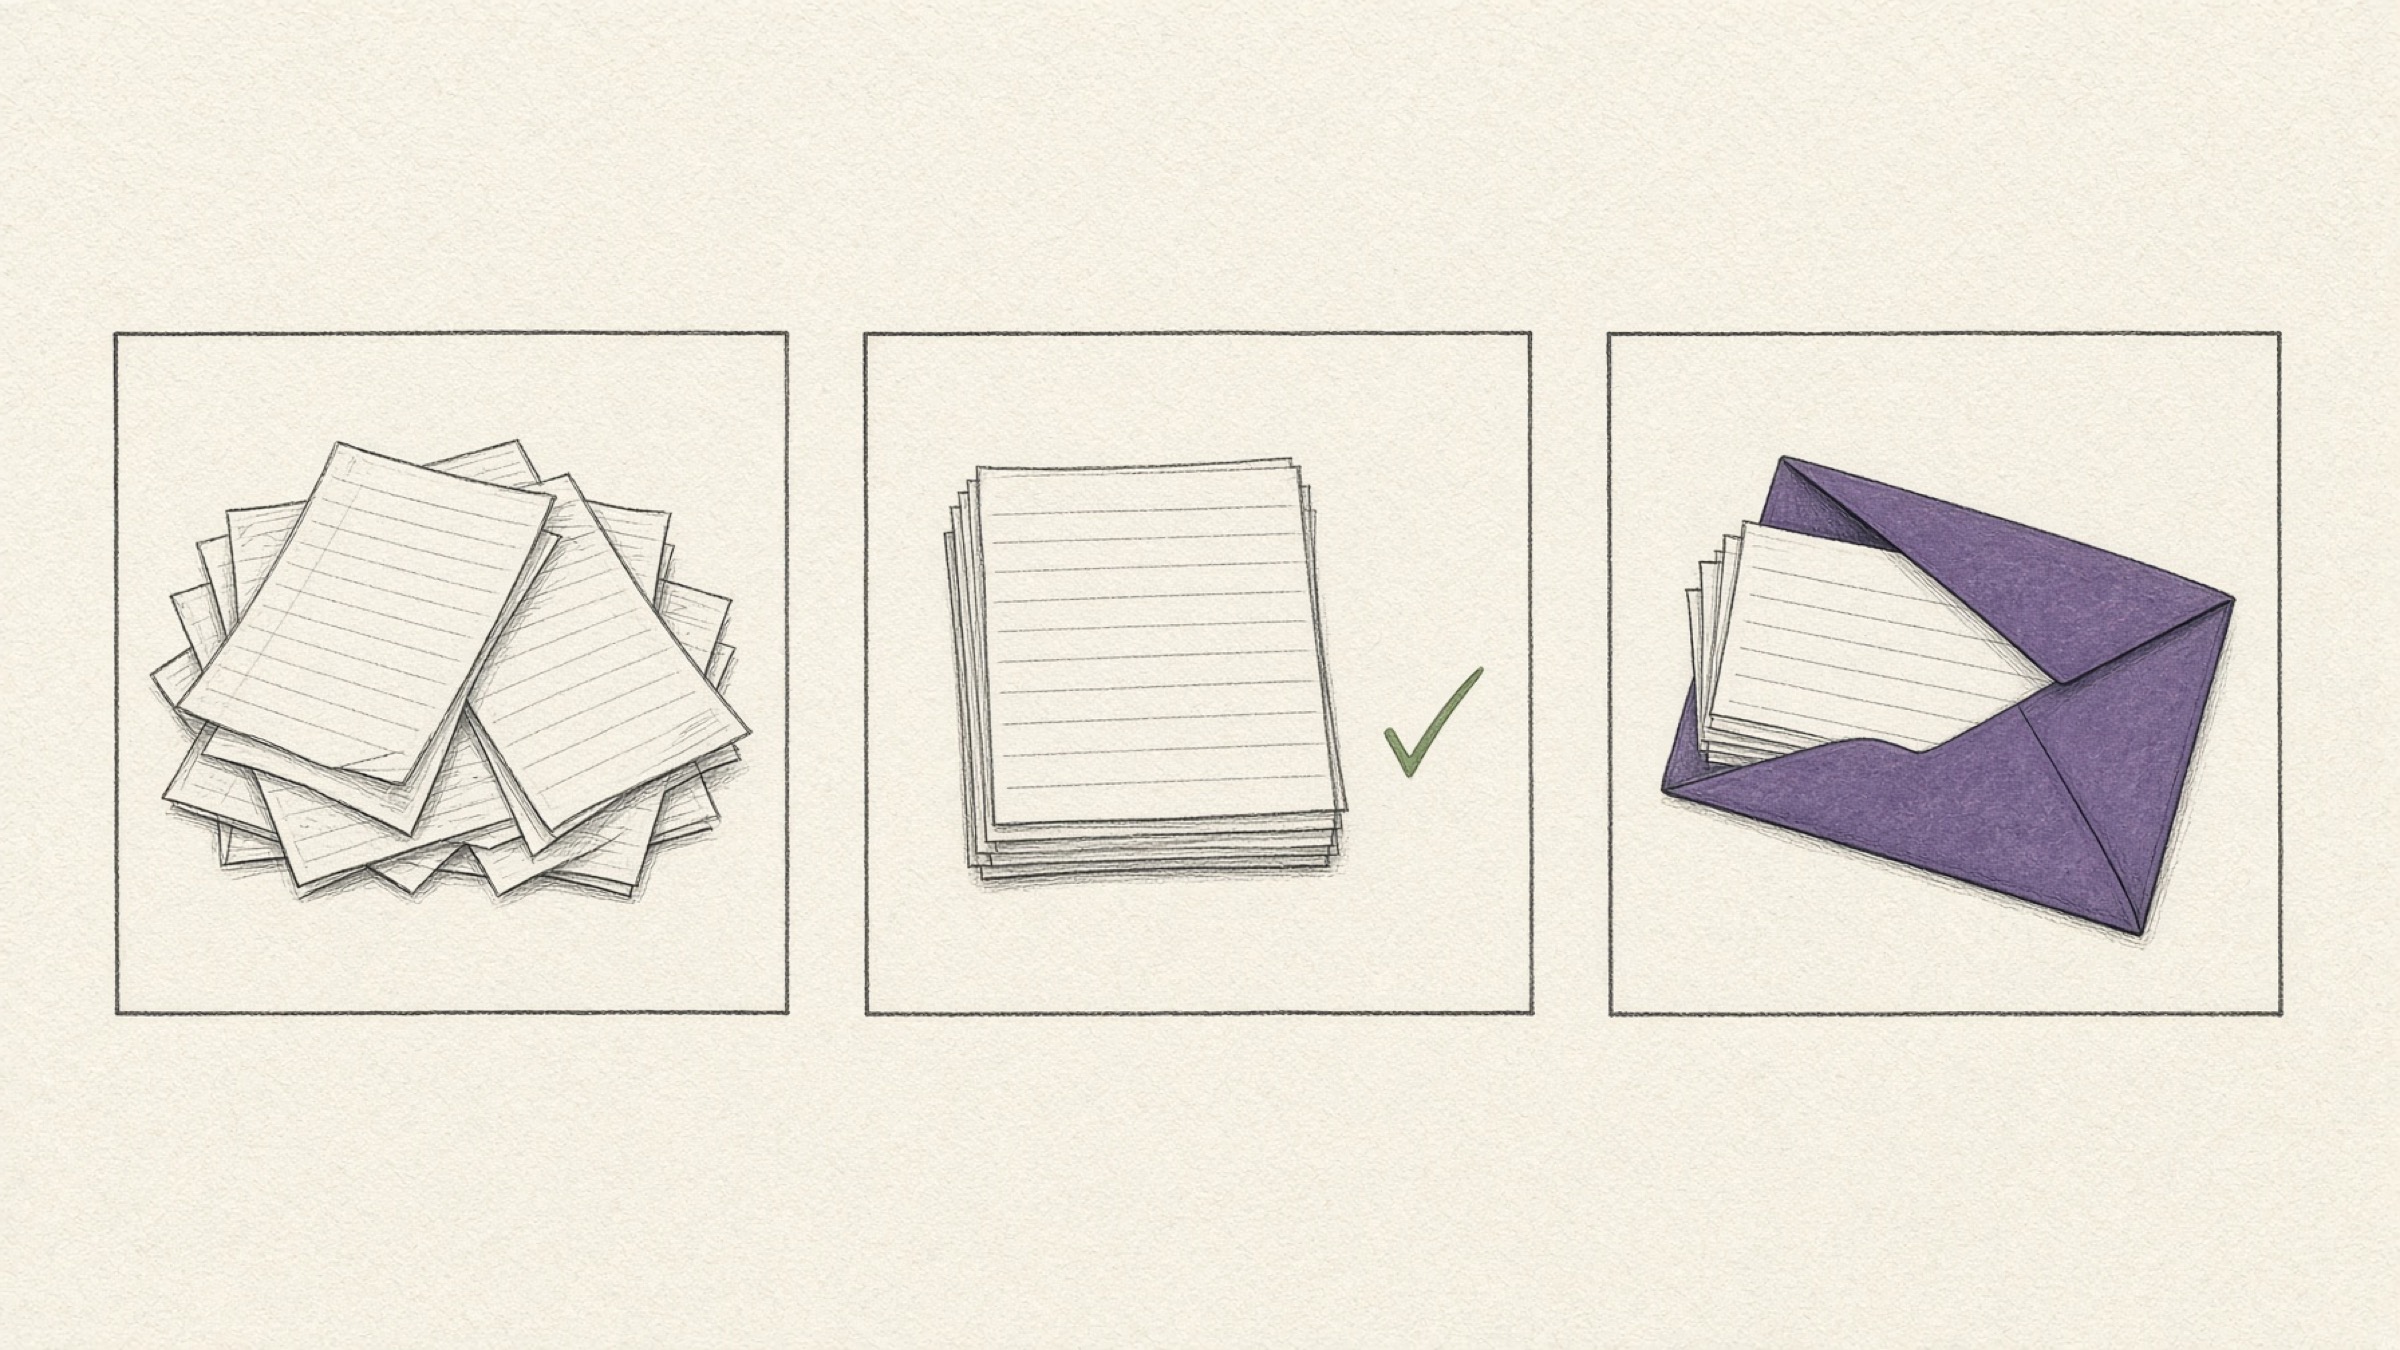
- A way to tell whether you are at stage one or stage three right now.
- The three format problems that send applications back, spotted early.
- The order of operations that finishes your files without printing or scanning.
This article covers only what repeats across Korean government support programs regardless of type. The list of required documents, how recently a certificate must have been issued, accepted file types, size limits, and sealing rules all differ by program and by agency.
Read the actual notice and the submission instructions rather than a blog summary or an agency's marketing page, and when something is ambiguous, contact the department named in the notice.
Government support paperwork: which stage are you at?
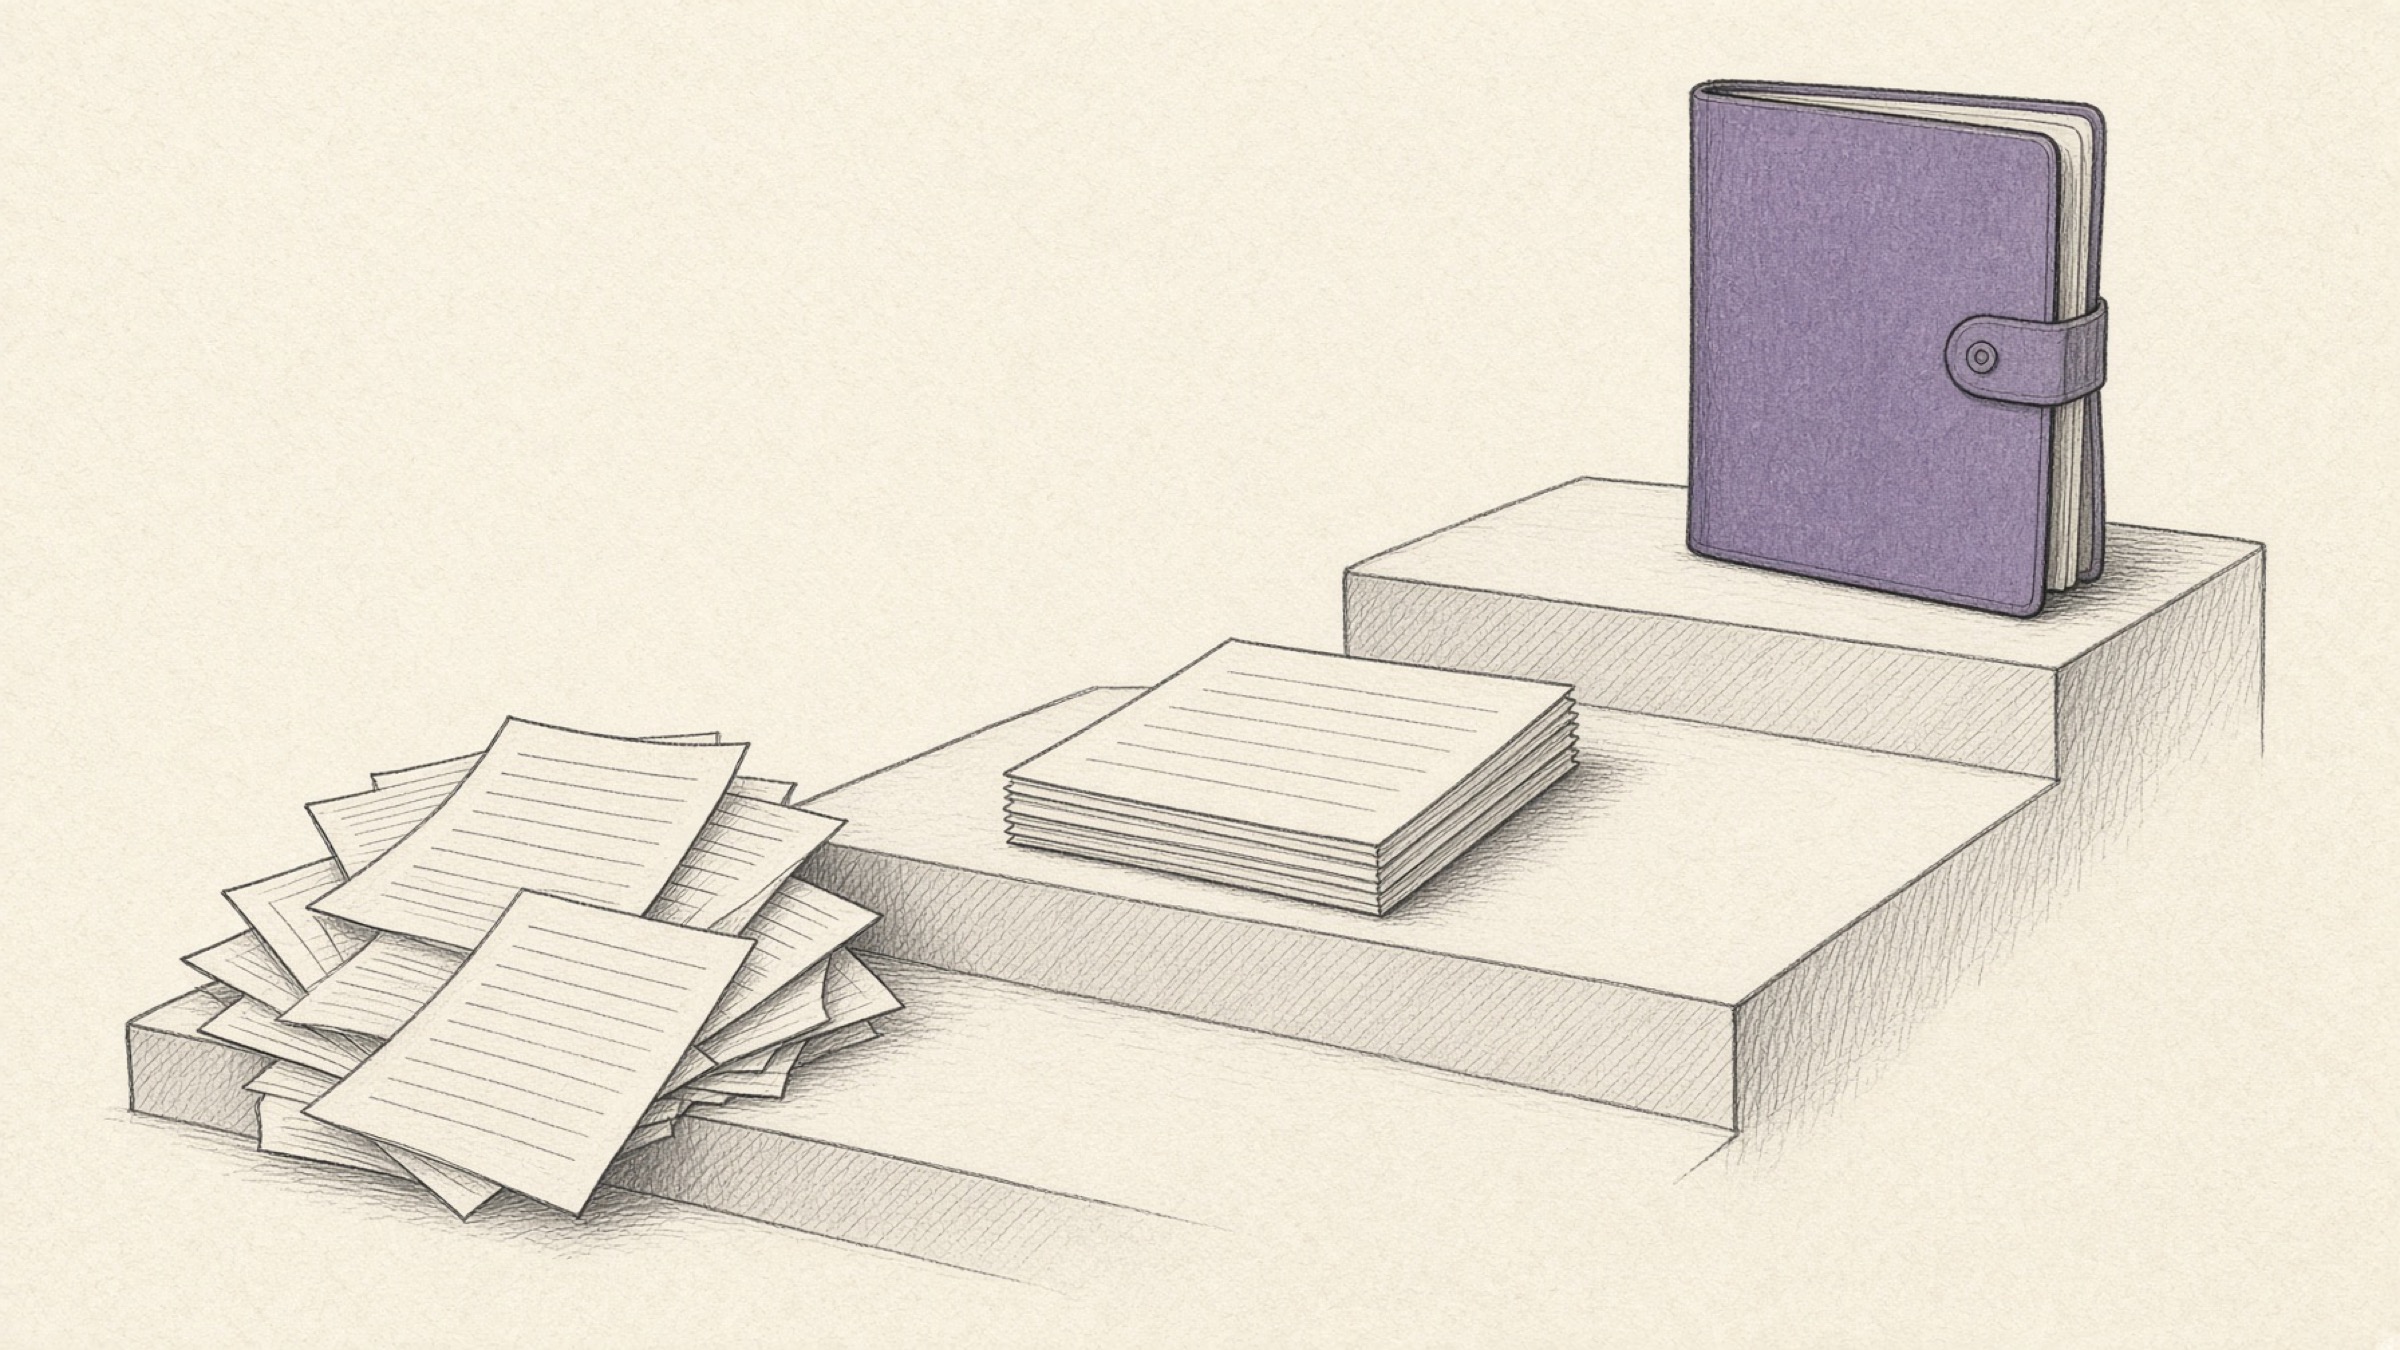
Readiness falls into three rungs. Climbing higher is not about extra effort so much as looking at something different. Stage one looks at the checklist, stage two at the files, stage three at the submission portal.
You have the copy of your business registration certificate, the passbook copy, the application form, and the business plan. The common slip here is reusing an old copy you already had on file.
Note next to each item whether it reflects your current trade name and address, and whether it falls inside the issue window the notice requires — that turns checking into a quick pass.
A folder mixing phone photos, word processor files, and PDFs cannot go out as it is. Converting everything to a single type and sorting it into the order on the submission list is what stage two means.
Get this far and a reviewer can walk the checklist against your file line by line. Leave ten loose attachments and that comparison stalls before it starts.
File type, size limit, seal impressions, and which details need covering are all settled. Stage three is about the conditions the submission system imposes, not the content of your documents, so getting caught here just before the deadline leaves no time to fix anything.
Read the submission instructions the first time you open the notice and stage two gets done right from the start.
| Stage | What you look at | What goes wrong here |
|---|---|---|
| Stage 1 | The document checklist | Reusing a copy issued too long ago |
| Stage 2 | File types and order | Photos and documents jumbled together |
| Stage 3 | The portal's conditions | Size limit, missing seal, exposed personal data |
Stuck at stage two? Here is the work
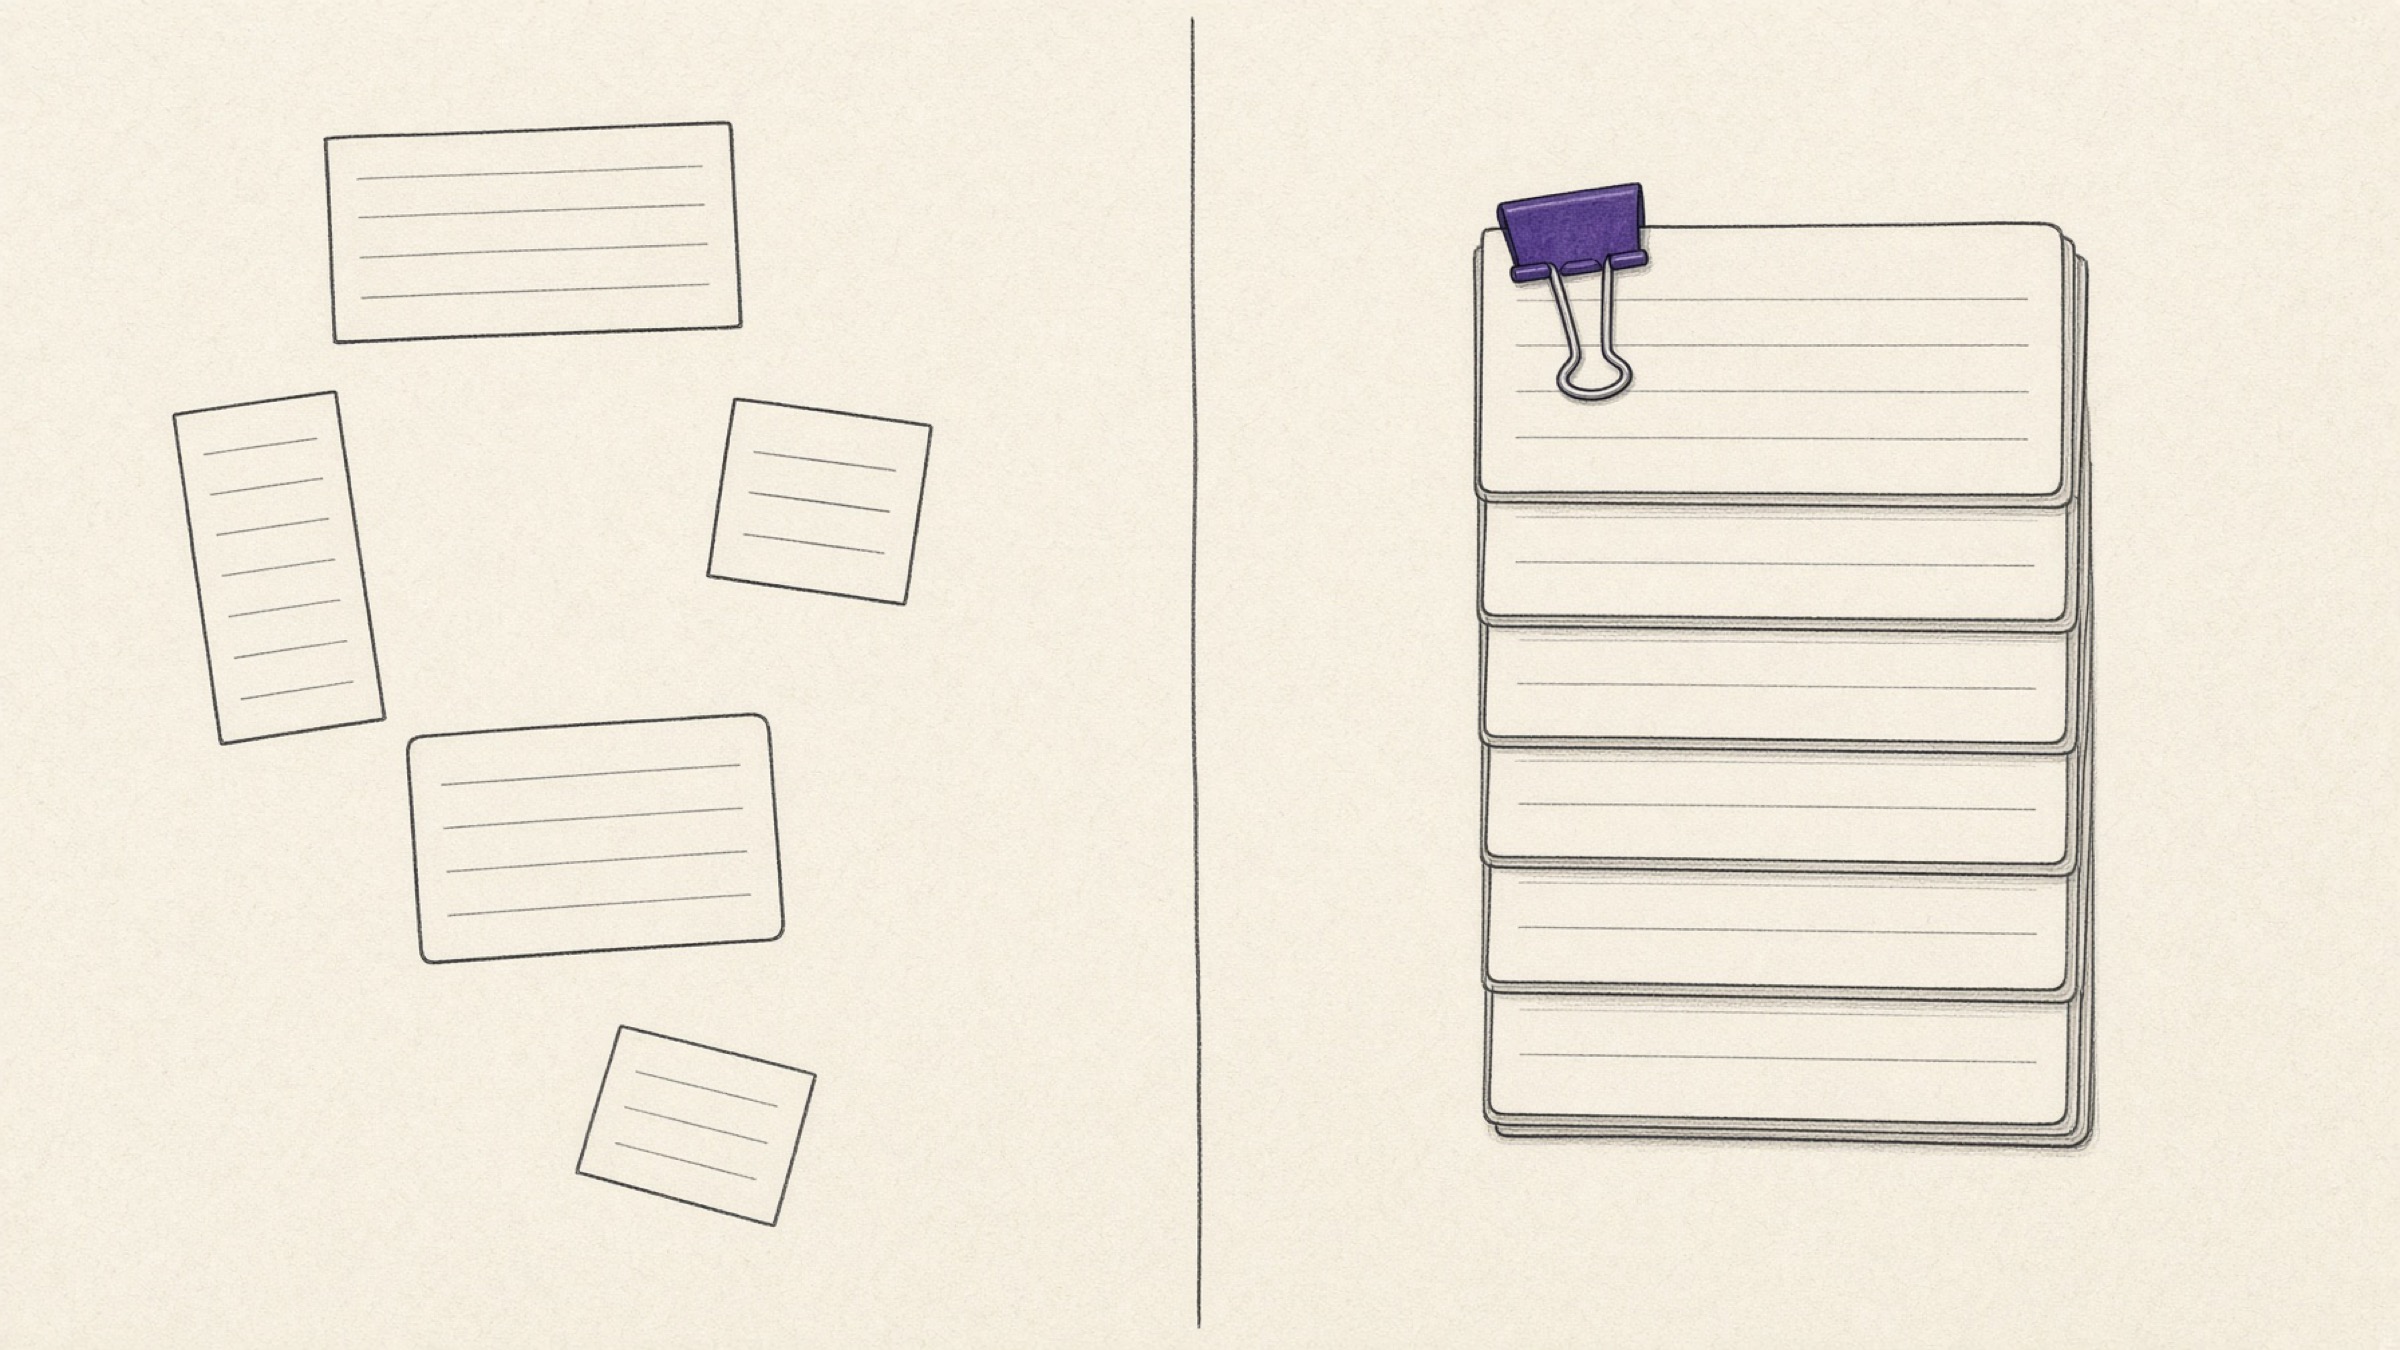
Stage two is simple work. Turn scattered material into one file type and bind it in order — that is the whole job. Follow the sequence and you never go near a printer.
- Start with the photographed documents: shot your passbook copy or registration certificate on your phone? Send them through image to PDF so every file matches
- Cover anything sensitive at this point: privacy masking works on images, so handle it before binding and you never have to backtrack
- Bind in submission order: upload to merge PDF in exactly the order the notice lists, and you get one file
When you photograph, work in bright light and fill the frame squarely with the document. Shadows or a tilted angle mean you get it back on the grounds that the content cannot be made out. Documents containing tables suffer most — the number columns smear first.
Three places stage three catches you
If you have made it this far and the upload button still stops you, it is almost always one of the three below. These are also the ones discovered right before the deadline.
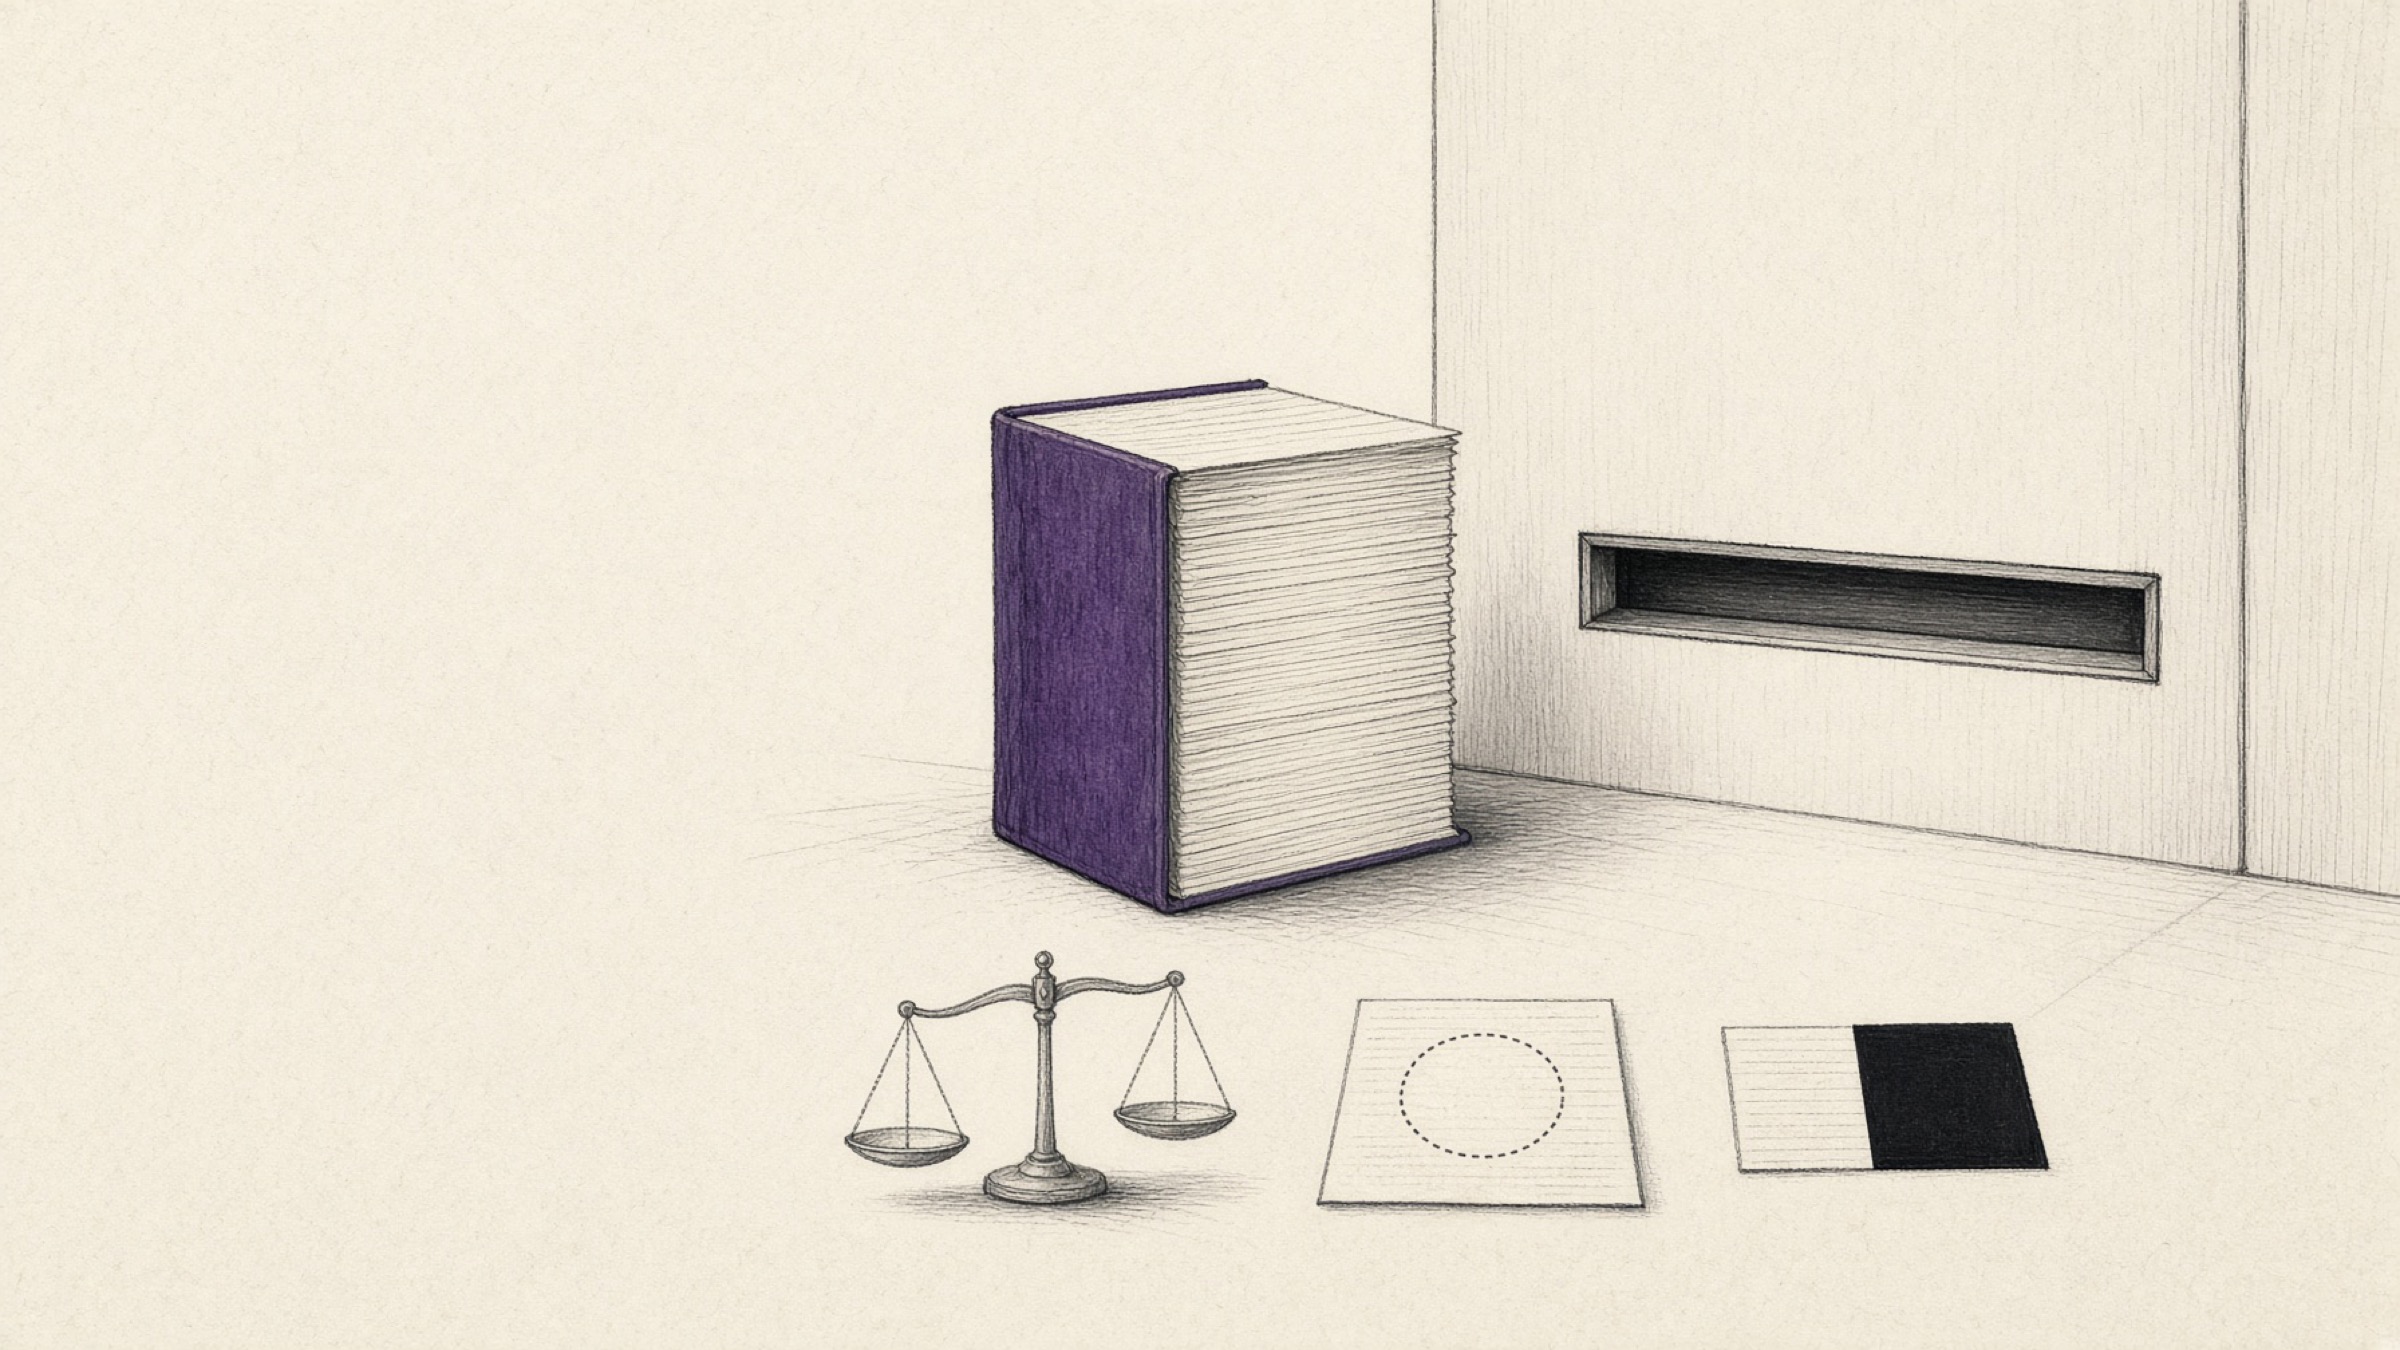
Photos and scans run at high resolution, so they balloon fast. PDF compression clears the limit in most cases, but squeezing too hard to hit the number blurs text and seals, and that alone sends it back.
After compressing, zoom in and confirm the digits and seal impressions are still crisp before you upload.
Application forms and undertakings sometimes require a company seal. Press the physical seal onto white paper, photograph it, make a transparent PNG with background removal, and place it using stamp a PDF — no printing involved.
Bear in mind that only someone authorised to use the company seal may create and apply that image.
Information the notice does not ask for is safer covered. The reverse is also true: black out a field whose whole purpose is verification and that becomes the reason for a correction request.
Leave items that need matching visible, such as the account receiving the funds, and confirm which fields are mandatory in the notice and the submission instructions.
Making the next application shorter
Climb to stage three once and the next program moves far faster. Government support paperwork is not built from scratch every time — you are pulling the same materials out again.
Keep the transparent PNG of your seal, PDF versions of recently issued certificates, and the company profile you reuse most in one folder. One caveat: a seal file is dangerous in the wrong hands, so keep it somewhere only you can reach rather than in a shared drive or a group chat.
If you have government support paperwork open on your desk right now, start by getting the order right in merge PDF.
References
- Criminal Act of Korea, Article 231 (Forgery or Alteration of Private Documents) and Article 239 (Forgery or Fraudulent Use of Private Seals). Korean Law Information Center
- Personal Information Protection Act of Korea. Korean Law Information Center