Why does it keep getting rejected? - Product listing image
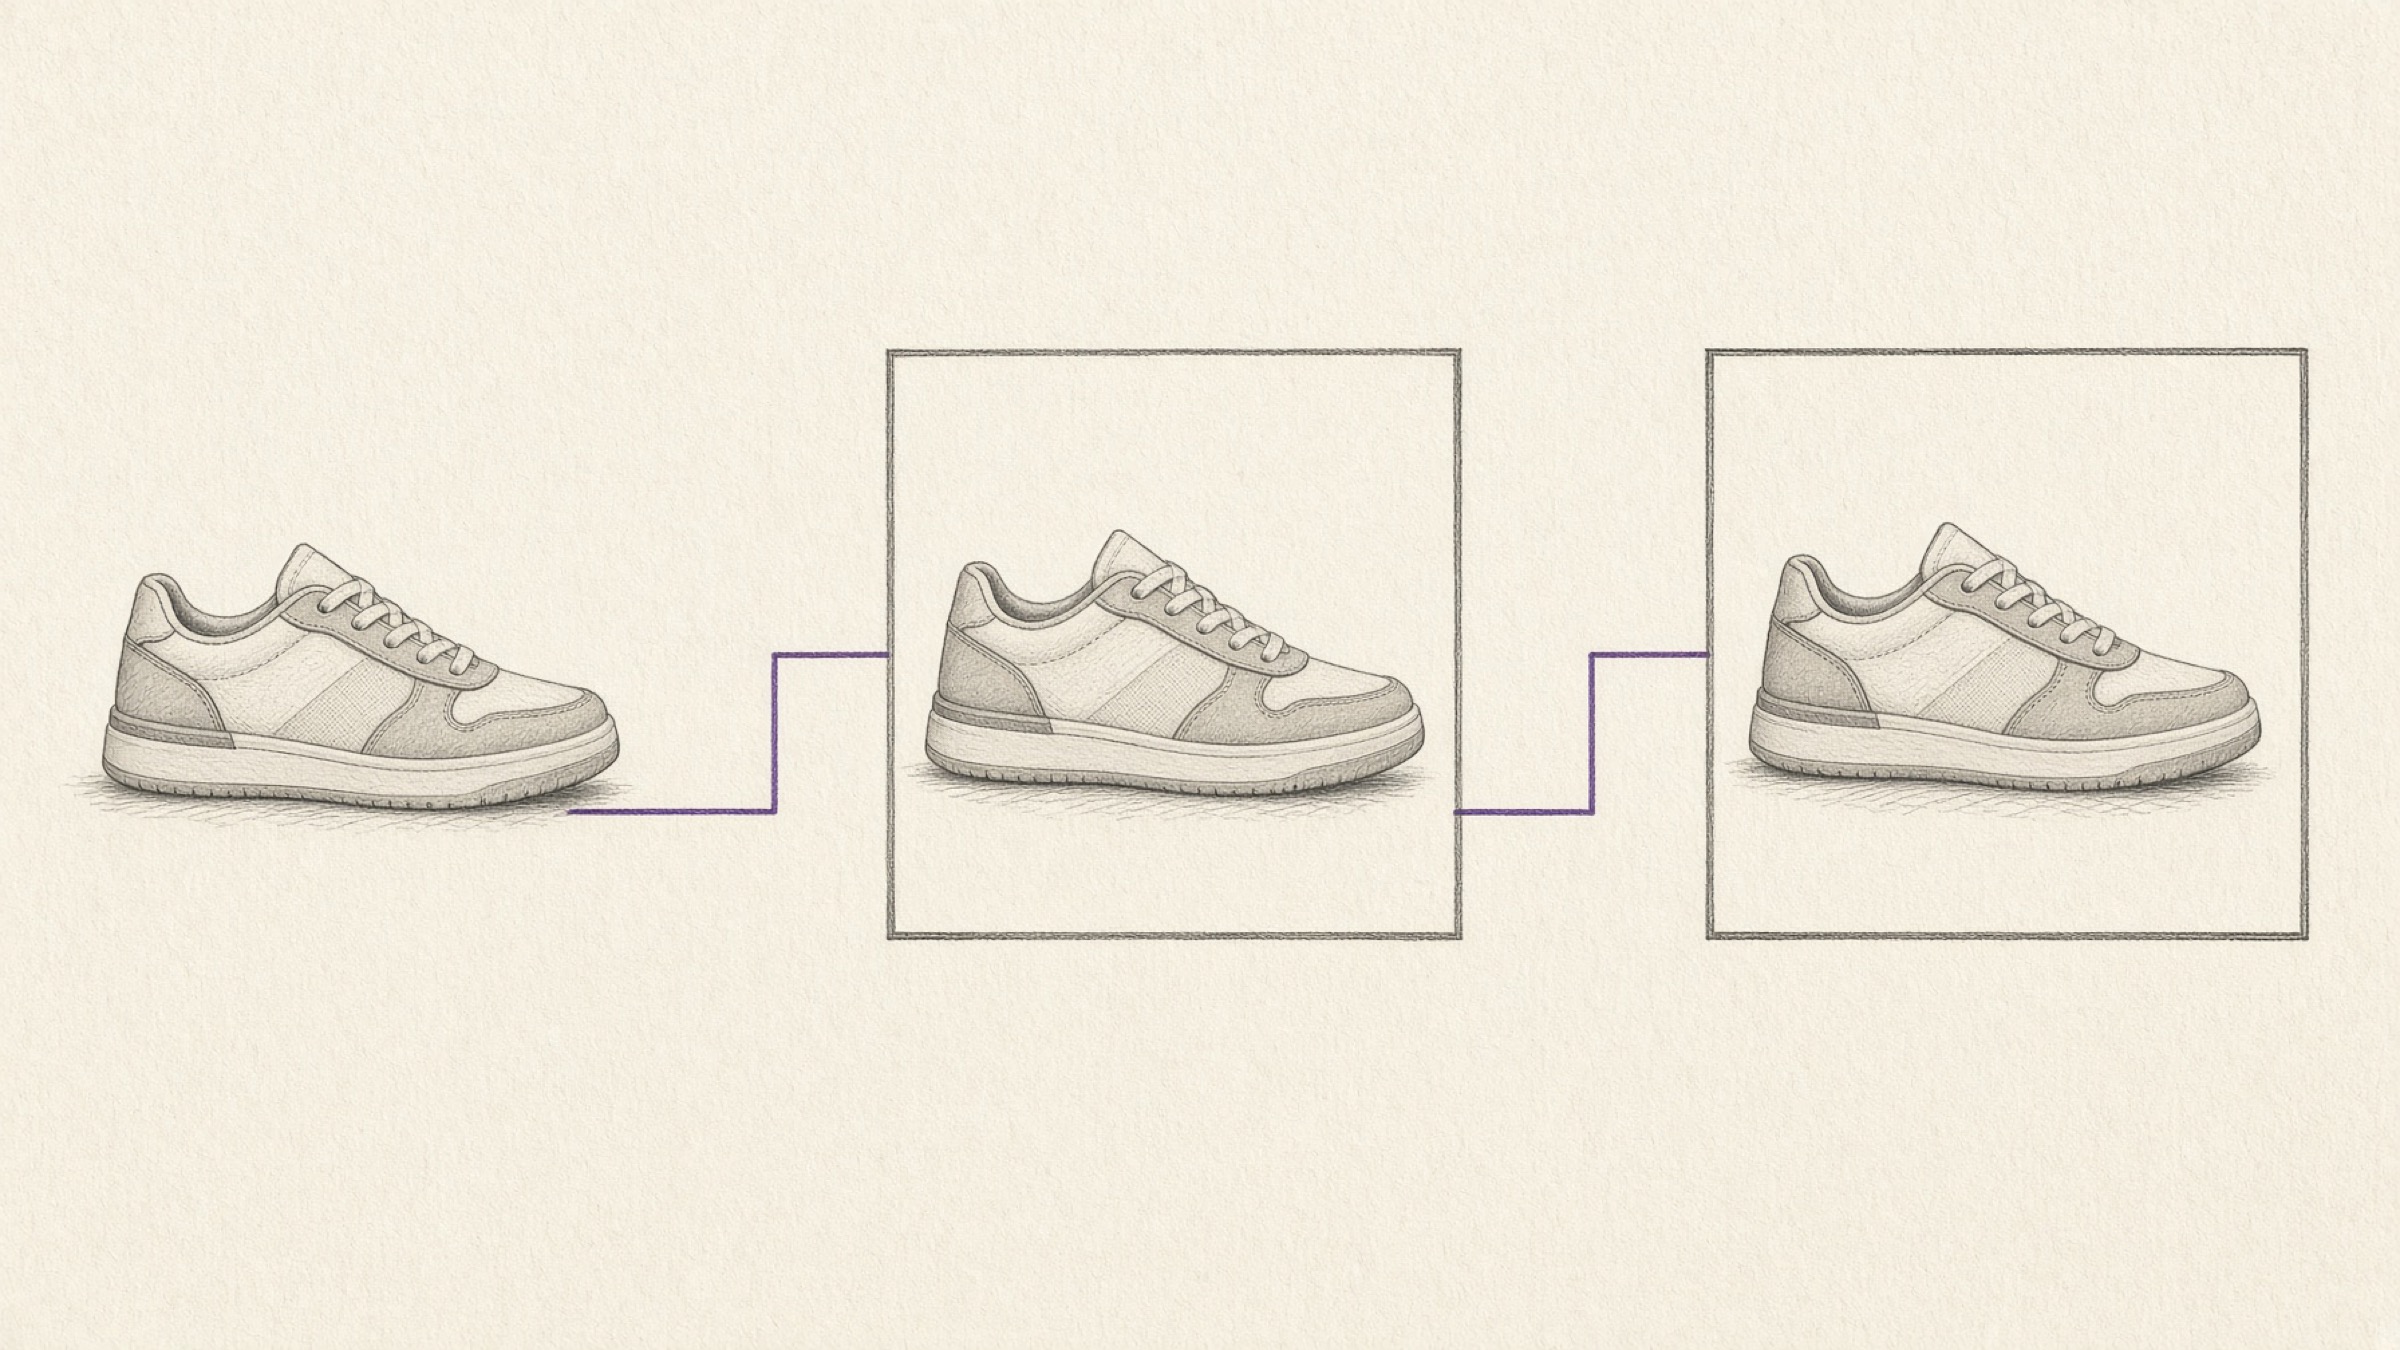
When a product listing image comes back rejected, the background is the first thing anyone suspects. So you paint it white, upload again, and get turned away a second time. A product listing image can fail in two other places besides the background.
Background, then framing and aspect ratio, then file size and format. These are not a checklist you tick off all at once, they are a ladder you climb from the bottom.
Get a lower rung wrong and the rungs above it will not save you. And if you are failing higher up, there is nothing left to fix below.
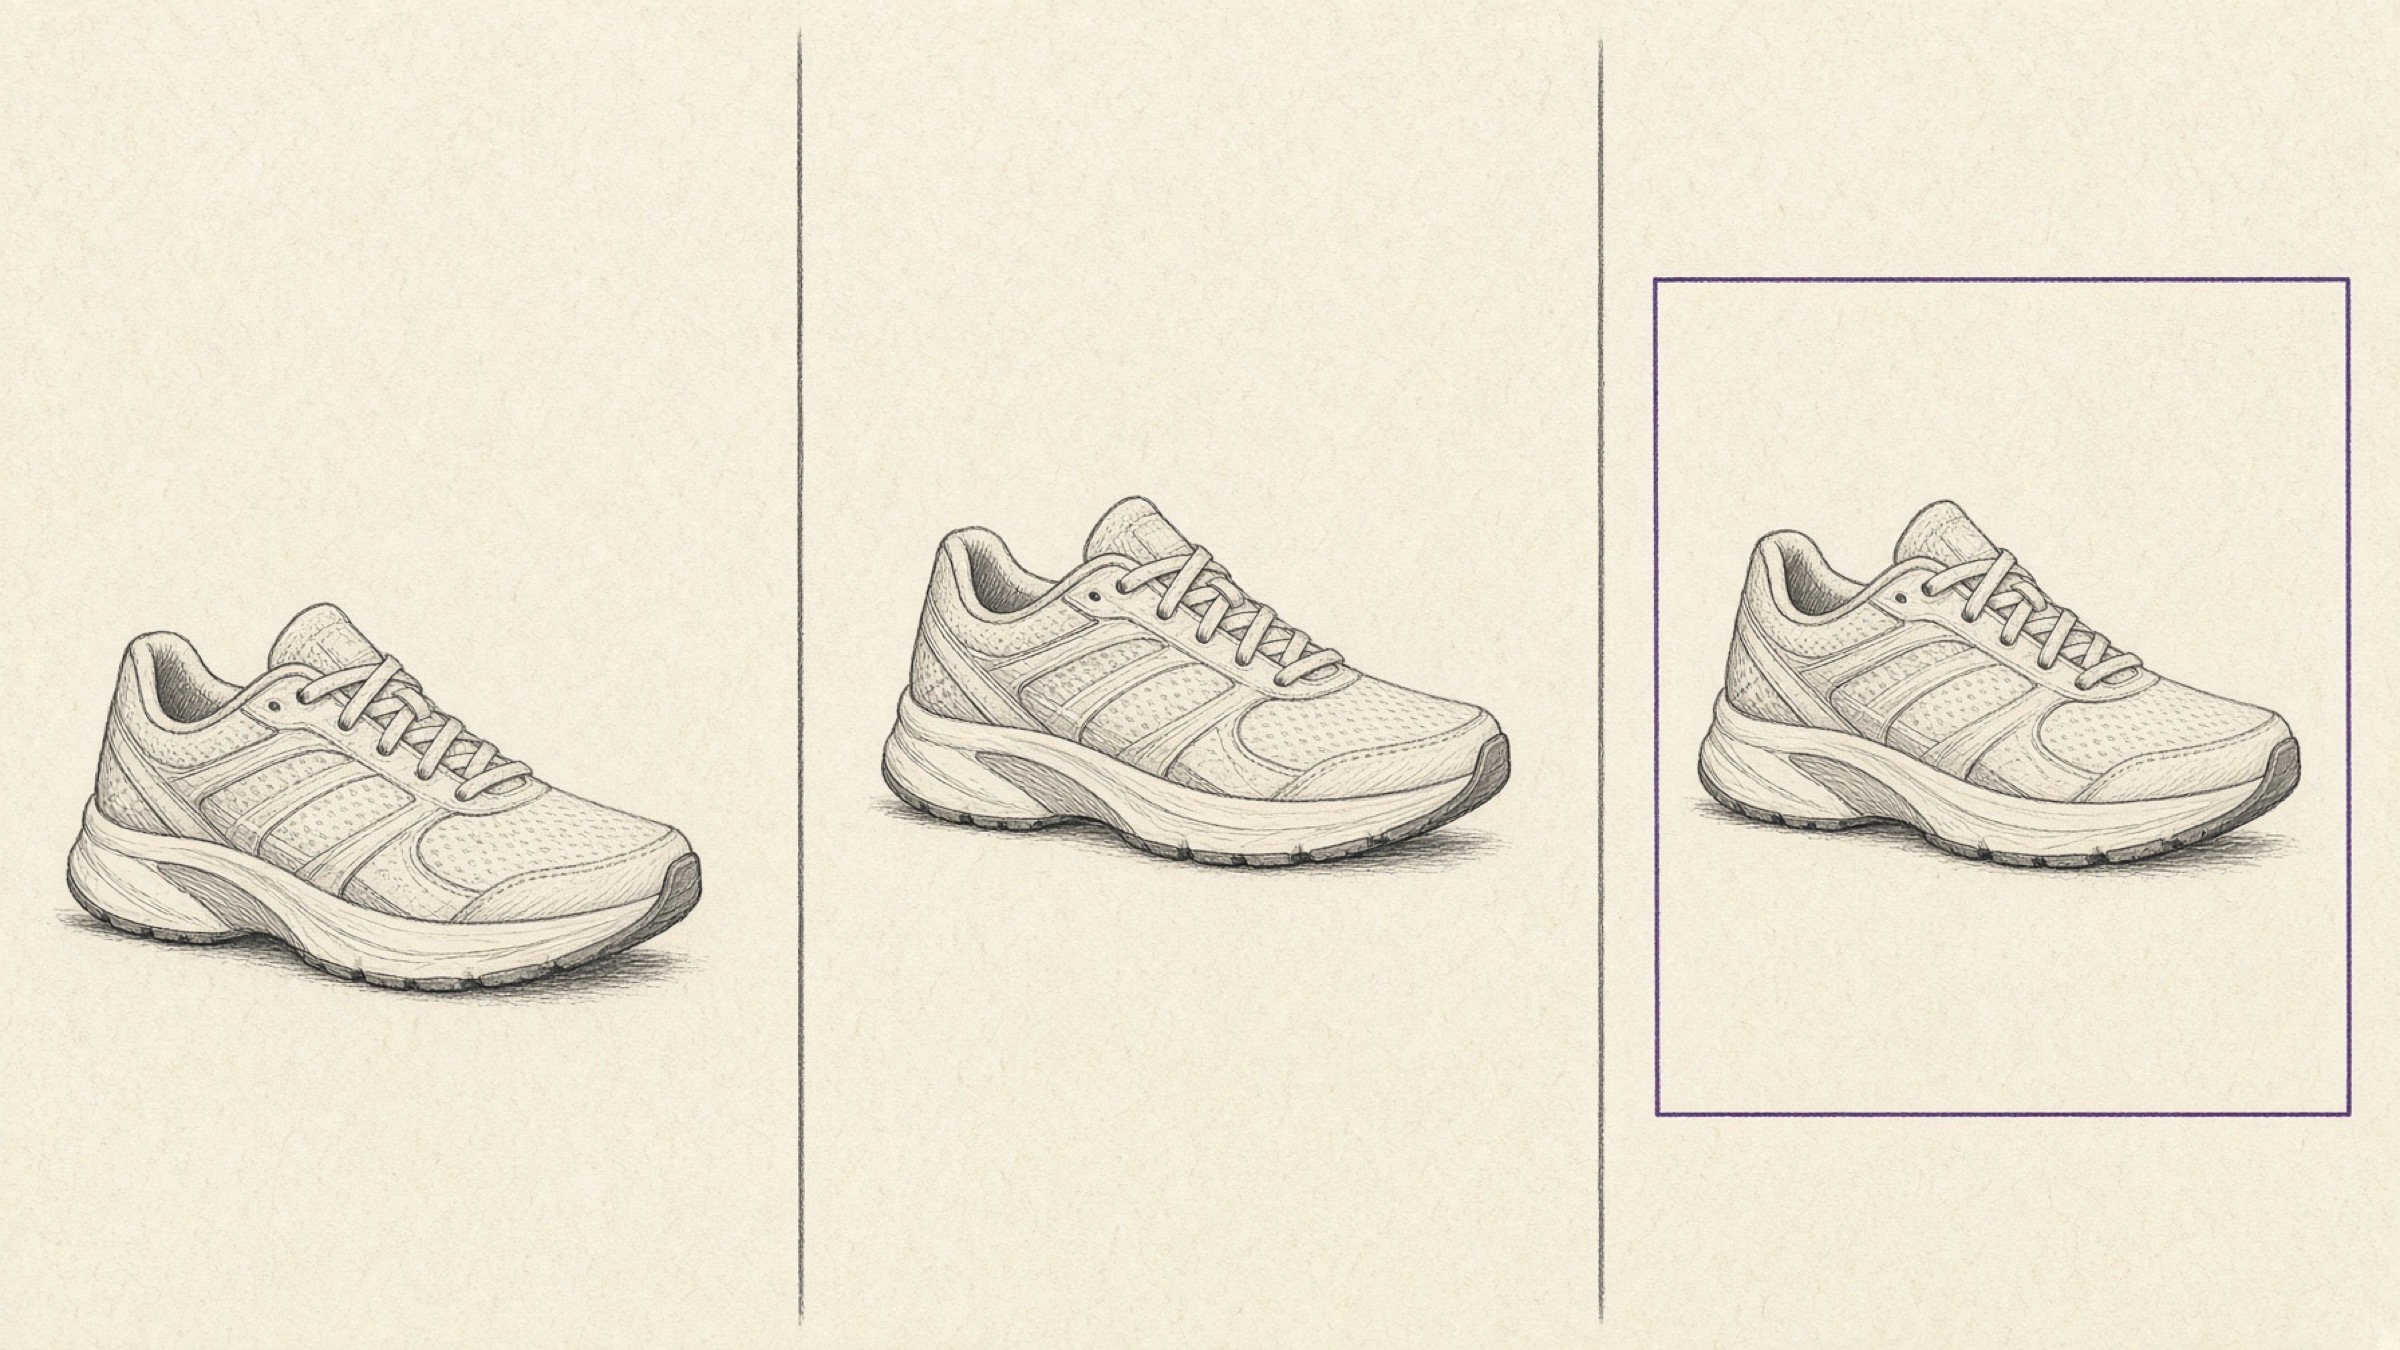
- A verdict on which of the three rungs your photo is stuck on.
- A clear sense of why a white background and a transparent one are not the same thing.
- An order of operations that saves you from reshooting when you add another marketplace.
Why product listing image prep splits into three rungs
Marketplaces impose conditions on the main image for one reason. When dozens of products sit in a single row of search results, and one has a busy multicoloured backdrop while another shows the product tiny in a corner, the list itself stops being comparable.
So the conditions land in three layers. What sits behind the product, meaning the background. How the product is placed inside the frame, meaning margins and aspect ratio. And whether the file is something a server can reasonably handle, meaning size and format.
Reverse that order and you double the work. Hit your target file size first, then remove the background, and the file swells again, so you start over.
Rung 1: the background, and only the background
Desk grain, a finger, wallpaper, the shadow pooling under the product. Far more ends up in the shot than you meant to capture. The goal on this rung is blunt: leave nothing but the product.
Here is the first trap. It is easy to assume you already have a white background because you shot on white paper, but looking white to the eye and being white on screen are two different claims. Light from a single side tips the far half towards grey, and a shadow always pools at the product's feet.
Fixing it while shooting is the cheapest option. Light evenly from both sides and lift the product slightly off the surface so the shadow disperses, and you cut most of the later work.
Whatever patchiness survives can be tidied up with background removal. For products with complicated edges, such as hair or transparent materials, zoom into the result once before you move on.
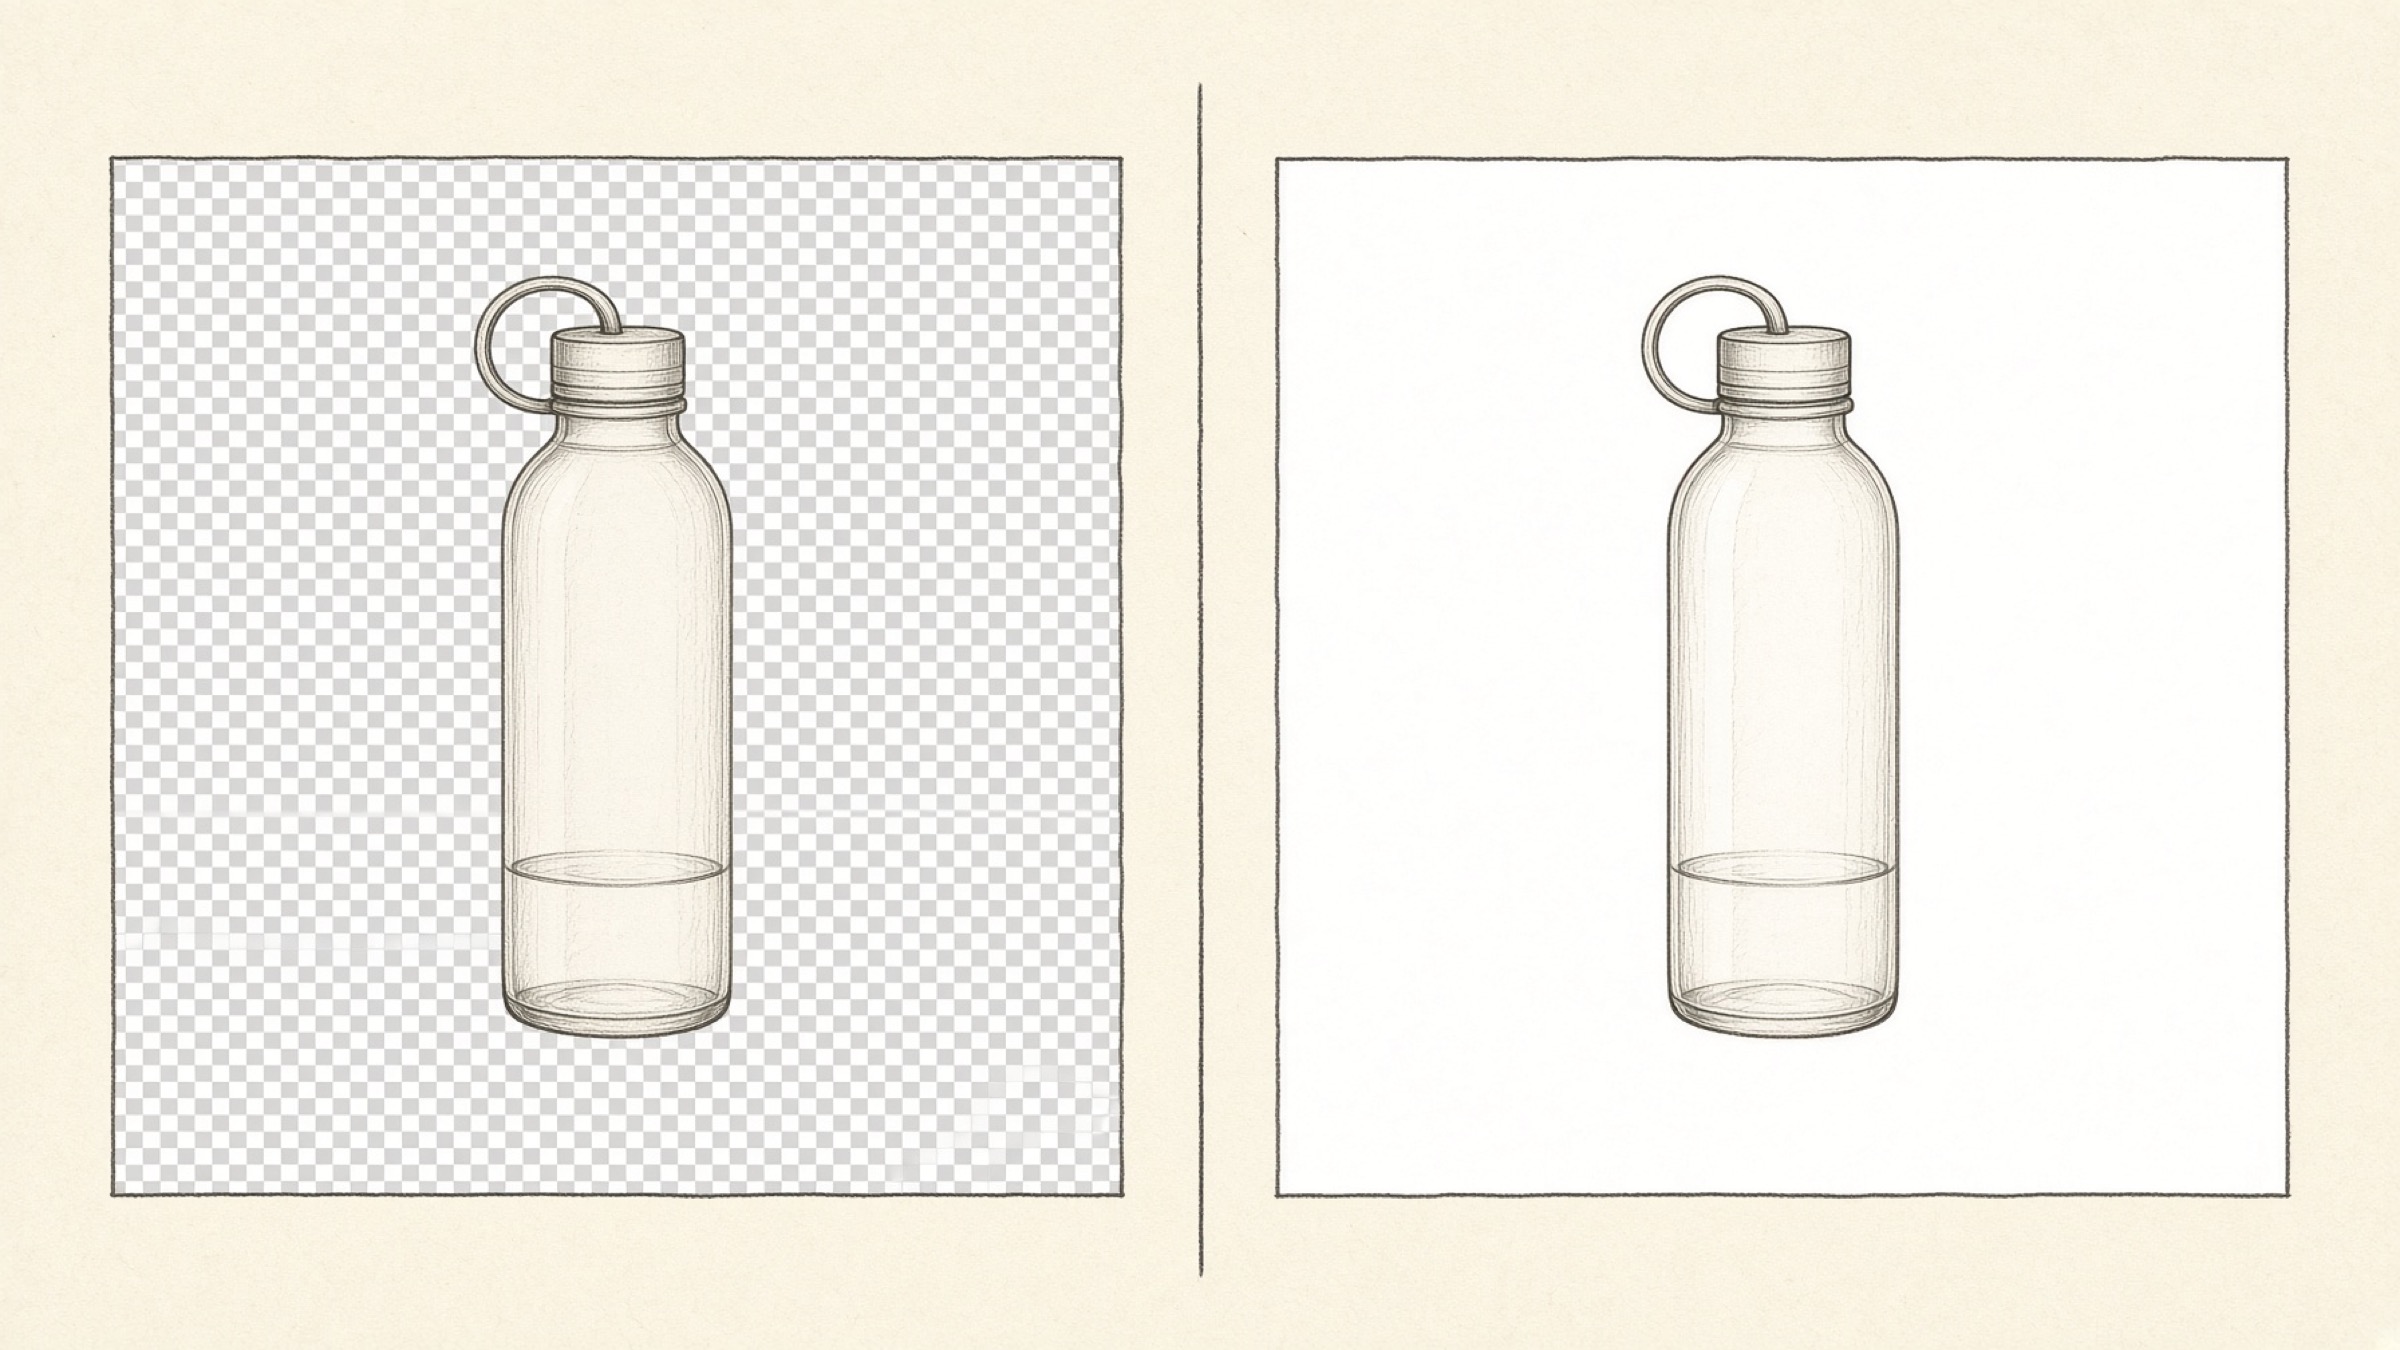
And the file that comes out of background removal does not have a white background, it has an empty one. That is what people mean by a transparent PNG. Open it in an editor and a grey chequerboard shows through, and if you upload it as is, some viewing environments will lay black behind it instead.
So one more step joins on. Run it through image conversion to JPEG and the transparent area gets filled with actual white. JPEG cannot store transparency, so it has to fill what was empty, and the colour it fills with is pure white. Remove the background, save as JPEG, and rung one is done.
Rung 2: margins and aspect ratio
A spotless background still gets rejected if the product drifts into a corner, or fills the frame so tightly it looks about to be clipped. This rung is about which part of the same photo you crop away.
Most people who fixed the background and got rejected again are standing right here. Marketplaces want the product centred, with margin on all four sides, and large enough to read. It has to stay recognisable once the list shrinks it to a thumbnail.
That is also why so many sites ask for a square. Mix landscape and portrait shots and the rows of the list turn ragged. Image cropping has a 1:1 ratio ready, so fit your shot to that frame and shift the product to the middle.
For the margins themselves, the same width on every side is the default. If the top is roomy while the bottom is tight, the product looks like it is sagging out of the tile. Comparing the empty space above, below and either side of the product on the crop screen sorts it out quickly.
Pixel dimensions belong on this rung too. Marketplaces set a minimum size, and image resizing lets you bring width and height down to whatever value you need.
But scaling down works and scaling up does not. Enlarging a small photo amounts to inventing pixels that were never there, so edges go mushy. If the original is small, reshooting larger is faster.
| Rung | What it looks at | Common rejection reason |
|---|---|---|
| Rung 1 | What sits behind the product | Objects, shading or patchiness left in the background |
| Rung 2 | Where the product sits in the frame | Product too small or off-centre, wrong aspect ratio |
| Rung 3 | Conditions on the file itself | Over the size cap, unsupported format |
Rung 3: file size and format
This is the case where nothing looks wrong on screen but the upload button refuses you. It is not the content of the picture that misses the requirement, it is the properties of the file.
Sellers usually meet this rung when they list on several marketplaces at once. A file that uploaded happily in one place bounces elsewhere for exceeding the size cap, because caps differ between marketplaces and the rules for detail pages differ again from the ones for main images.
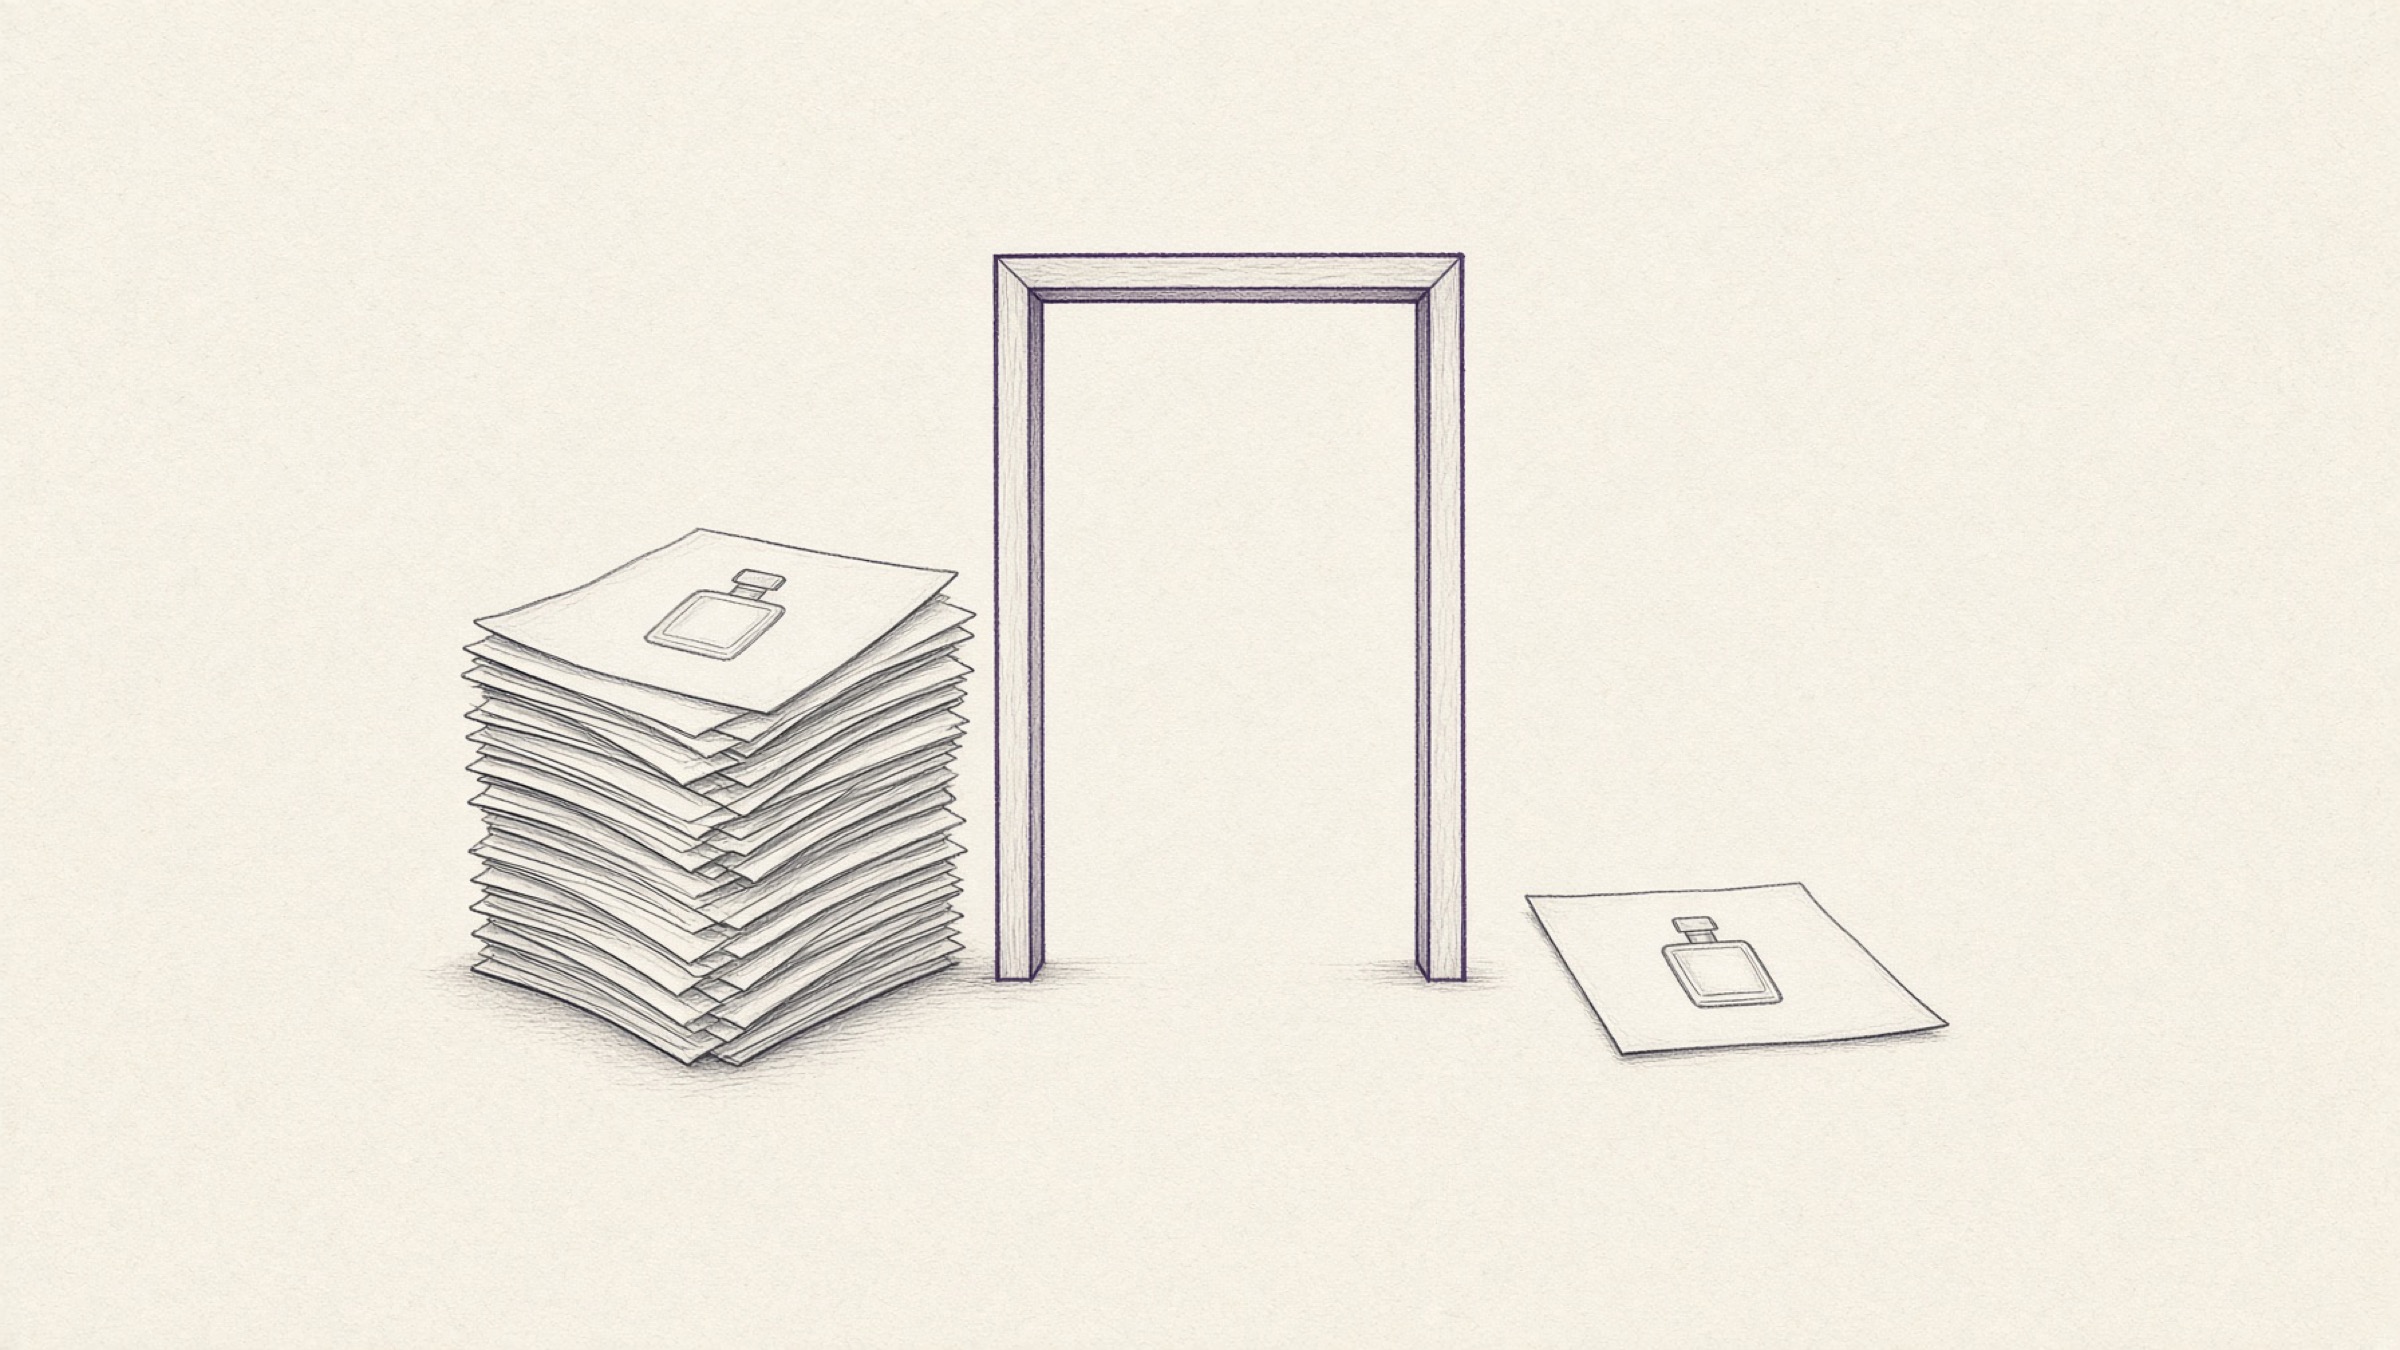
For file size, the easy route is setting a target in image compression. Instead of guessing at a quality percentage, you write down the size you want and it finds the quality that fits inside it. That kills the save-check-save loop.
Writing in a target size works for JPEG and WebP. With a PNG in hand you only get quality adjustment, but if you already saved as JPEG on rung one, you can set a target size straight away.
Format is changed in image conversion. The classic case is a photo shot on an iPhone that saved as HEIC and will not upload. JPEG is generally the safe bet for product photos, and if you already saved as JPEG on rung one, you have passed this rung already.
To restate the order: remove the background, save as JPEG, crop to ratio, bring the dimensions down, and match the file size last. Compression goes at the end because touching any earlier step changes the size again.
Which rung is your listing image on?
Put the rejected product listing image in front of you and work down the list; the verdict comes fast.
- The upload itself fails, so it is rung 3. Start with size and format.
- It uploaded and then came back, so it is rung 1 or 2. If you already fixed the background, rung 2 is likely.
- The background is white and it still fails, so check whether you only removed the background and uploaded a transparent PNG.
- It only fails on a new marketplace, so the ratio or the size cap is different over there.
If you plan to add marketplaces, keep one large file with the background removed. From that master you crop the ratio and match the size for each site, and you never reshoot. Save the master small and this approach is closed to you, because scaling down works and scaling up does not.
Why there are no numbers in this guide
They are left out deliberately. Minimum pixels, size caps, how much of the frame the product should occupy, those figures differ by marketplace, split again by category, and are revised often.
Copy a number you saw somewhere and the standard may well have moved between the day you read it and the day you list.
The seller guide of the marketplace you sell on is the only source for the exact figures. Log in to the seller centre and open the image section of the listing help page to see the requirements as they stand today. What this guide does is tell you what to look for once you are on that page.
Three notes are enough when you open the guide. The background condition, the aspect ratio and minimum dimensions, and the file size cap. Write those three lines down per marketplace and there is nothing left to look up next time.
A product listing image in one line
Preparing a product listing image does not end at the background. Clearing the background is rung one, seating it in the frame is rung two, and matching the file is rung three, stacked in that order.
If another rejection notice lands, work out which rung you are failing on before you touch the background again.
If the photo is already in your hands, start at rung one with background removal. Everything is free and runs in the browser with nothing to install.
References
- The image requirements inside the listing help pages of each marketplace seller centre (Coupang Seller Centre, Naver Smart Store Seller Centre, Amazon Seller Central and others). Requirements differ by marketplace, by category and by date, so check the relevant page directly just before you list.
- W3C, "Portable Network Graphics (PNG) Specification (Third Edition)": the alpha channel that makes a background-removed file read as empty rather than white. The standard
- MDN Web Docs, "Image file type and format guide": which formats carry transparency, and what each one is suited to. Read the guide