Resume Photo Requirements - Why Is Mine Rejected?
Resume photo requirements tend to block you right before the deadline. The cover letter is written, the photo is the last thing to upload, and up comes "file size exceeded."
The original from the photo studio gets refused, so in a panic you send it to yourself over a messaging app and save it again — and now the face is smeared.
There is a reason the same photo passes in one place and fails in another. Application sites check different attributes.
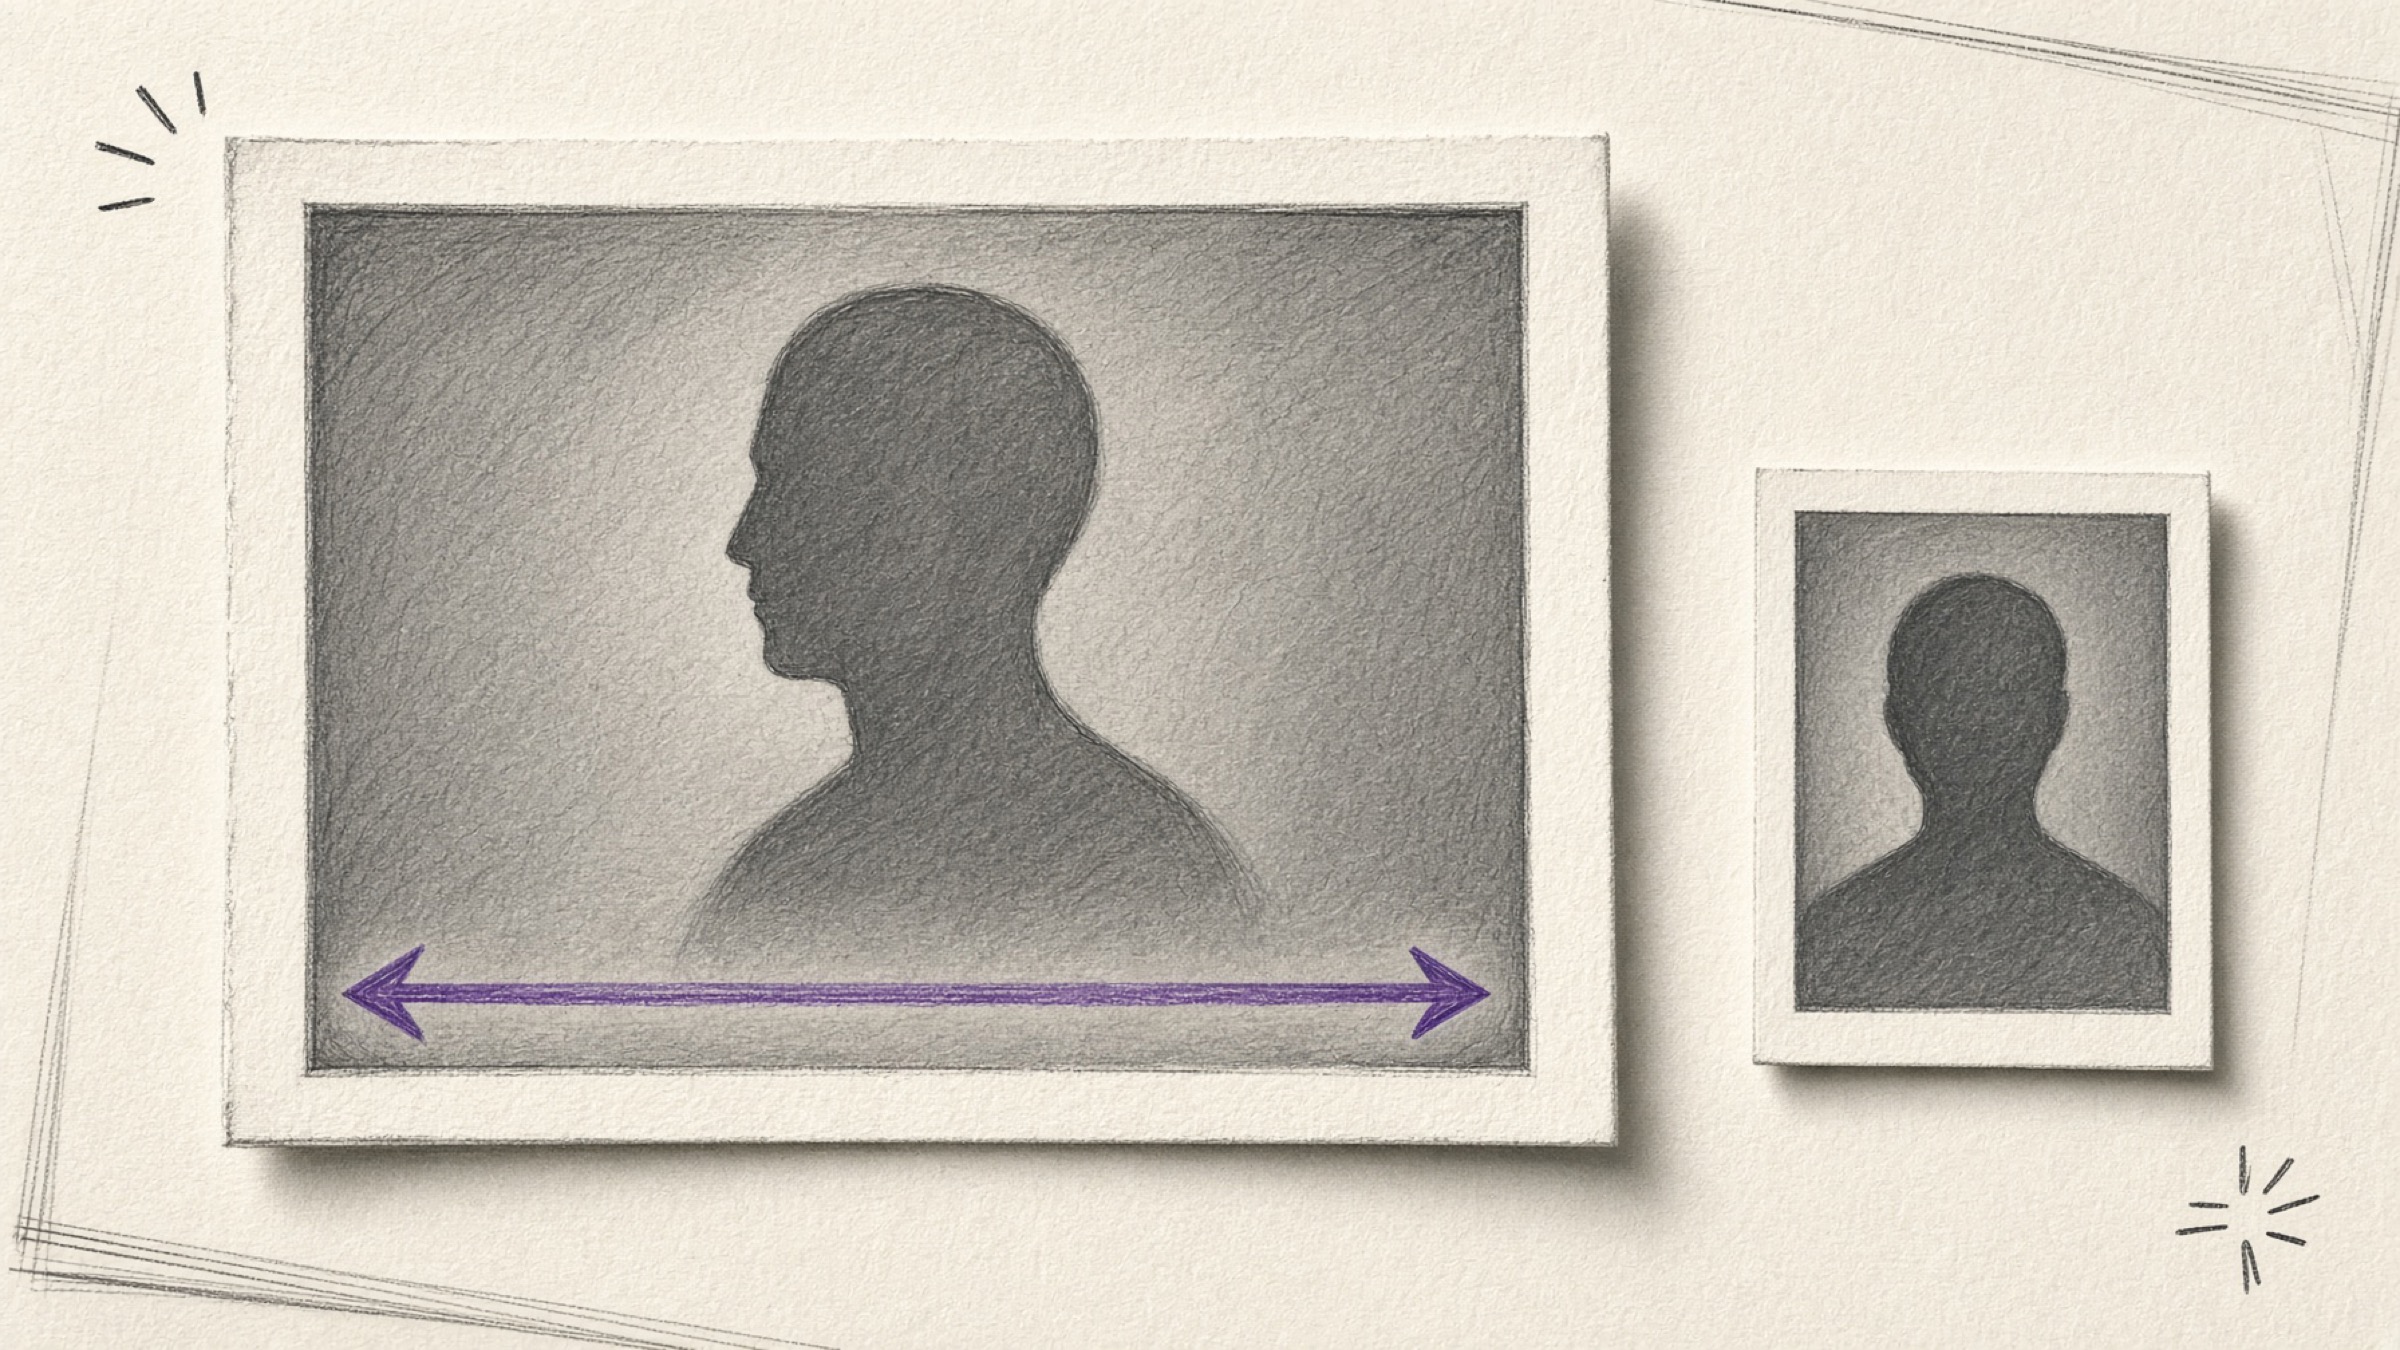
- A way to pin down which of the three causes got your photo rejected.
- A clear sense of how the requirements differ between application sites.
- The order to work in so you lose the least image quality.
Why can't you upload a phone photo as is?
Because photos from a modern phone are far larger than resume photo requirements allow. Shot with the default camera, one image runs to several megabytes, while submission limits are much tighter.
Q-Net accepts nothing over 200KB, which is a few percent of a phone original.
Studio originals are high resolution for printing, so they almost always need reducing for web submission. Keep the original as it is and make a separate copy for submission.
Resume photo requirements: what do you match?
This is where most people get confused. Since each site checks something different, a file tuned for one is rejected outright by the next. Put the official published requirements of two commonly used Korean sites side by side and the difference is obvious.
| Site | Size requirement | Format | File size |
|---|---|---|---|
| JobKorea resume | 103 × 132 pixels | jpg, jpeg, gif, png | Within 1MB |
| Q-Net exam application | ID photo (2.5 × 3.5cm) or half-name-card photo (3 × 4cm) | JPG, JPEG only | 200KB or under |
What the table shows is that the units themselves differ. JobKorea speaks in pixels, Q-Net in print dimensions. The format differs too: Q-Net takes JPG and JPEG only, so a PNG that uploads fine to JobKorea is refused there.
What Q-Net's notice calls a passport photo (3 × 4) refers to the size commonly known in Korea as a half-name-card photo. The photo you actually submit when applying for a passport is a different size: 3.5 × 4.5cm, the standard used by our Passport Photo Checker.
The names are close enough that cropping to 3.5 × 4.5 and submitting it to Q-Net gets the ratio wrong. The safe approach is to follow the exact figures the receiving site publishes.
Why does the order matter?
Because changing the order means doing the same work twice. To meet resume photo requirements, go ratio first, then pixels, then file size — that sequence costs the least quality.
Work the other way round and you pay twice: compressing before the resize throws away quality that the resize would have removed anyway.
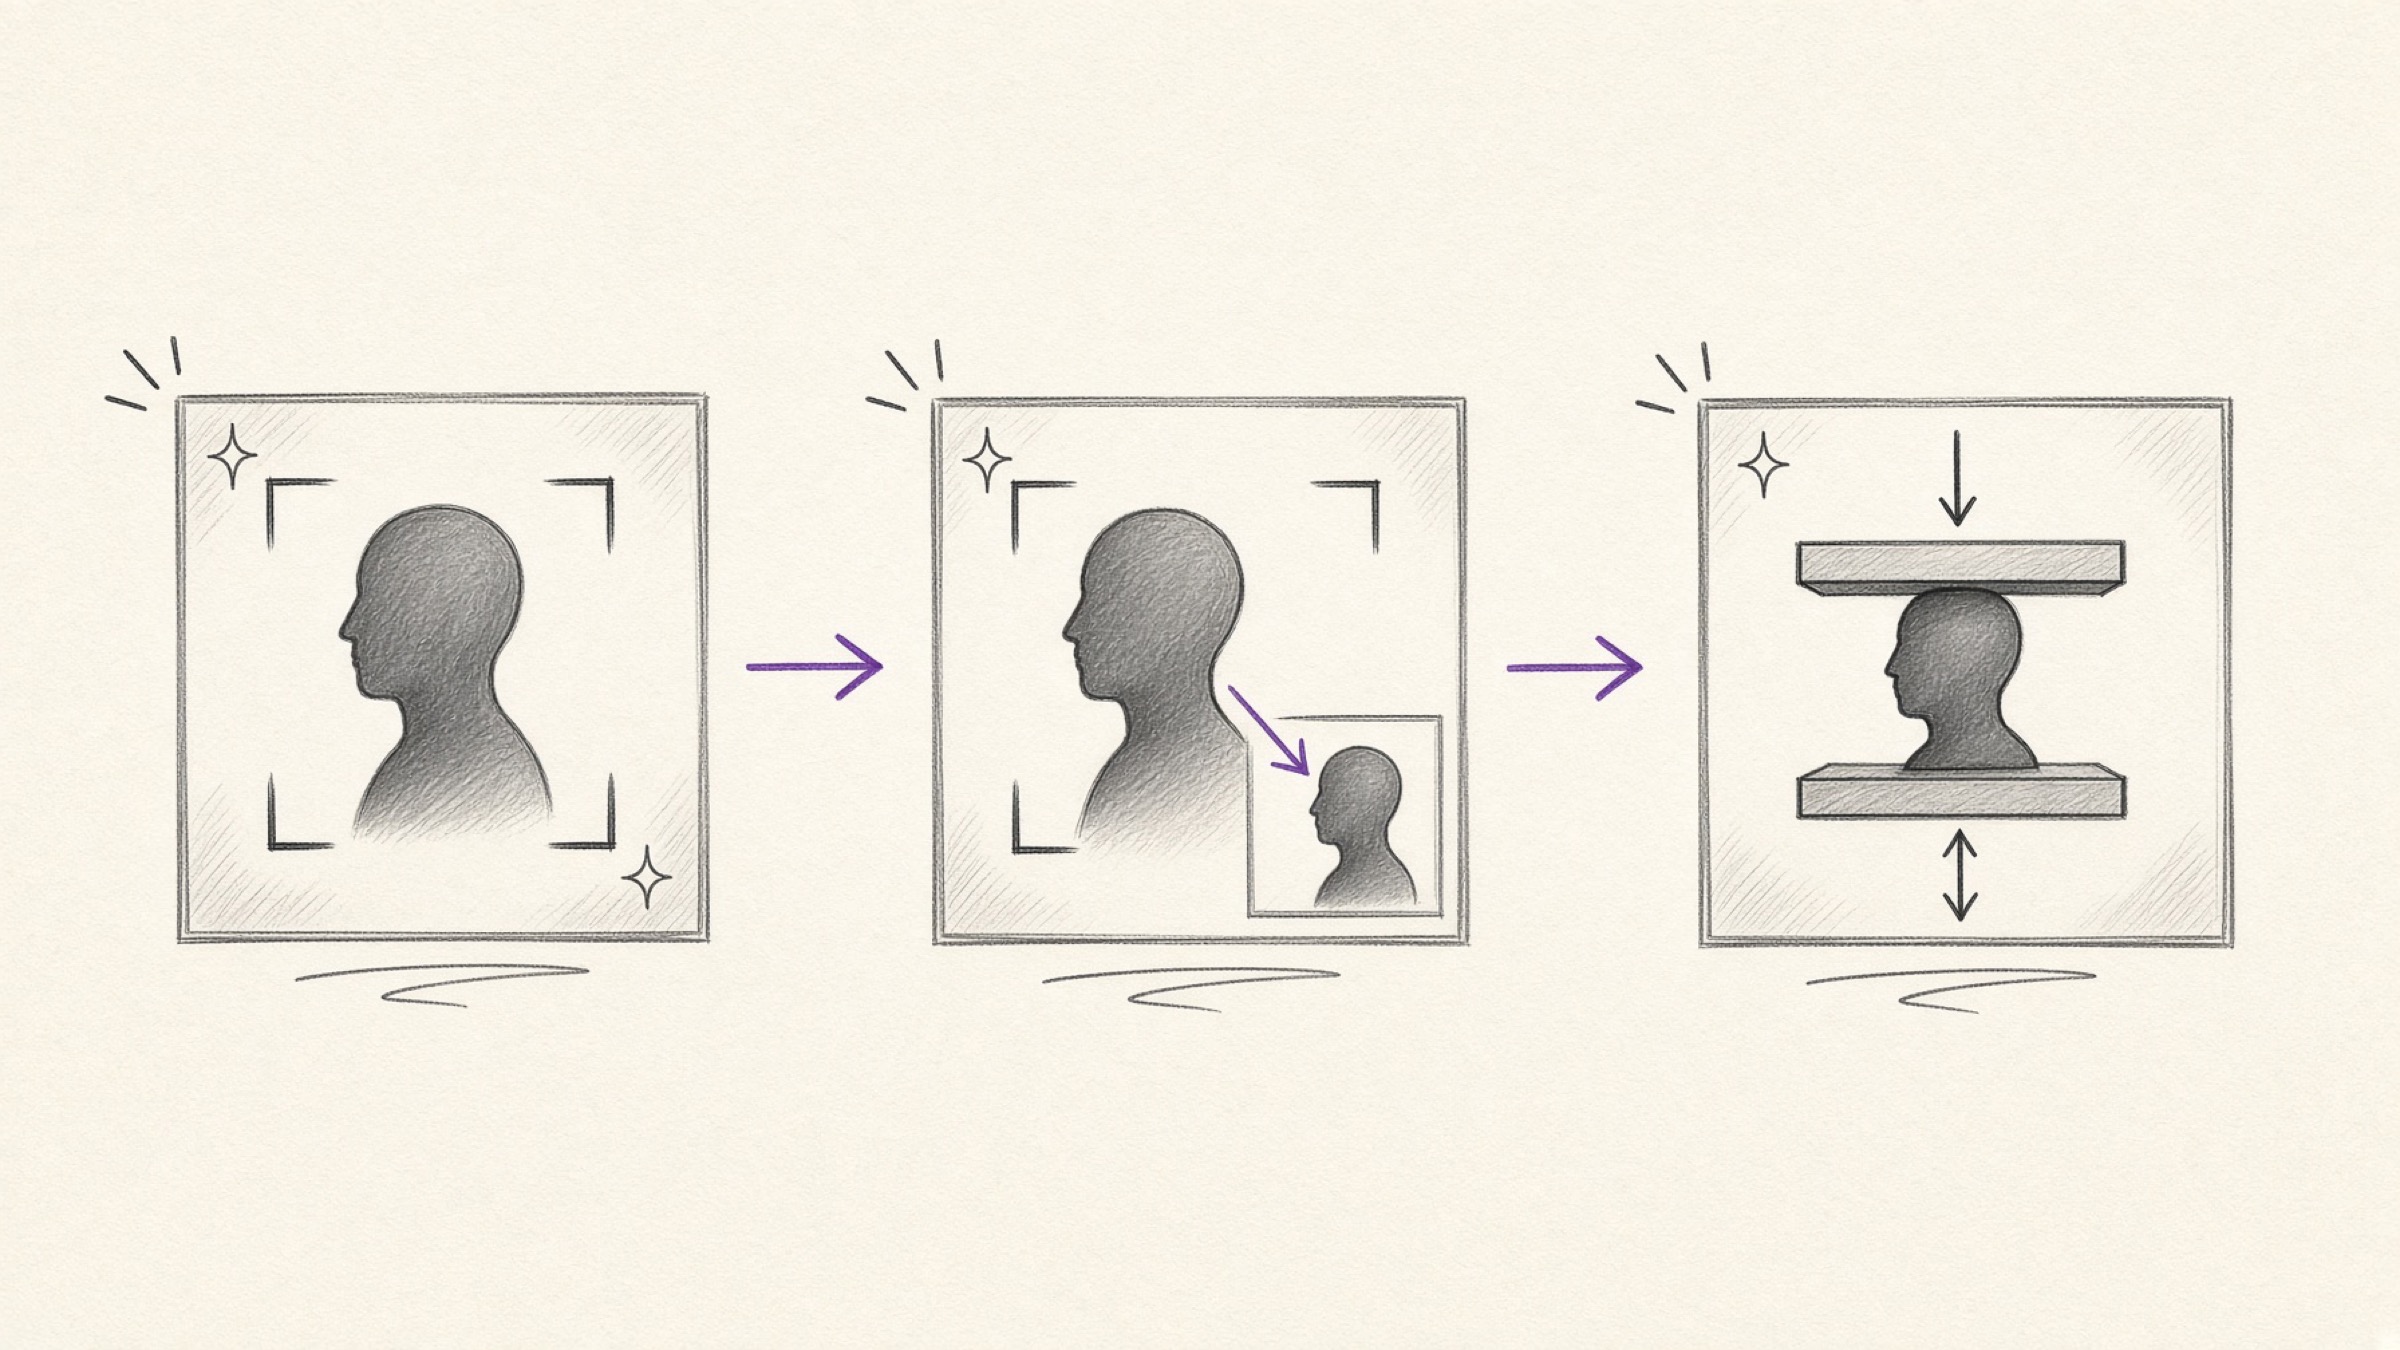
Phone photos are usually 3:4 or 9:16, which does not match ID photo proportions. In Image Crop, set the ratio the site specifies and crop so the face sits centred and slightly high. Leaving a little headroom above looks natural.
Where pixels are stated outright, as with JobKorea's 103 × 132, enter the numbers directly in Image Resize. Cutting pixels cuts file size substantially, so this step alone often clears the size limit. Keep the aspect-ratio lock on to avoid stretching the face.
If you are still over, finish with Image Compress. Give it a target size and it finds the best quality that fits underneath. If the format is the problem, re-save as JPG in Image Converter. Compression tools preserve the original format, so format changes are the converter's job.
What goes wrong when you are in a hurry?
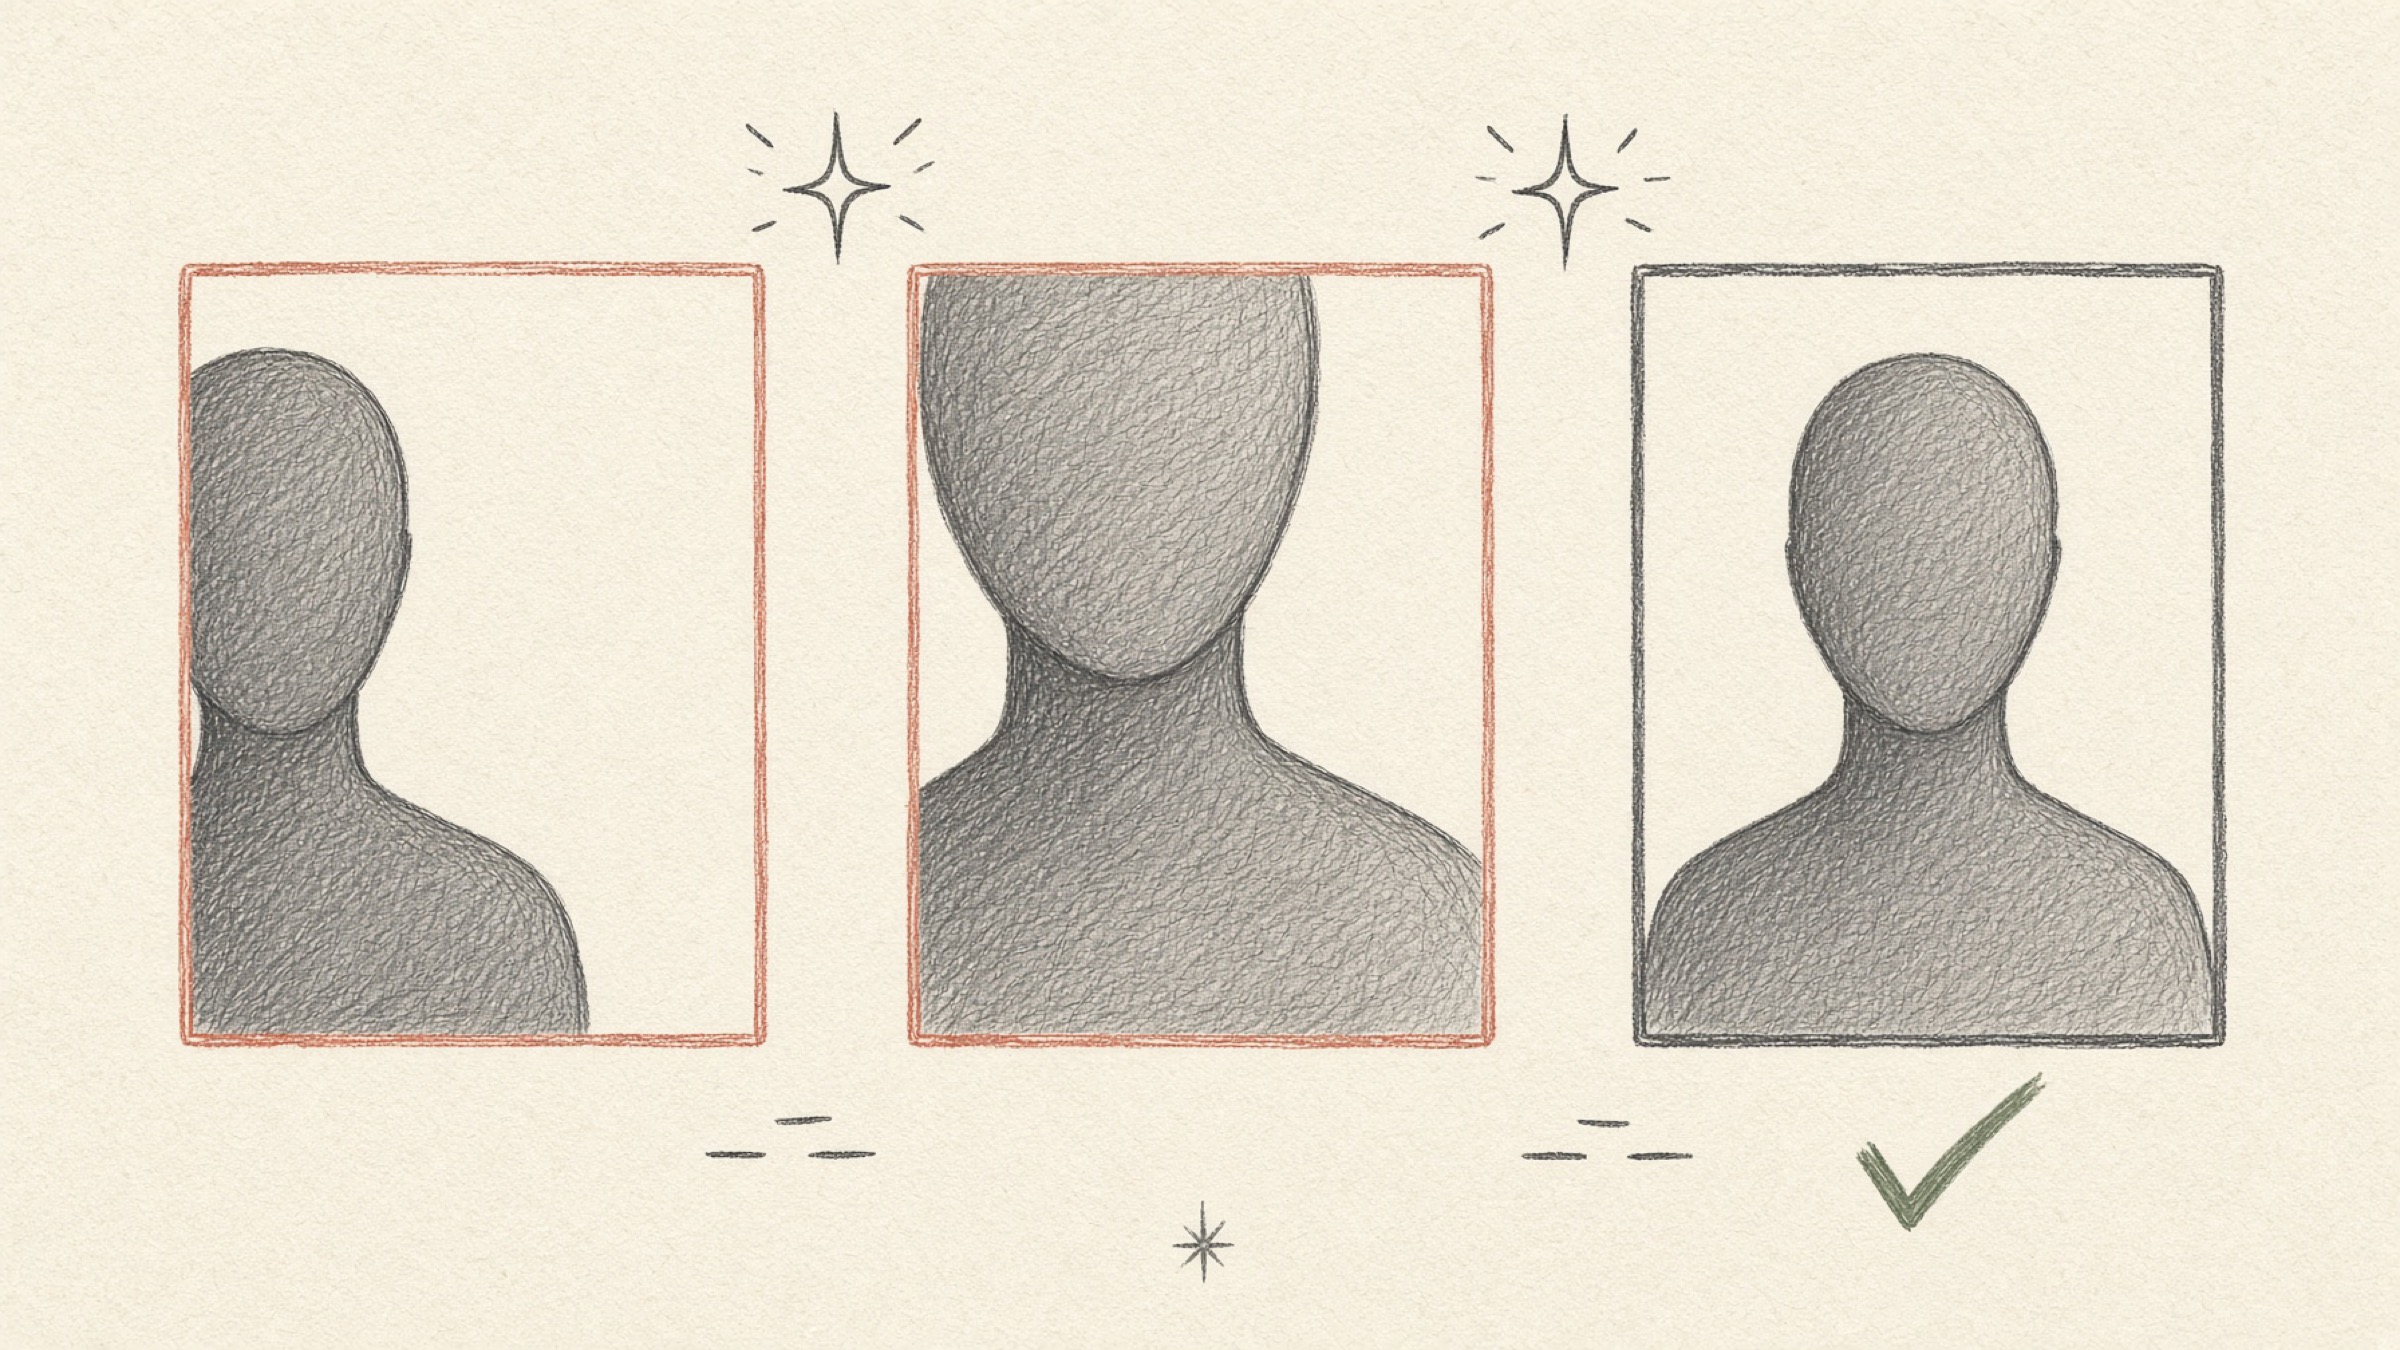
Changing .png to .jpg in the filename does not change the format. The data inside is still PNG, so sites that inspect the format still reject it, and some viewers show it as broken. On a site that accepts only JPG and JPEG, this trips immediately.
Both of those re-compress the image on their own terms. The size drops, but the edges of the face smear, and after a couple of rounds it is obvious at any zoom. This photo is the first impression on your application, so reducing it once from the original is the safer path.
Unlike resume and exam submissions, the photo you submit when applying for a new passport is held to an entirely different standard. Korea's Ministry of Foreign Affairs rules do not permit backgrounds that have been erased or composited, or retouched photos.
A passport photo must be an original shot to specification from the start.
In one line
Resume photo requirements are not a problem of retaking the photo. They are a problem of fitting the file. Check the ratio, pixels, file size, and format the site publishes and work through them in that order.
If you apply through the same places regularly, it is worth preparing copies in advance — one for resumes, one for exam applications.
If you have a photo to fix right now, start with Image Crop.
References
- JobKorea, "Resizing your ID photo": standard 103 × 132 pixels, within 1MB, jpg/jpeg/gif/png. View the guidance
- Q-Net, "Photo registration guide": ID photo (2.5X3.5) or passport photo (3X4) dimensions, *.JPG or *.JPEG, 200KB or under. View the guidance
- Ministry of Foreign Affairs passport photo rules: composited backgrounds and retouched photos are not accepted. View the rules