QR Code Printing - How Big Does It Need to Be?
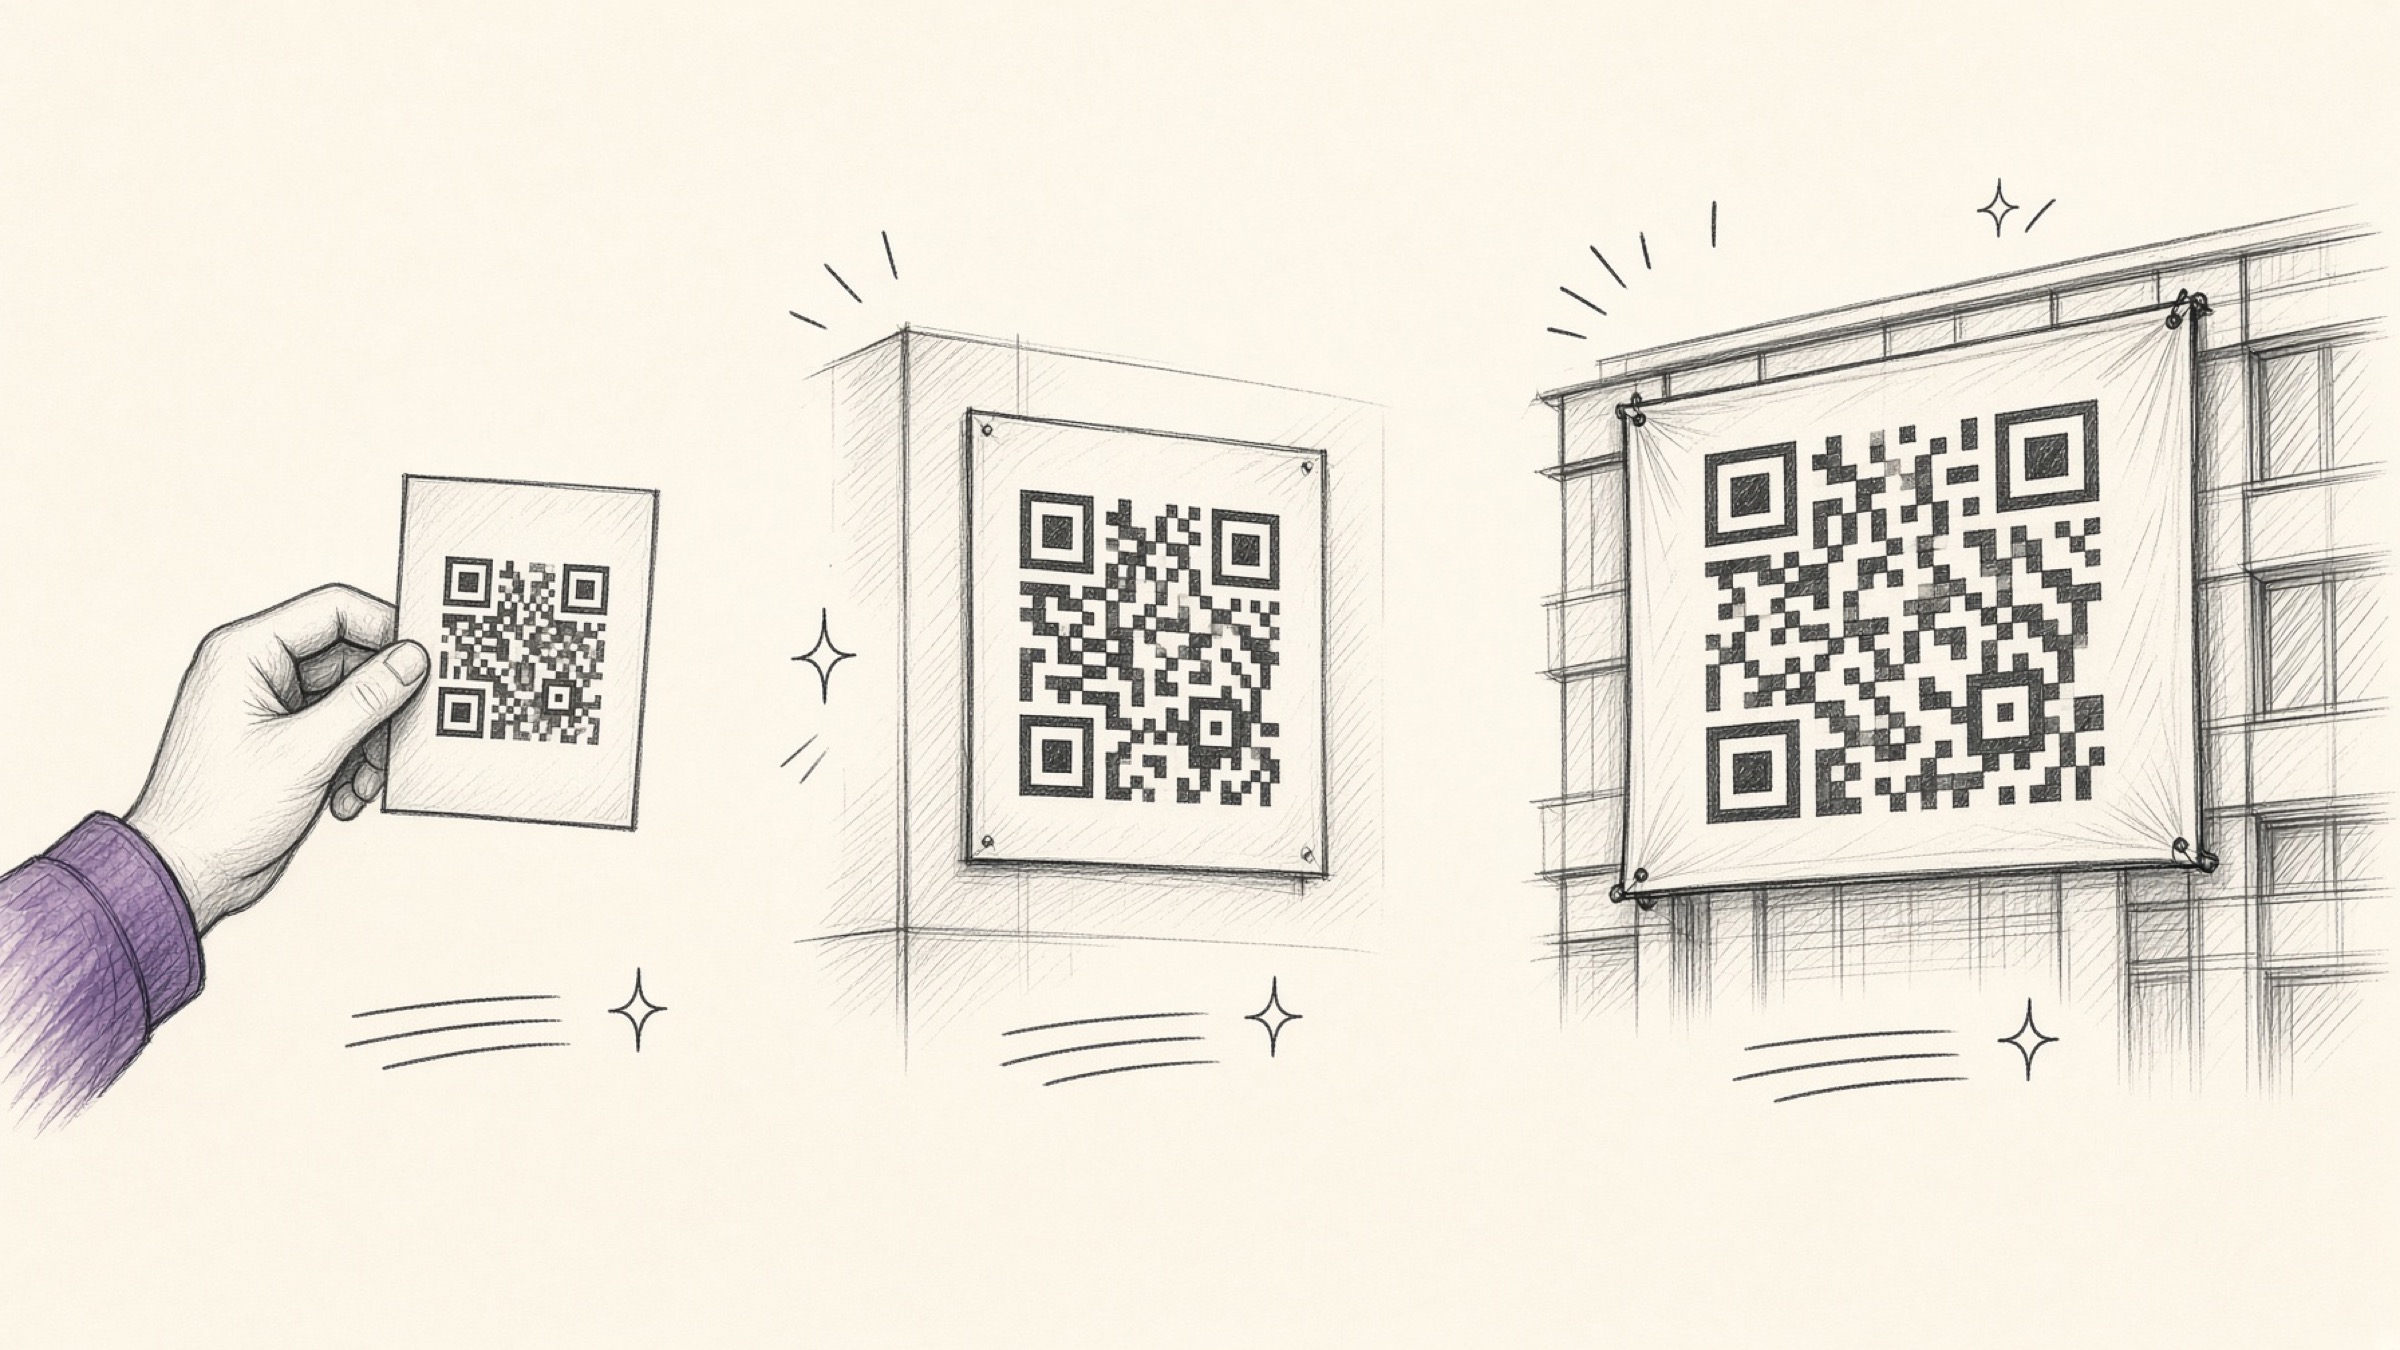
QR code printing accidents are almost always discovered after the print run. New business cards arrive and the code on the back does nothing, however you hold the camera to it. On the monitor it scanned perfectly.
There is a point where screen and paper part ways. On screen the distance between reader and code is always the same; in print it changes completely depending on where the thing is stuck. The size you need follows from that.
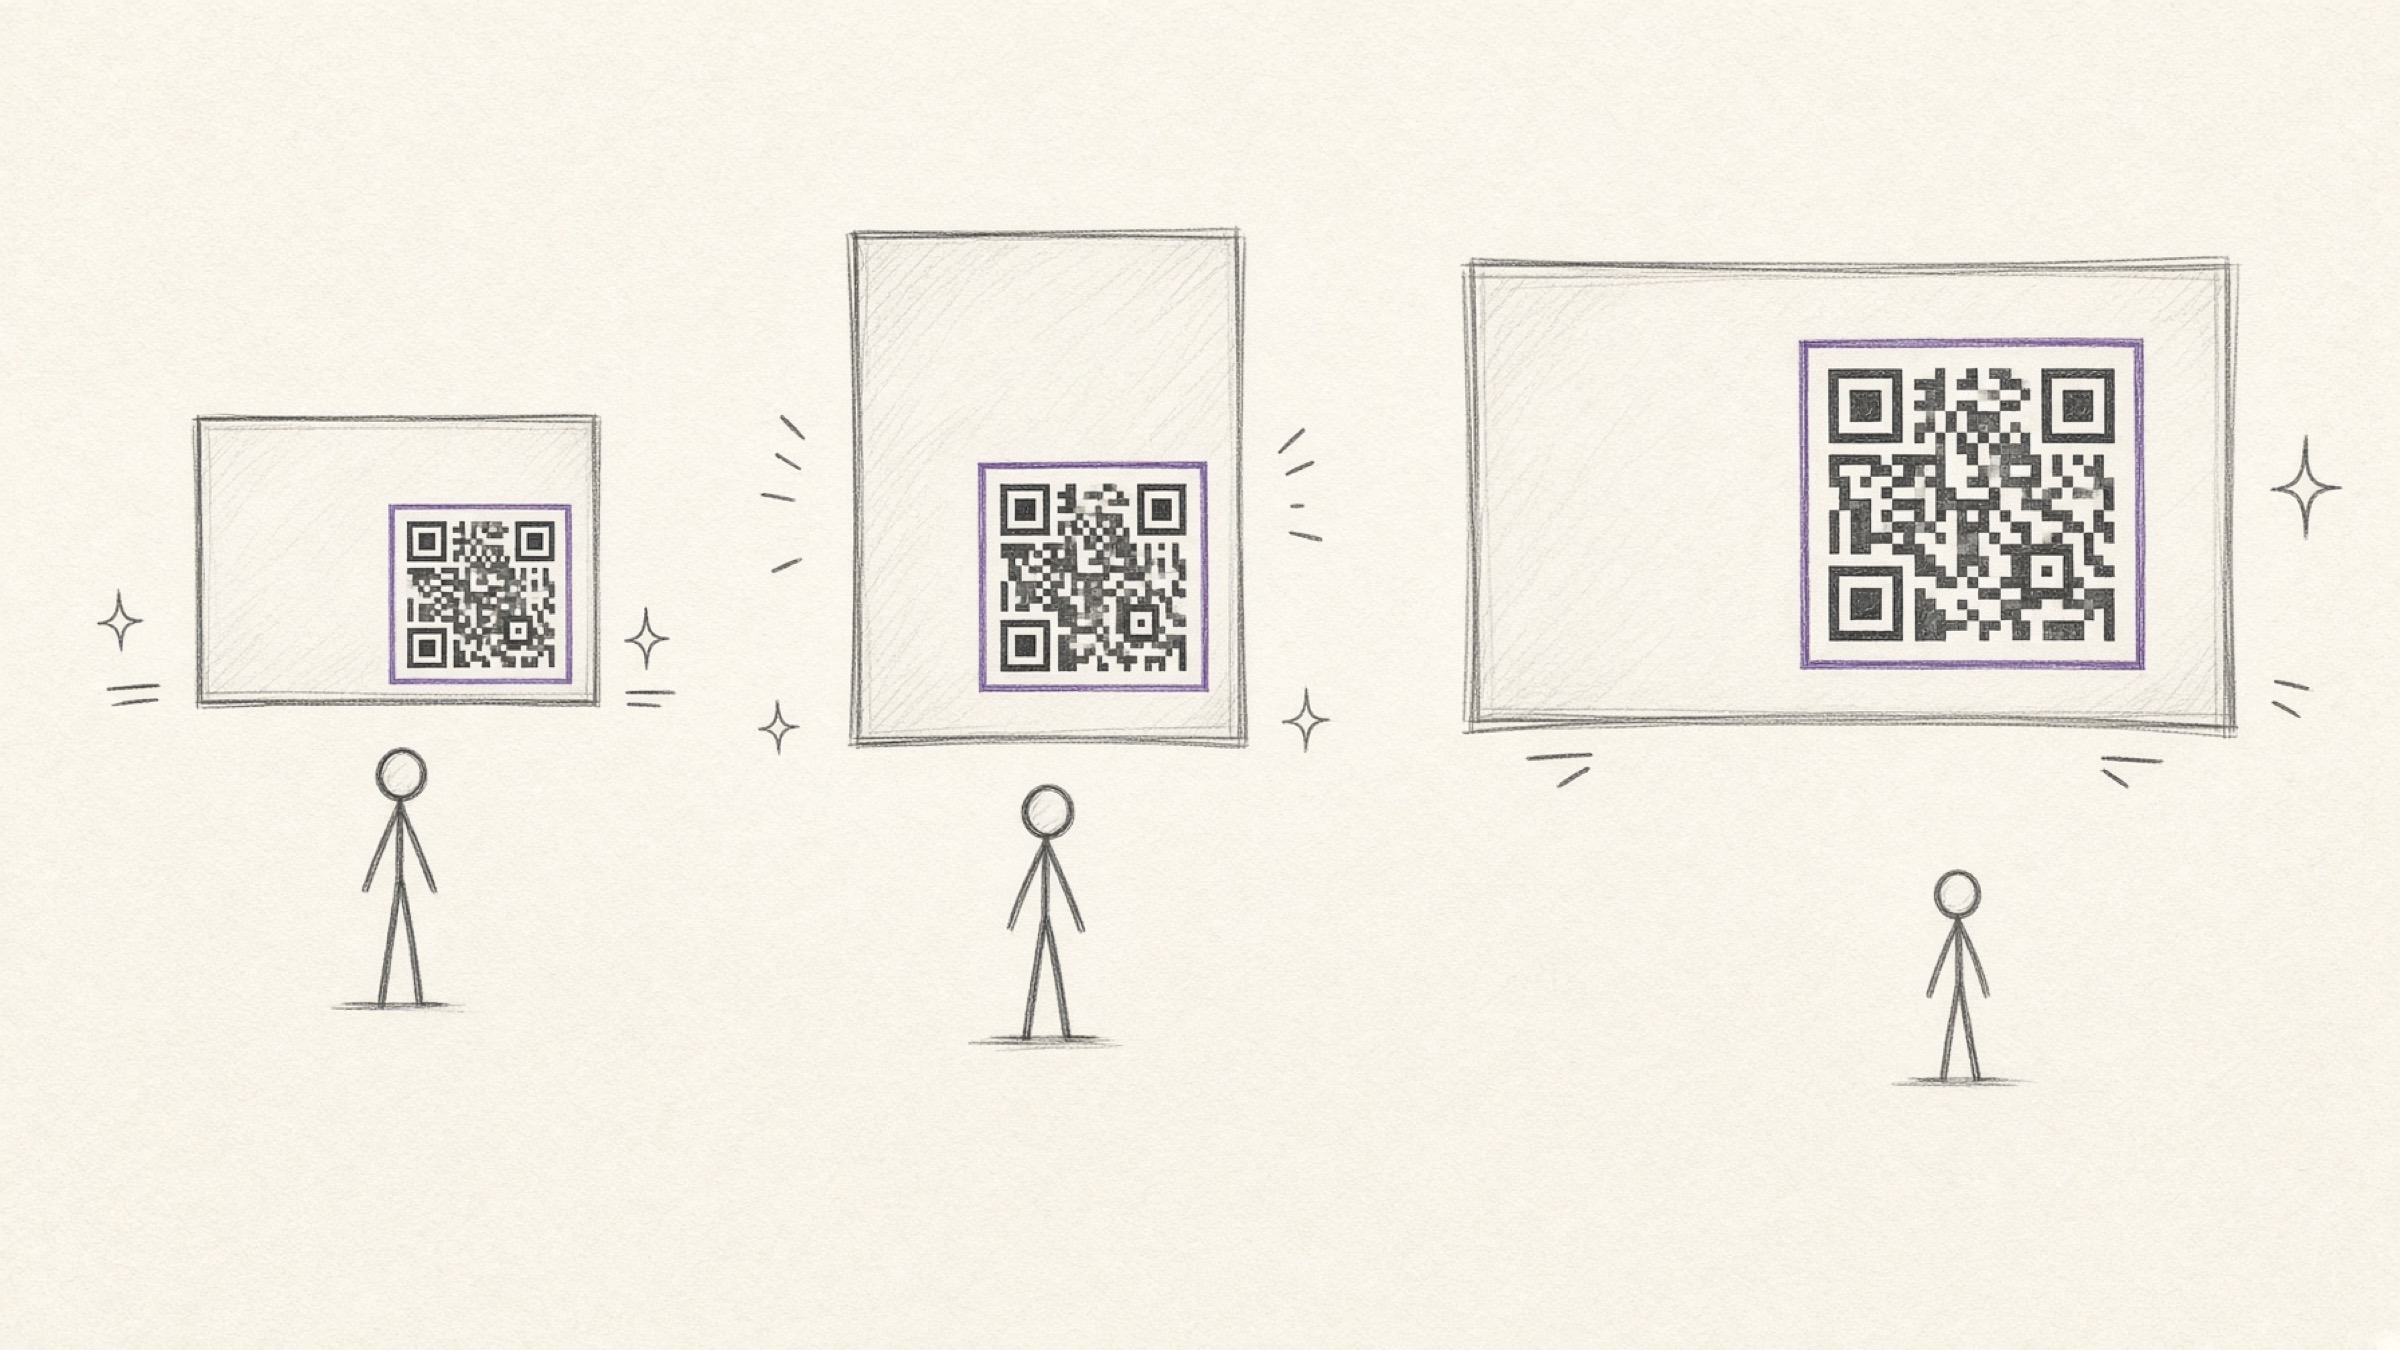
- A size decided by the distance your print is scanned from.
- The ability to calculate the pixels a print file needs.
- A filter for the failures caused by margins and contrast.
Why does a QR code that worked on screen fail on paper?
Enlarge a QR code and it is a grid of small squares. Each dot is called a cell, and the camera reads data by telling light cells from dark ones. The moment a single cell smears or gets too small, decoding becomes impossible.
A screen renders cells crisply with pixels; QR code printing does not. Blow up a low-resolution image to paper size and the cell edges soften, and once ink spread is added the distinction collapses.
Denso Wave, which developed the QR code, recommends printing each cell at four printer dots or more for reliable recognition. That is 0.17mm per cell at 600dpi, or 0.33mm at 300dpi.
Which level is your print?
Split QR code printing into three levels by distance and the answer appears immediately. Each step up is larger, and what raises the level is not the size of the print but where the person stands.
Print scanned from roughly 20cm away. 2cm per side is the working minimum in practice. Business cards tempt you to shrink it because space is tight, but below this the camera just hunts for focus. Check the actual measured size at the proof stage.
From one to three metres away you need the formula. The expected scanning distance divided by 10 is the minimum side length: 10cm at 1m, 30cm at 3m. You have to decide where the customer will stand before you can decide the size. On a table or behind the counter gives completely different answers.
At 10m the side needs to be 1m. One more thing attaches here. Real environments are dimly lit or shot at an angle, so adding 20 to 30 percent to the calculated figure is safer. It is easy to forget that the proof is viewed on a monitor while the scan happens metres away.
| Expected distance | Minimum side | |
|---|---|---|
| Business card, menu | about 20cm | 2cm |
| In-store poster | 1m | 10cm |
| Wall poster | 3m | 30cm |
| Banner | 10m | 1m |
Size settled - what about the file?
Once the size is fixed, the pixels needed for QR code printing follow. At 300dpi, the usual print standard, that is side length in cm ÷ 2.54 × 300. A 3cm card code needs about 354 pixels; a 10cm poster code about 1,181.
Here is where the most common accident happens. Stretching a small image from the web up to poster size does not create resolution. It only blurs in proportion, so rather than enlarging something small, generate it large from the outset.
Format matters too: JPG gnaws at cell edges with compression noise every time it is saved, so use lossless PNG. If a heavy print file has you reaching for Image Compression, leave the QR original out of it.
When the size is right and it still fails
If size and resolution are correct and it still fails, two causes remain.
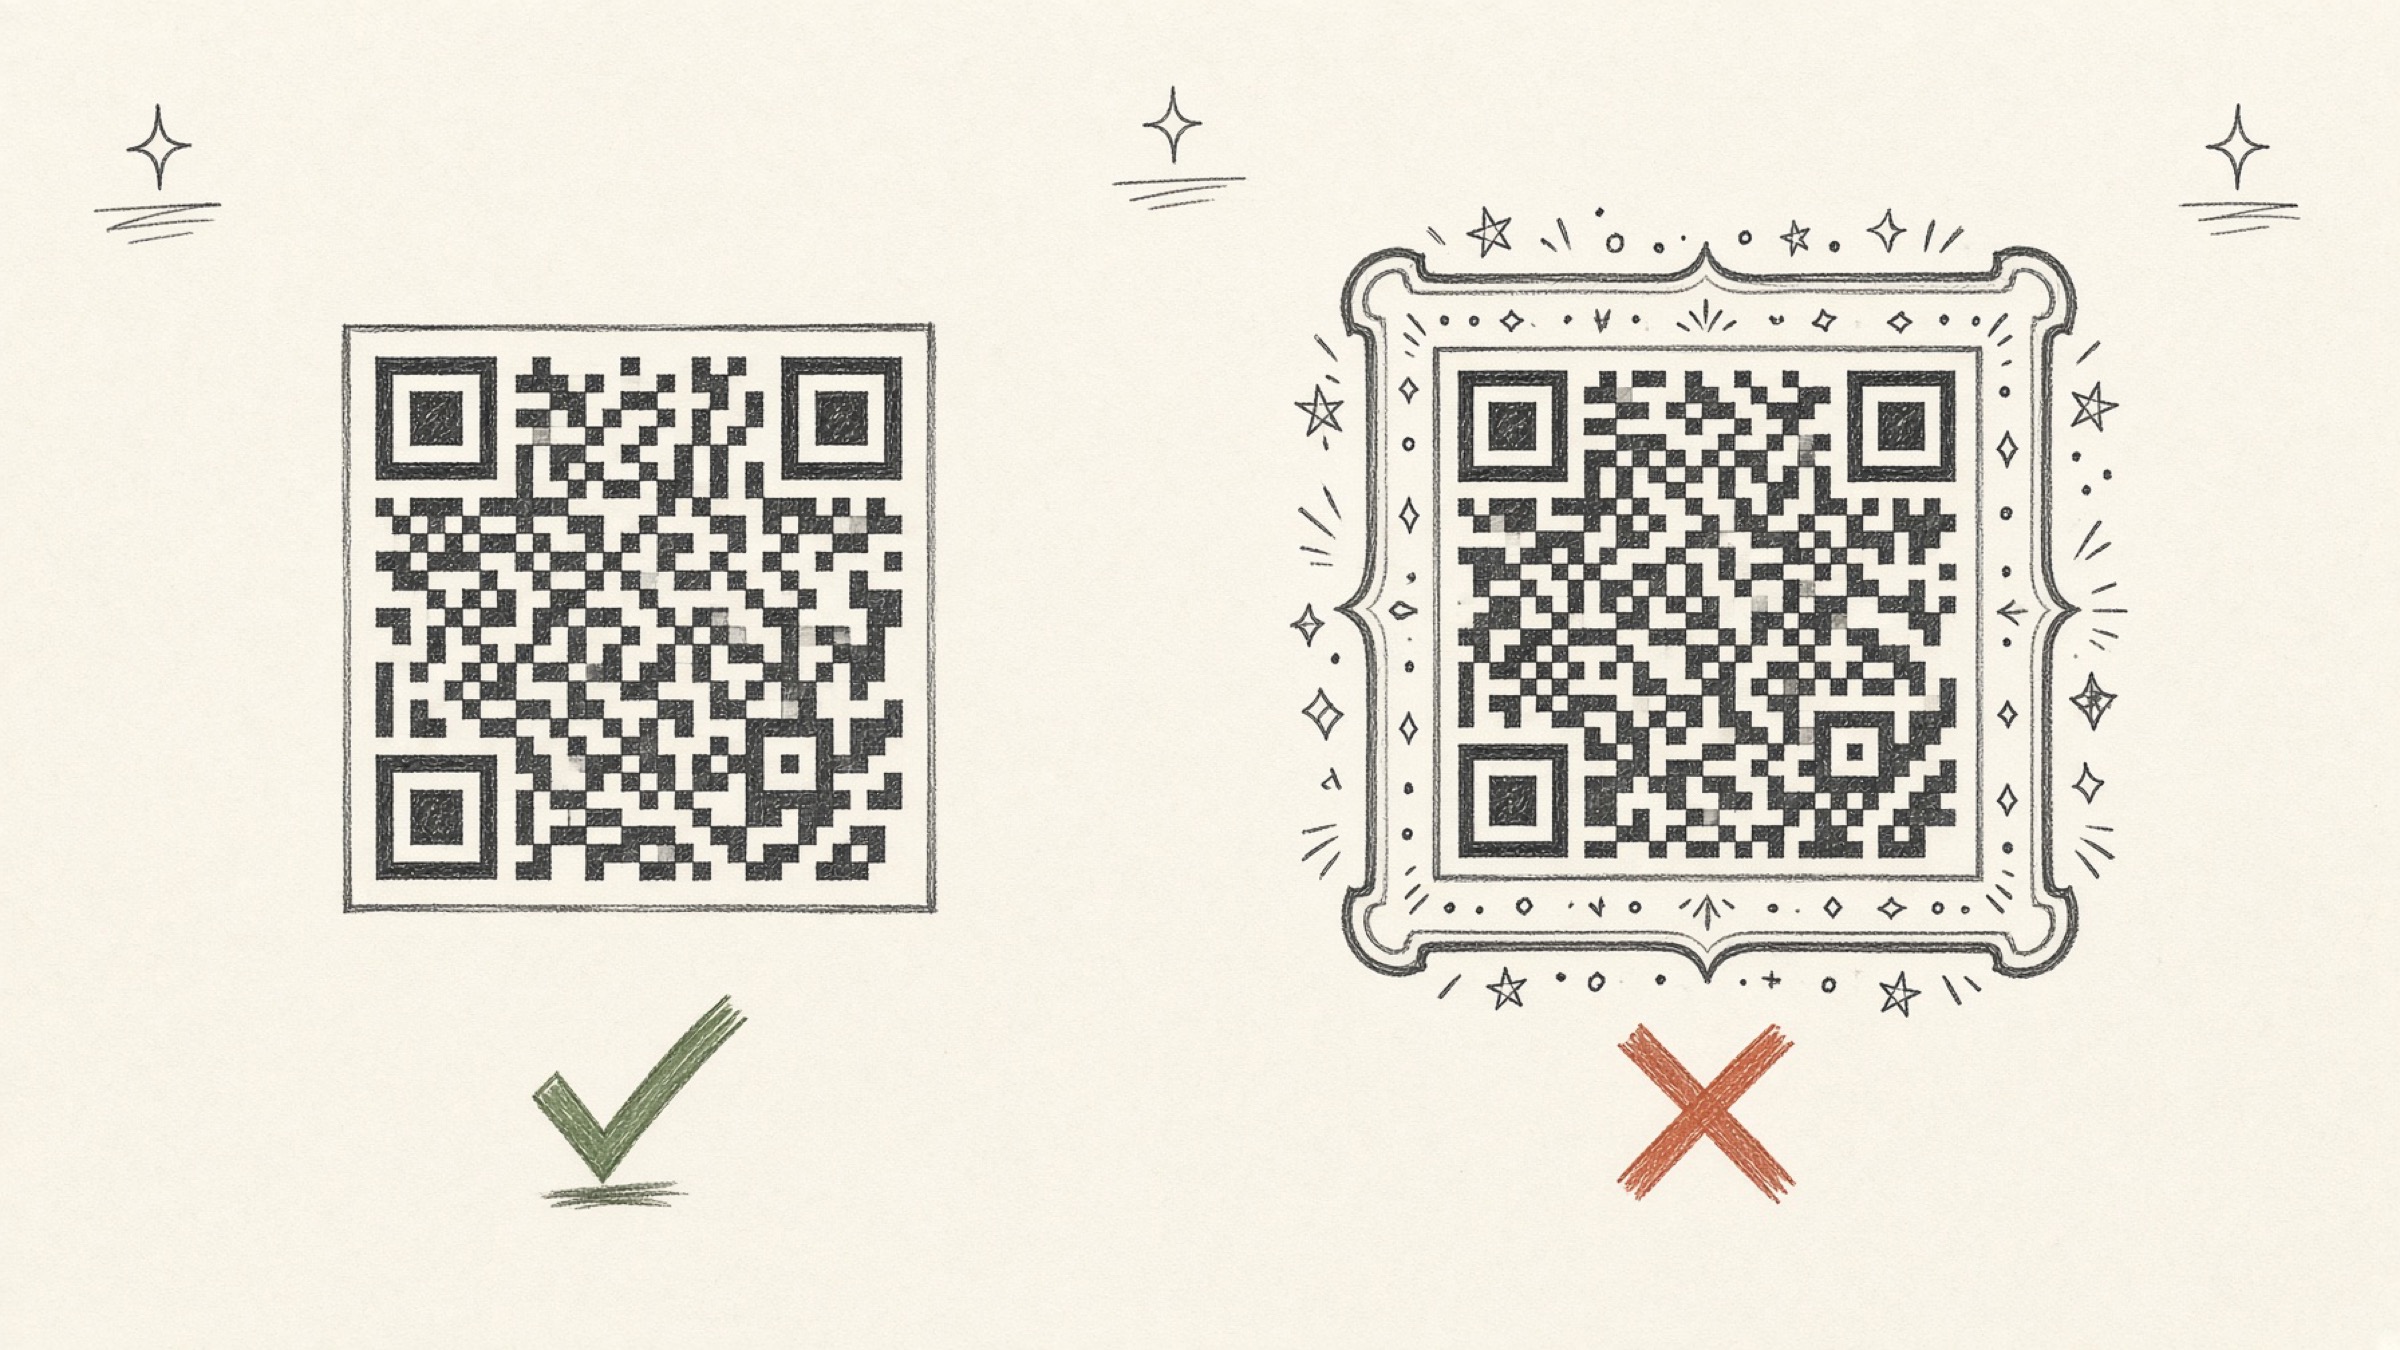
The international standard ISO/IEC 18004 requires a light margin at least four modules wide on all sides. Called the quiet zone, it is the space a scanner uses to establish where the code starts, which makes it part of the code.
Butt a border box right up against it, or drop it on a photo with no margin, and recognition breaks even though the code is intact.
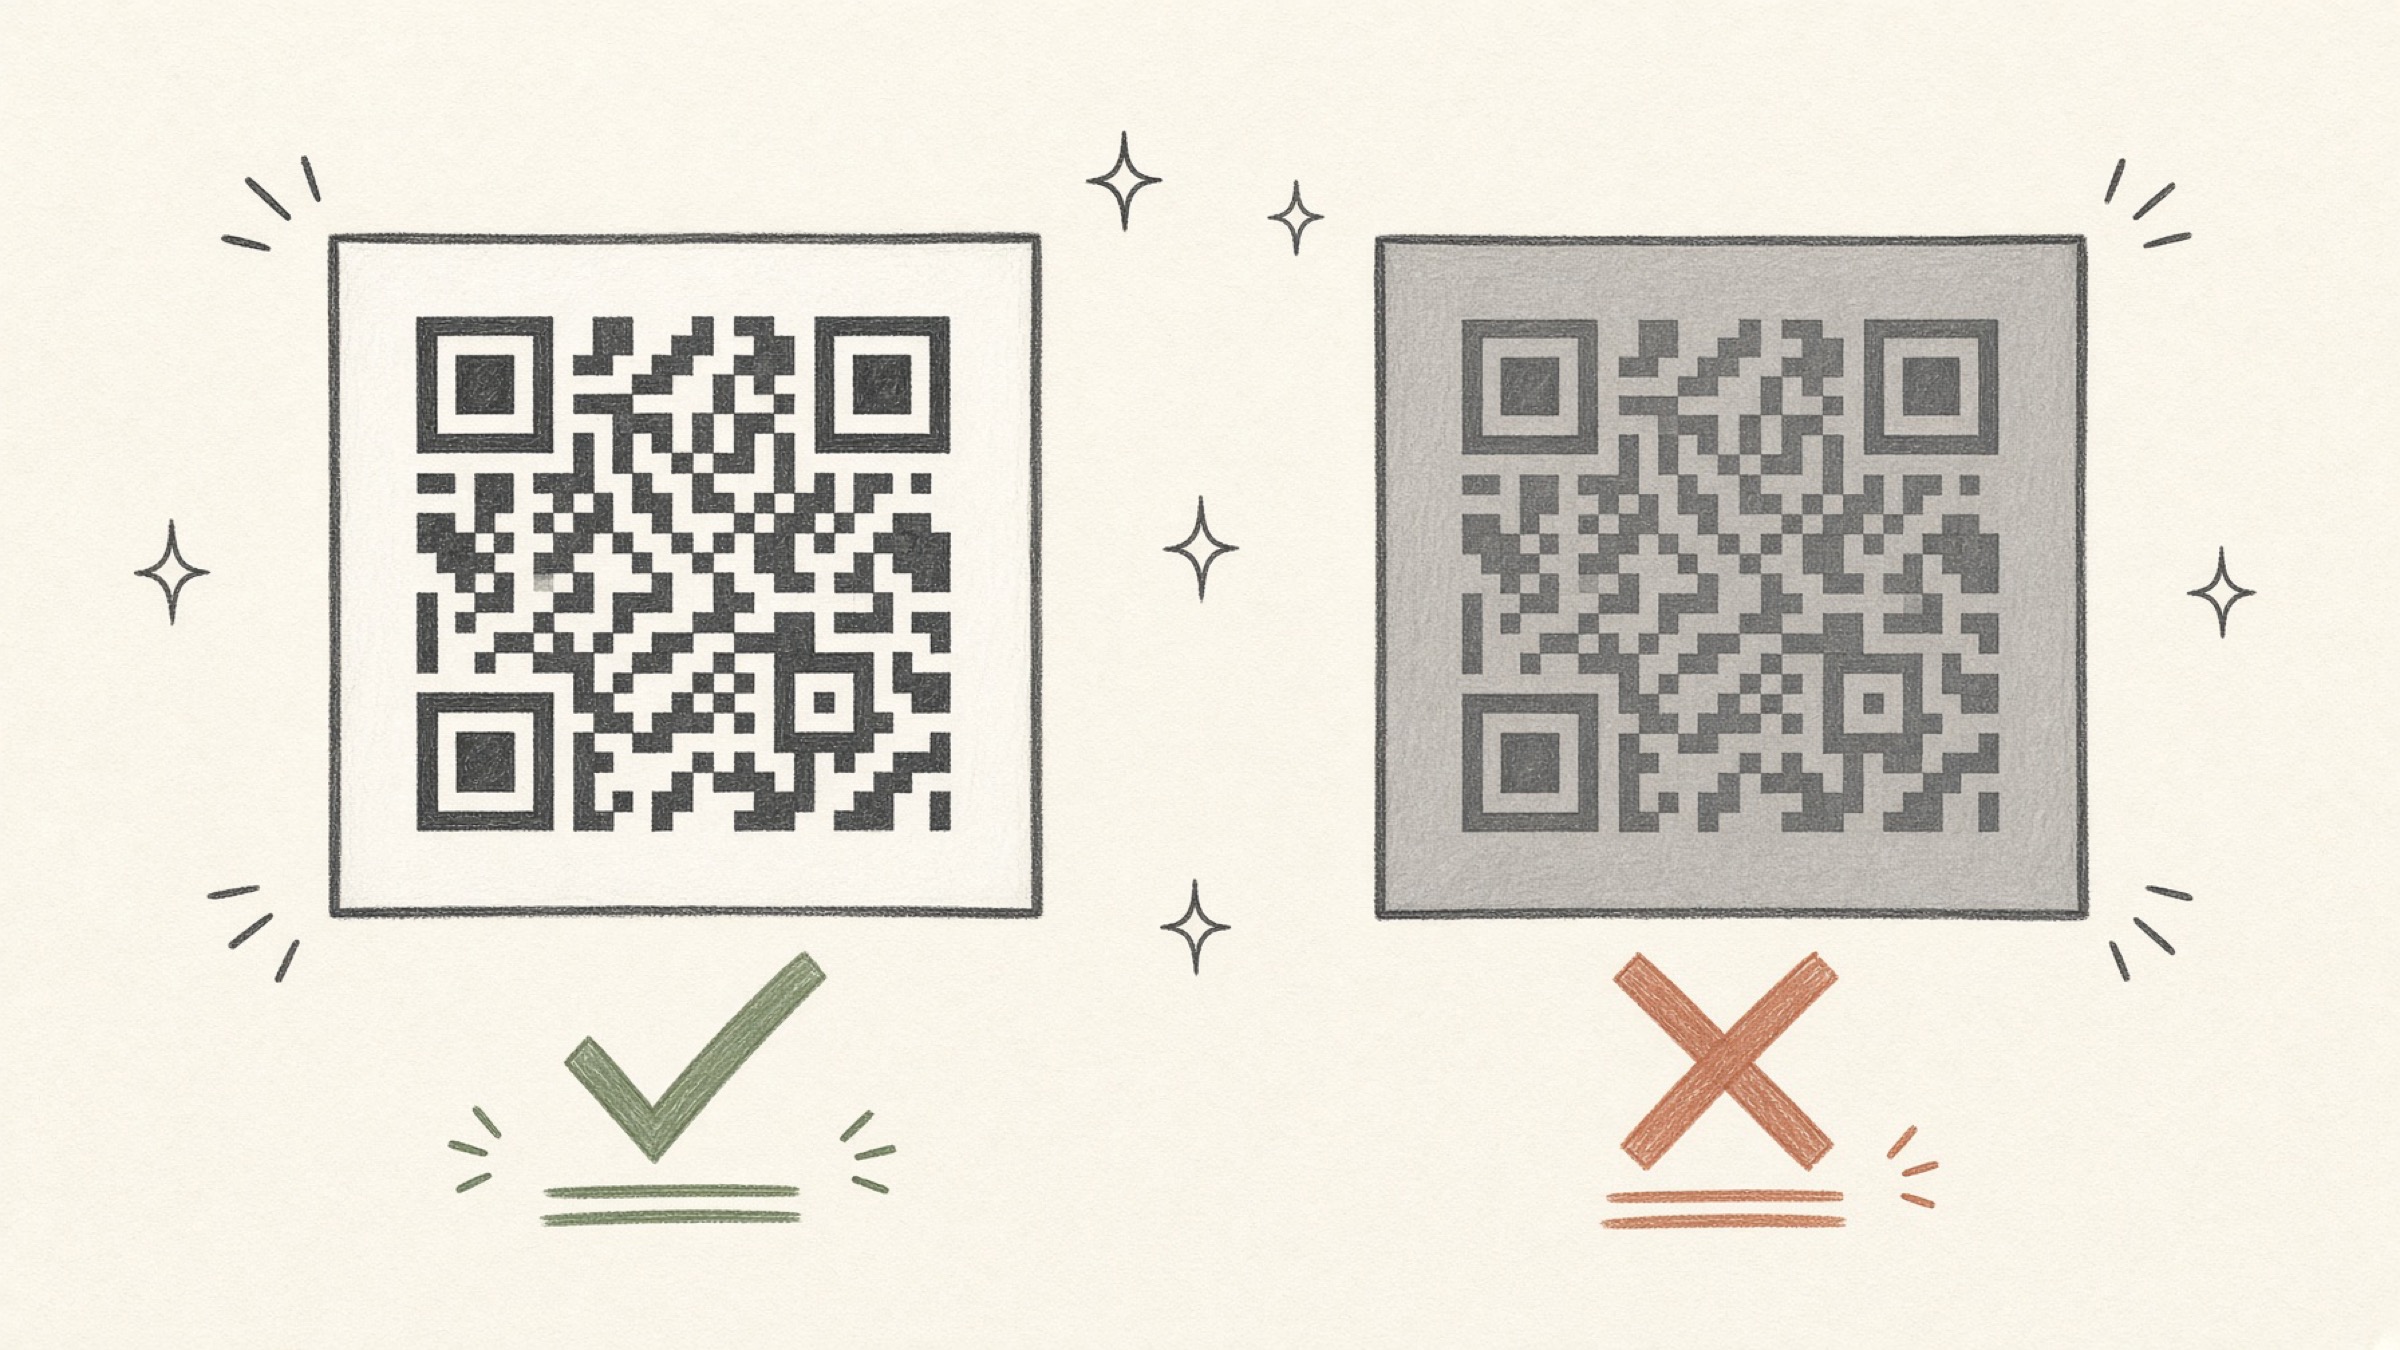
Scanners are built to find a dark pattern on a light ground. Brand colour is fine, but the code has to be clearly darker than the background, and pastel or light grey codes and gradient backgrounds are the recurring culprits.
Inverted designs with a white code on a dark background may not read at all on some devices, so they are not advised for print.
Spend three minutes before you order
- Print one at actual size: even a home printer will do, at measured size
- Test from the real distance: for a poster, step back three metres and scan
- Try a second device: a new phone and an old one can differ
- Try a black-and-white copy: marginal contrast collapses there first
If you are already holding print that will not scan, remaking it at the same address beats trying to retouch the image. QR Code Generator takes an address and produces a black-and-white PNG including the standard four-module margin, so the margin and contrast rules are met by default.
At card size use it as is; for anything larger, check the size you need with the pixel formula above before sending it for QR code printing.
In one line
What decides size in QR code printing is not the print but where the person stands. Held in the hand, 2cm; otherwise distance ÷ 10; far away, that plus headroom. Prepare the file at 300dpi as a PNG, and leave the margin and contrast alone.
If you need to make a new one, QR Code Generator will give you it straight away.
References
- DENSO WAVE, "About cell size": four dots per cell or more recommended for reliable recognition, 0.17mm at 600dpi and 0.33mm at 300dpi. Official guidance
- QR code international standard ISO/IEC 18004: requires a quiet zone at least four modules wide on all sides. Standard information