Which rung are you on? - Browser PDF workflow in 3 tiers
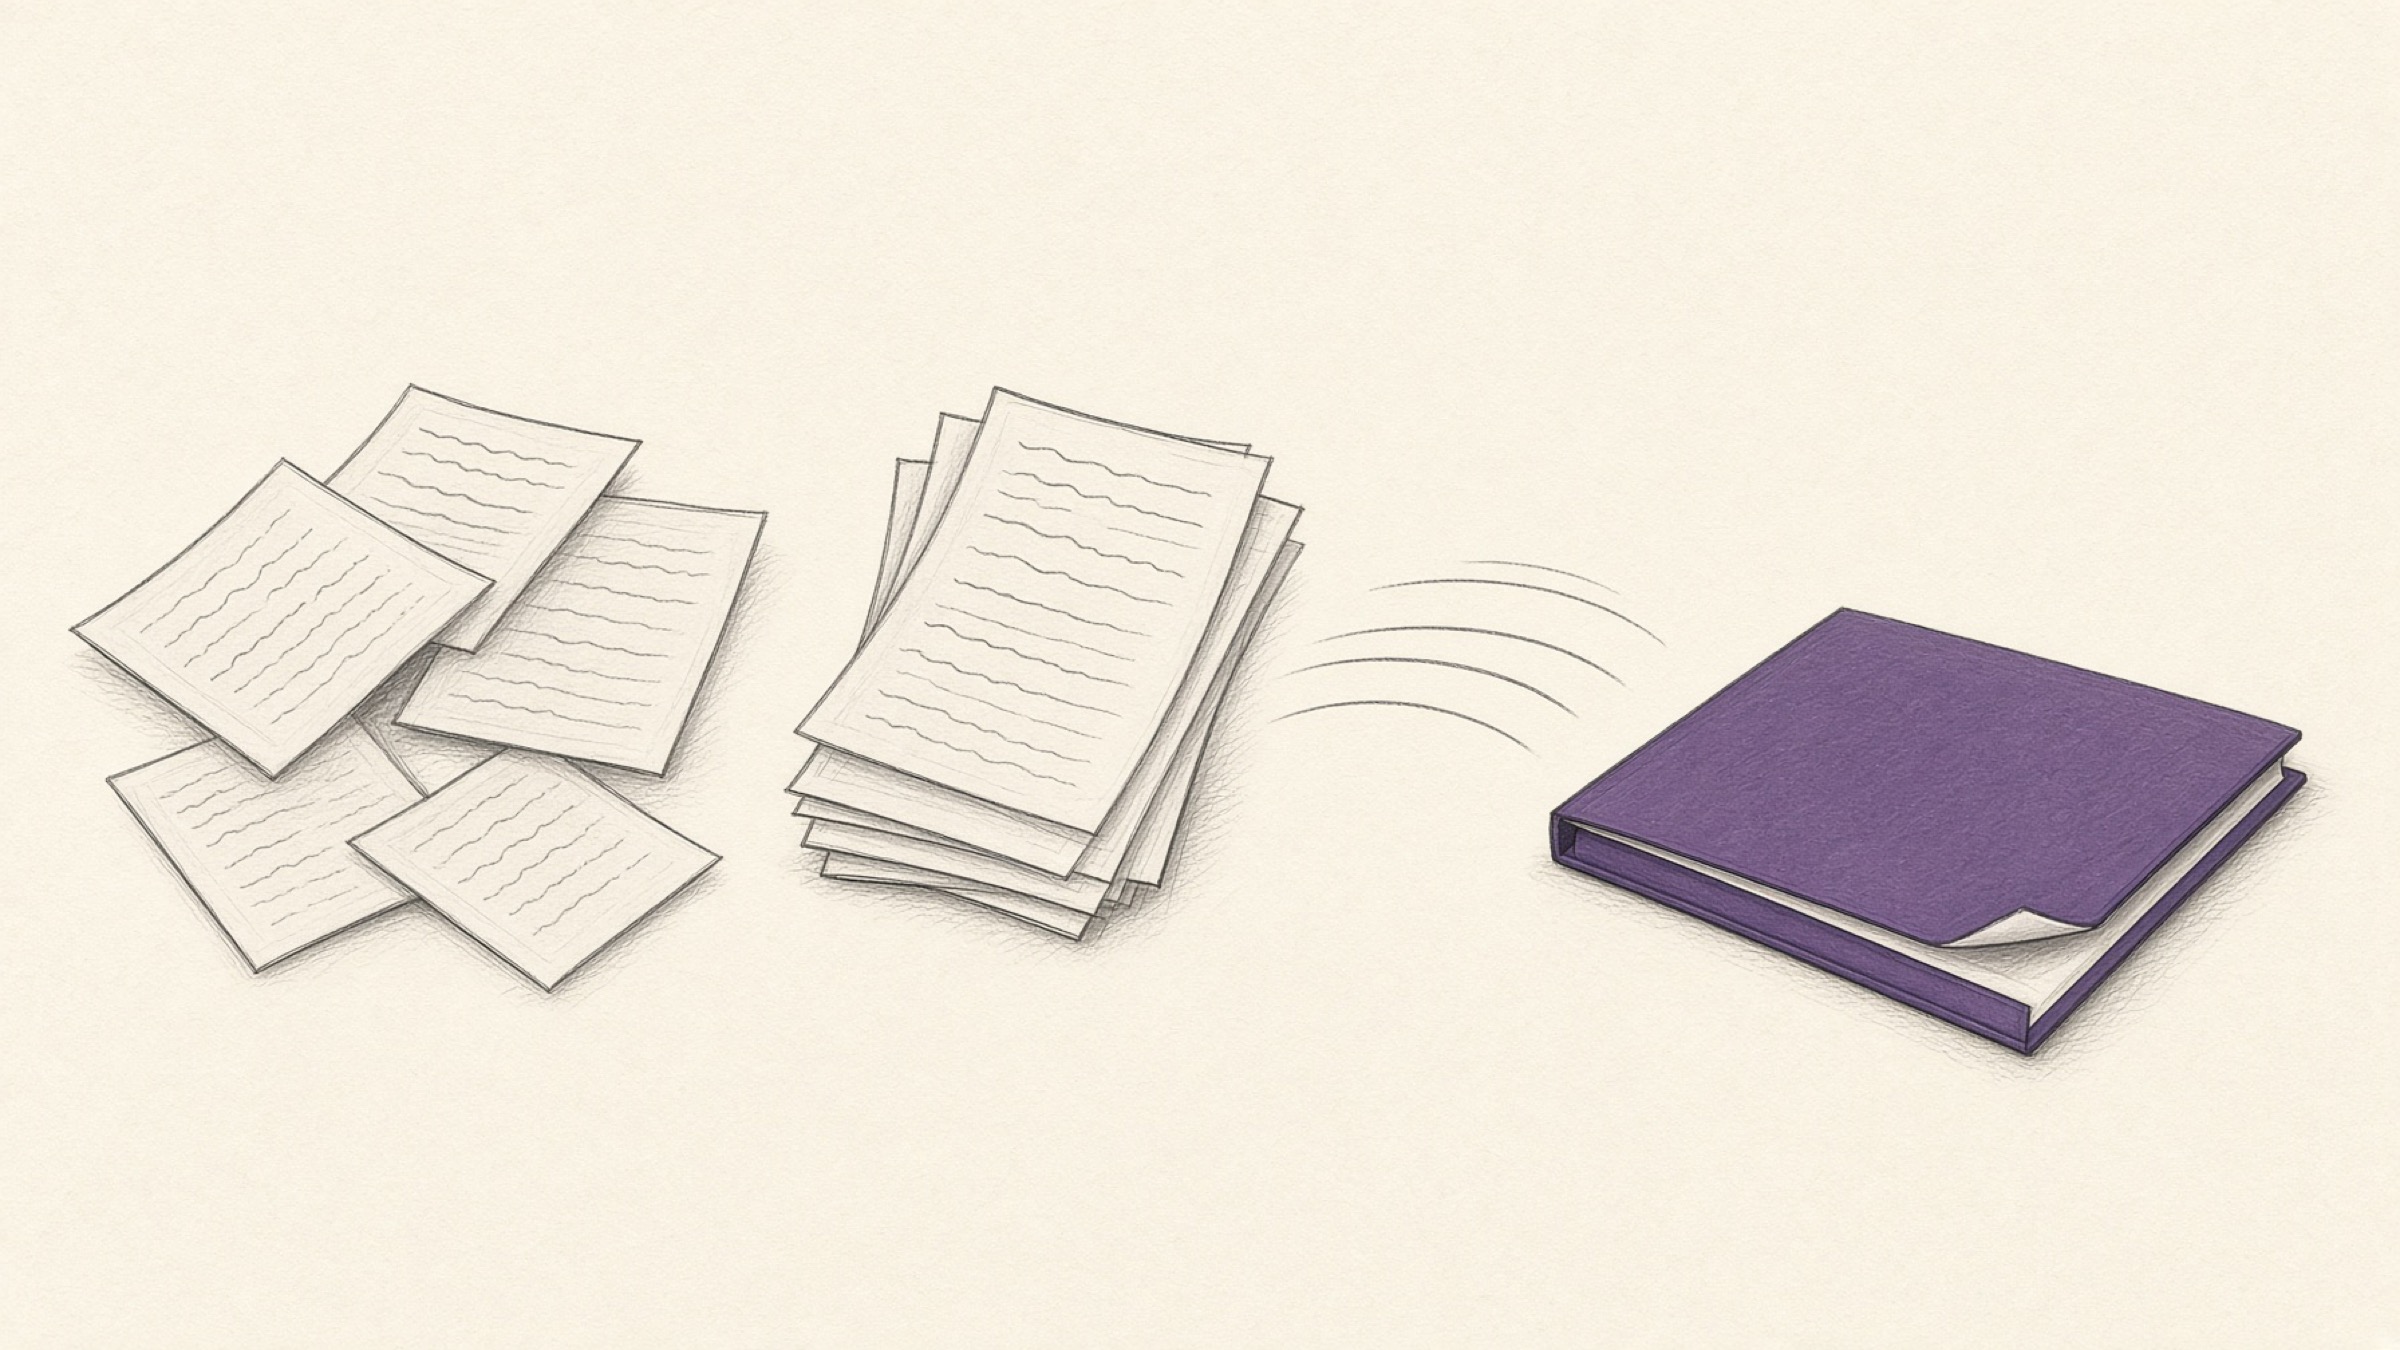
A browser PDF workflow feels different every time, and the reason is not the tool but the paperwork in front of you that day. Yesterday two files went out the moment they were merged; today an upload limit blocks you, and tomorrow an account number has to be covered first.
Even a plain "merge PDF" job turns into an entirely different task depending on how many steps attach to it front and back. Once you can name the rung, you stop guessing at the order.
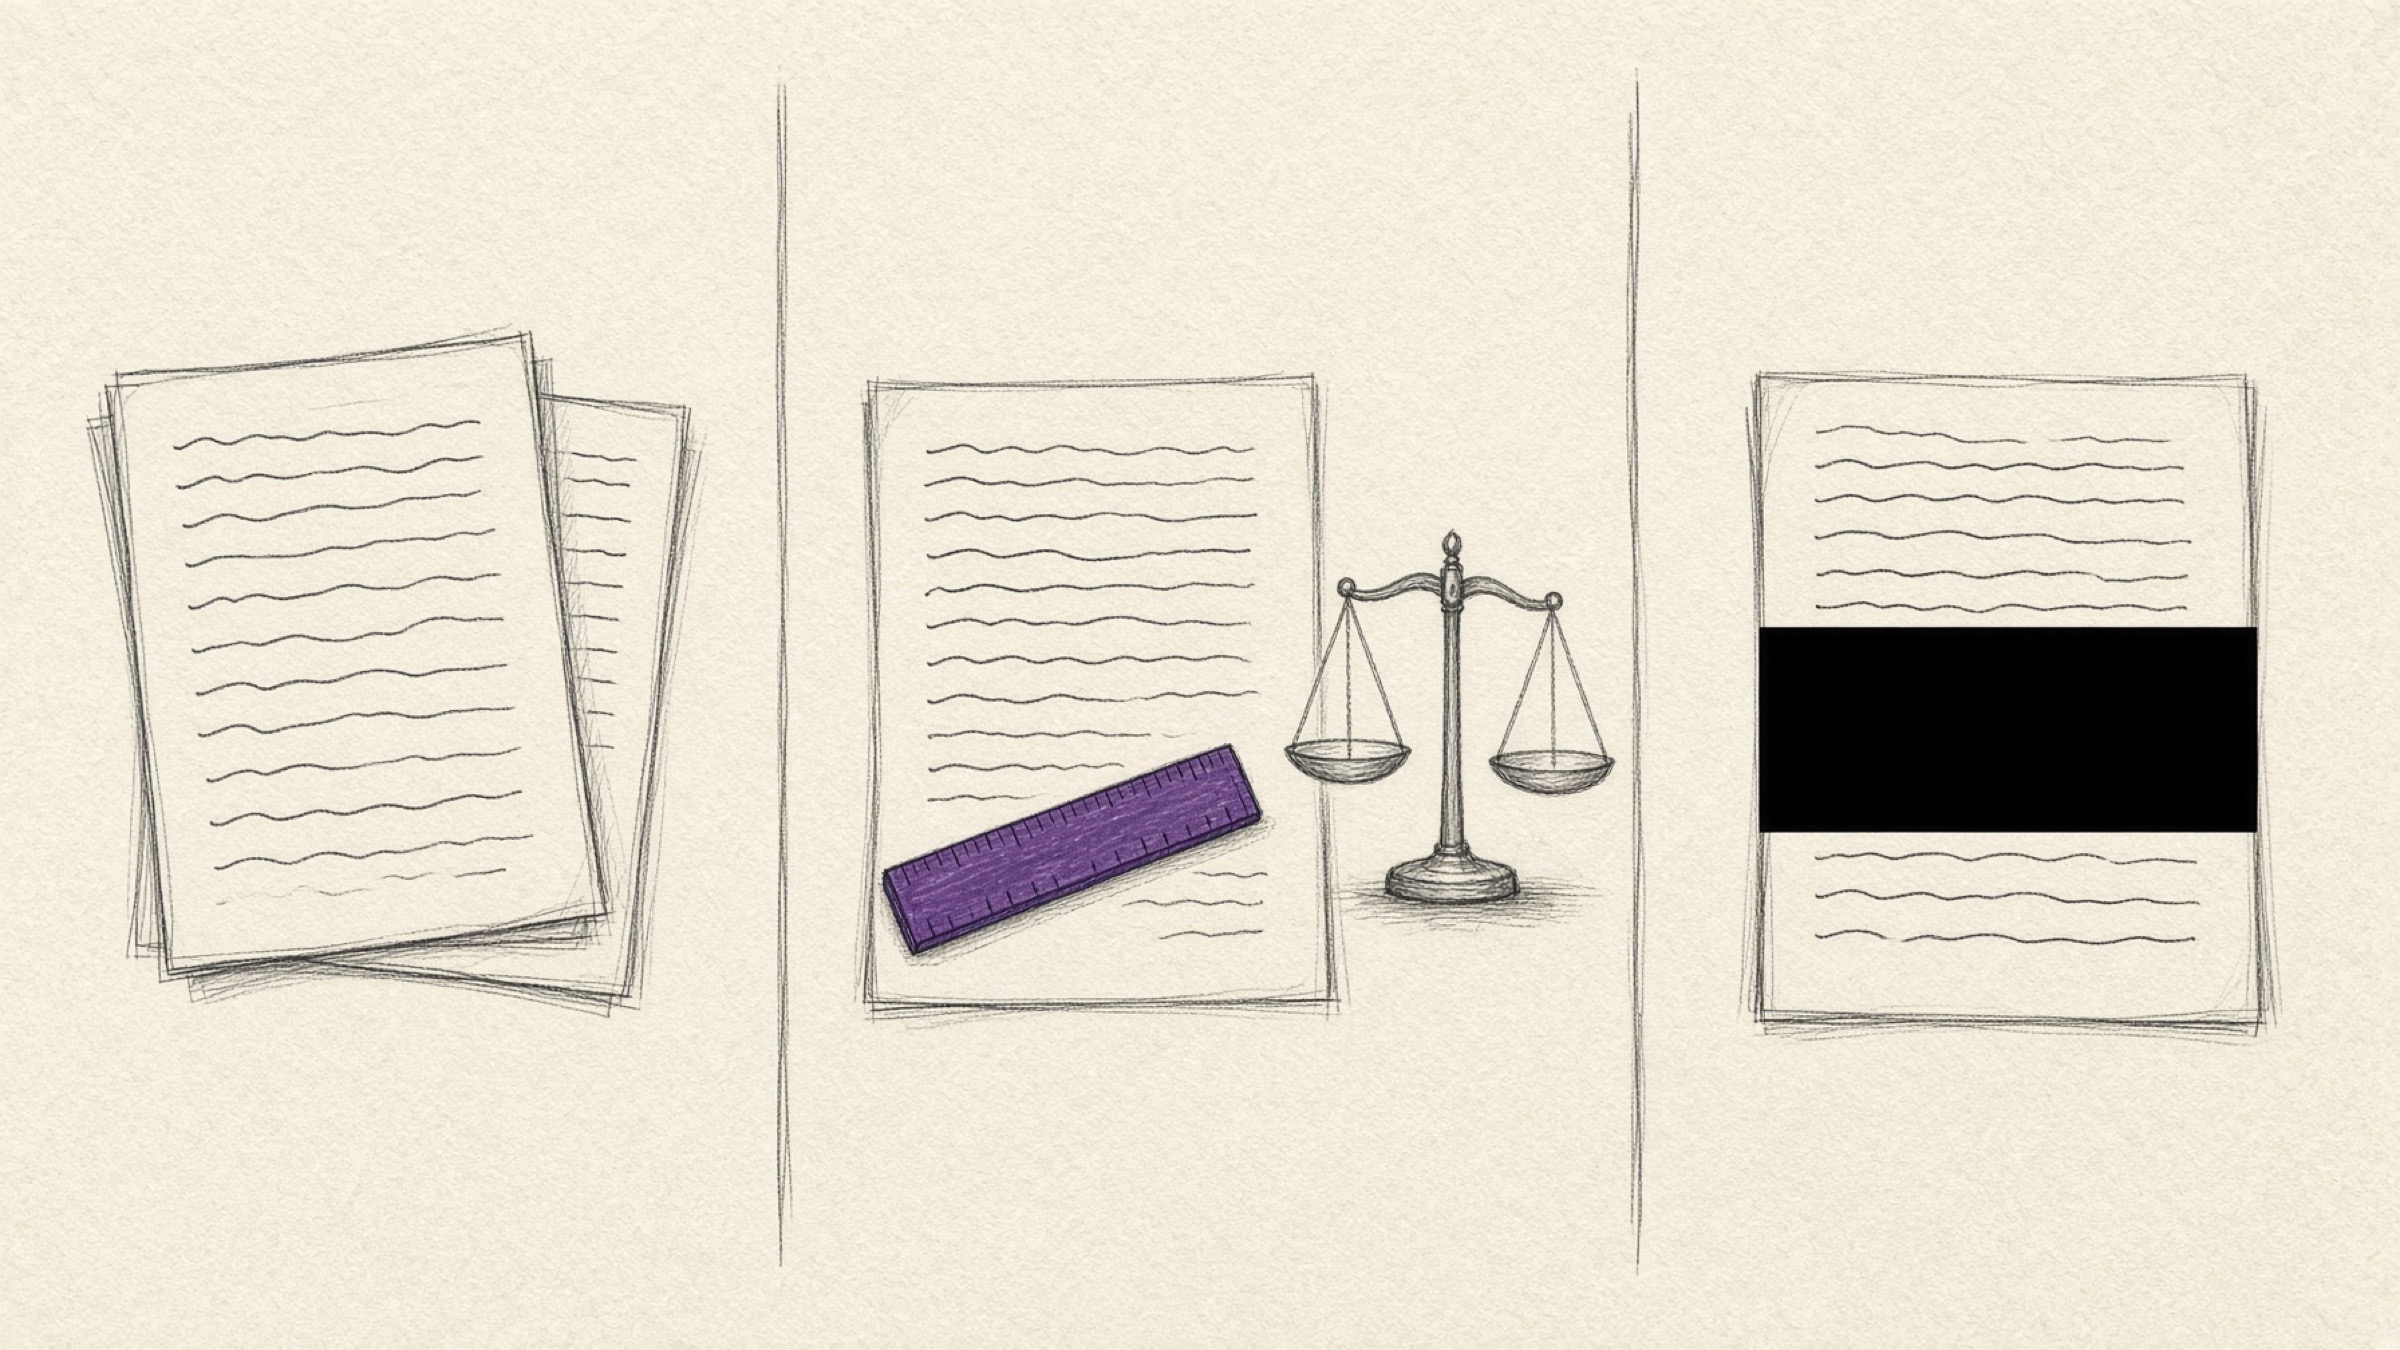
- A way to judge for yourself whether today's paperwork is tier 1 or tier 3.
- The right order for merging, splitting, compressing and rotating.
- A finish that stops sensitive fields from being uncovered again.
Which tier is your browser PDF workflow today?
There are three tiers. Each one adds work, and what raises the tier is never the file count but the conditions attached to the document. Picture the file you have to send right now and read down the list.
Scattered files just need to be bundled into one and sent. Three meeting handouts becoming a single file, or pages 3 to 5 lifted out of a twenty-page document, both live here. With no conditions attached, there is no order to agonise over.
Drop the files into Merge PDF and set the sequence; to pull out only the pages you need, set a range in Split PDF. If all you have is photographs of the material, run them through Image to PDF first to get one file.
The moment the recipient dictates the shape, you are on tier 2. An upload size ceiling, the page order, even the direction a sideways scan is facing all have to line up before it will be accepted. This is where documents bounce for their form, not their content.
Size is handled by Compress PDF, and a sideways scan is straightened with Rotate image. If the text itself needs editing, move it through PDF to Word, fix it there, and turn it back into a PDF.
Bankbook copies, ID cards and payslips are documents that carry fields the purpose never needed. Here, merging is not the first move: covering comes first, and covering is followed by one more step.
Use Privacy masking to cover what has to go, bake the result into an image so the cover cannot be lifted, and only then bundle it. The full order is spelled out further down.
| Tier | What is attached | Where it fails |
|---|---|---|
| Tier 1 | Nothing. The files are simply scattered | Pages out of order, so you resend |
| Tier 2 | A submission spec: size, order, orientation | Rejected at intake for not matching |
| Tier 3 | Personal data that has to be covered | The cover is lifted and the data shows |
The mistake tier 1 makes most often
Merging is the simplest thing in a browser PDF workflow, and yet it is resent more than anything else. The cause is almost always the same one: order.
Upload several files and they usually queue up by name. But 1.pdf, 2.pdf and 10.pdf sort as 1, 10, 2, which is not the order a human reads them in. Checking the sequence on screen after uploading is the single habit that makes this disappear.
To head it off in advance, pad the filenames to a fixed width, 01 and 02 rather than 1 and 2. Past twenty files this is far and away the easier route. For sorting a bundle of documents by their state, we covered that separately in Organising supporting documents into a PDF in three steps.
Tier 2: why size and orientation come last
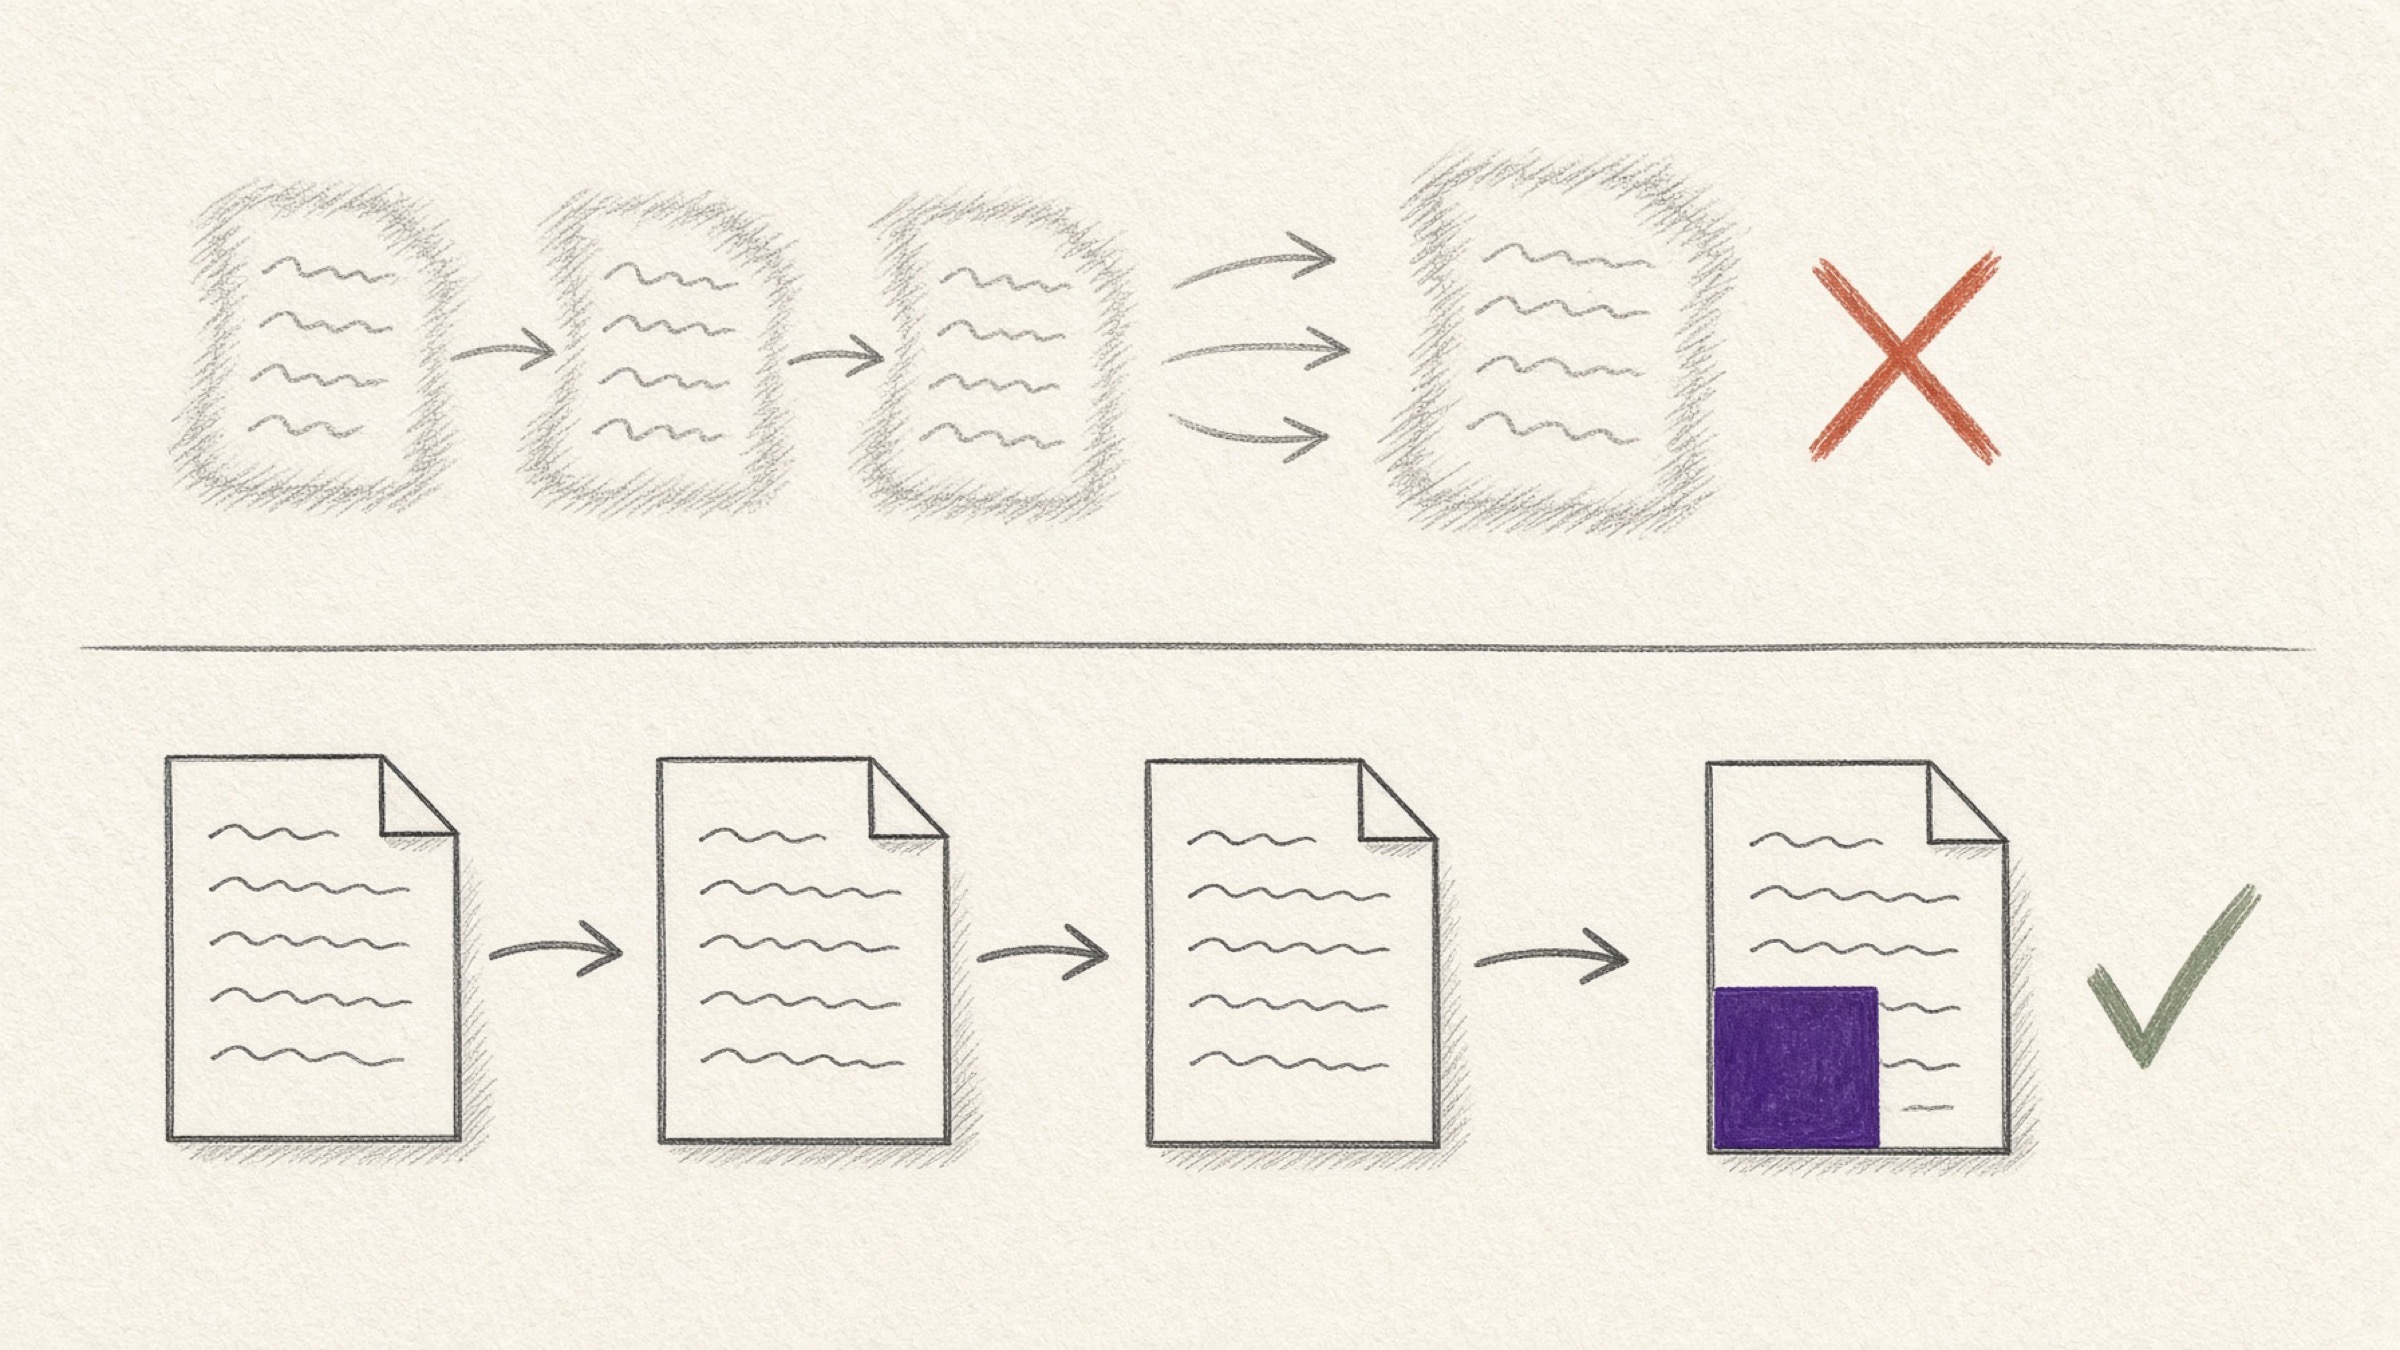
Invert the order and you pay for it. Compression is a trade: picture quality out, file size in. Shrink each file once and then merge, and you make that trade as many times as you have files.
Merge first and shrink once, and the trade happens once. Compress at the very end, once, on the original. Running compression over an already shrunken file only makes the picture worse while the size sits roughly where it was.
Orientation works the same way. If a scan came out sideways, stand it up with Rotate image before merging. Notice it afterwards and you have to split the file apart again to fix it.
- Orientation first: stand up any sideways scans before you begin
- Then bundle: confirm the sequence on screen in Merge PDF
- Compress last: run Compress PDF once, on the finished file
Some places want images rather than a document. When a preview has to go up on a message thread or a notice board, PDF to image gives you one picture file per page.
Tier 3: why a cover can be lifted off
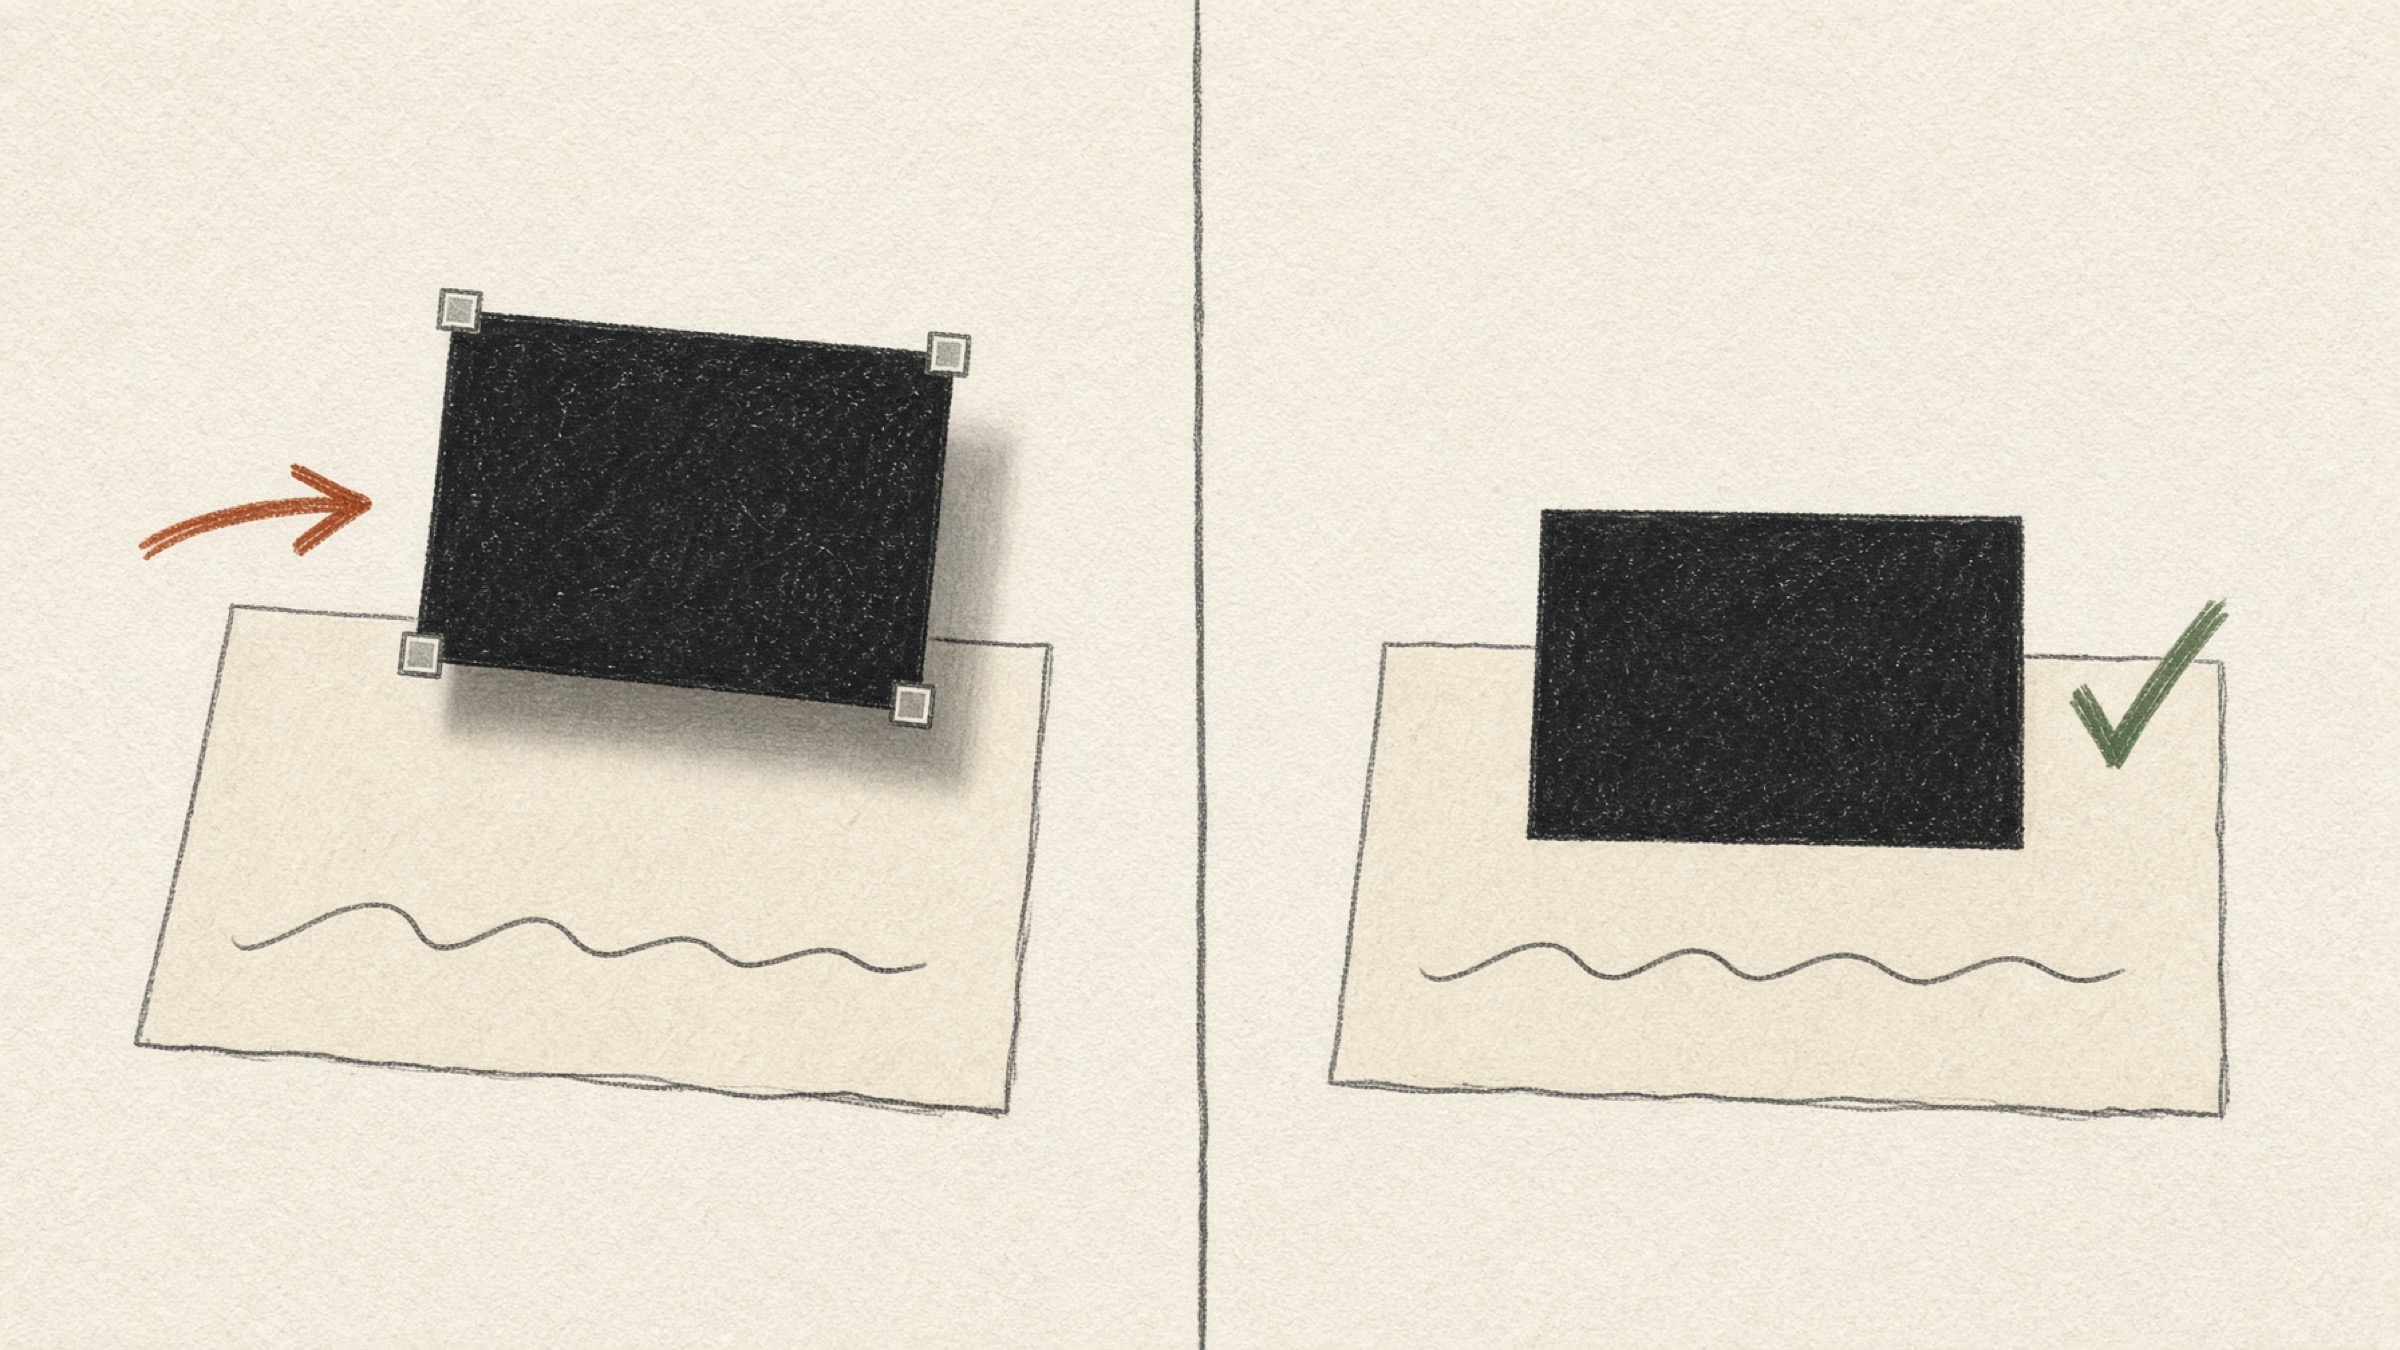
This is the step most often missed. A black rectangle goes over the number, and on the recipient's screen it slides away and the original digits are back.
The cause is layers. Drop a shape onto a page in an editor and that shape stays as a layer separate from the text underneath. The screen shows it covered while the file still holds the layer below. Not visible on screen and not present in the file are two different things.
So covering has to be followed by flattening, which removes the layers. Written as a sequence, it goes like this.
In Privacy masking, cover things like part of an account number or the back half of a resident registration number: fields the submission does not need. Which ones are mandatory differs by recipient, so read their guidance first.
Save the covered result as an image and rebuild it with Image to PDF, and the covered patch becomes part of the picture. There is no longer a layer to push aside.
Take the finished file into Merge PDF, and if size is a constraint, run Compress PDF once at the end. If the document needs a seal, Stamp a PDF belongs in this same step.
How far to cover is not a matter of instinct; there is a standard. Article 3(1) of the Korean Personal Information Protection Act requires a personal information controller to lawfully collect only the minimum personal information within the scope necessary for the processing purpose.
That is your grounds for covering a field the recipient never asked for.
How do you pick a tool?
There are plenty of online tools for a browser PDF workflow, and many people already have one they know by feel. Rather than asking which is better, it is more accurate to ask whether it has the conditions the job calls for.
| Your tier | What to check |
|---|---|
| Tier 1 | Can you change the order directly on screen? |
| Tier 2 | Can you set the compression strength and page range yourself? |
| Tier 3 | Can covering and flattening be finished in one flow? |
If you want to know how files are handled or how long they are kept, reading each service's official notice yourself is the most accurate route. Policies change, so it is worth checking at the moment you use it.
In one line
In a browser PDF workflow the tier is set by conditions, not by file count. No conditions and you merge and you are done; a spec attached and orientation and size come into it; personal data in the mix and you cover, bake, then bundle. Know the order and you stop getting lost every time.
If you have a file to send right now, you can start straight away in Merge PDF.
References
- Personal Information Protection Act (Republic of Korea), Article 3 (Principles for Protecting Personal Information), paragraph 1. Korean Law Information Center
- Personal Information Protection Commission, Personal Information Portal (privacy.go.kr)