Merge PDF: Supporting Documents Into One File
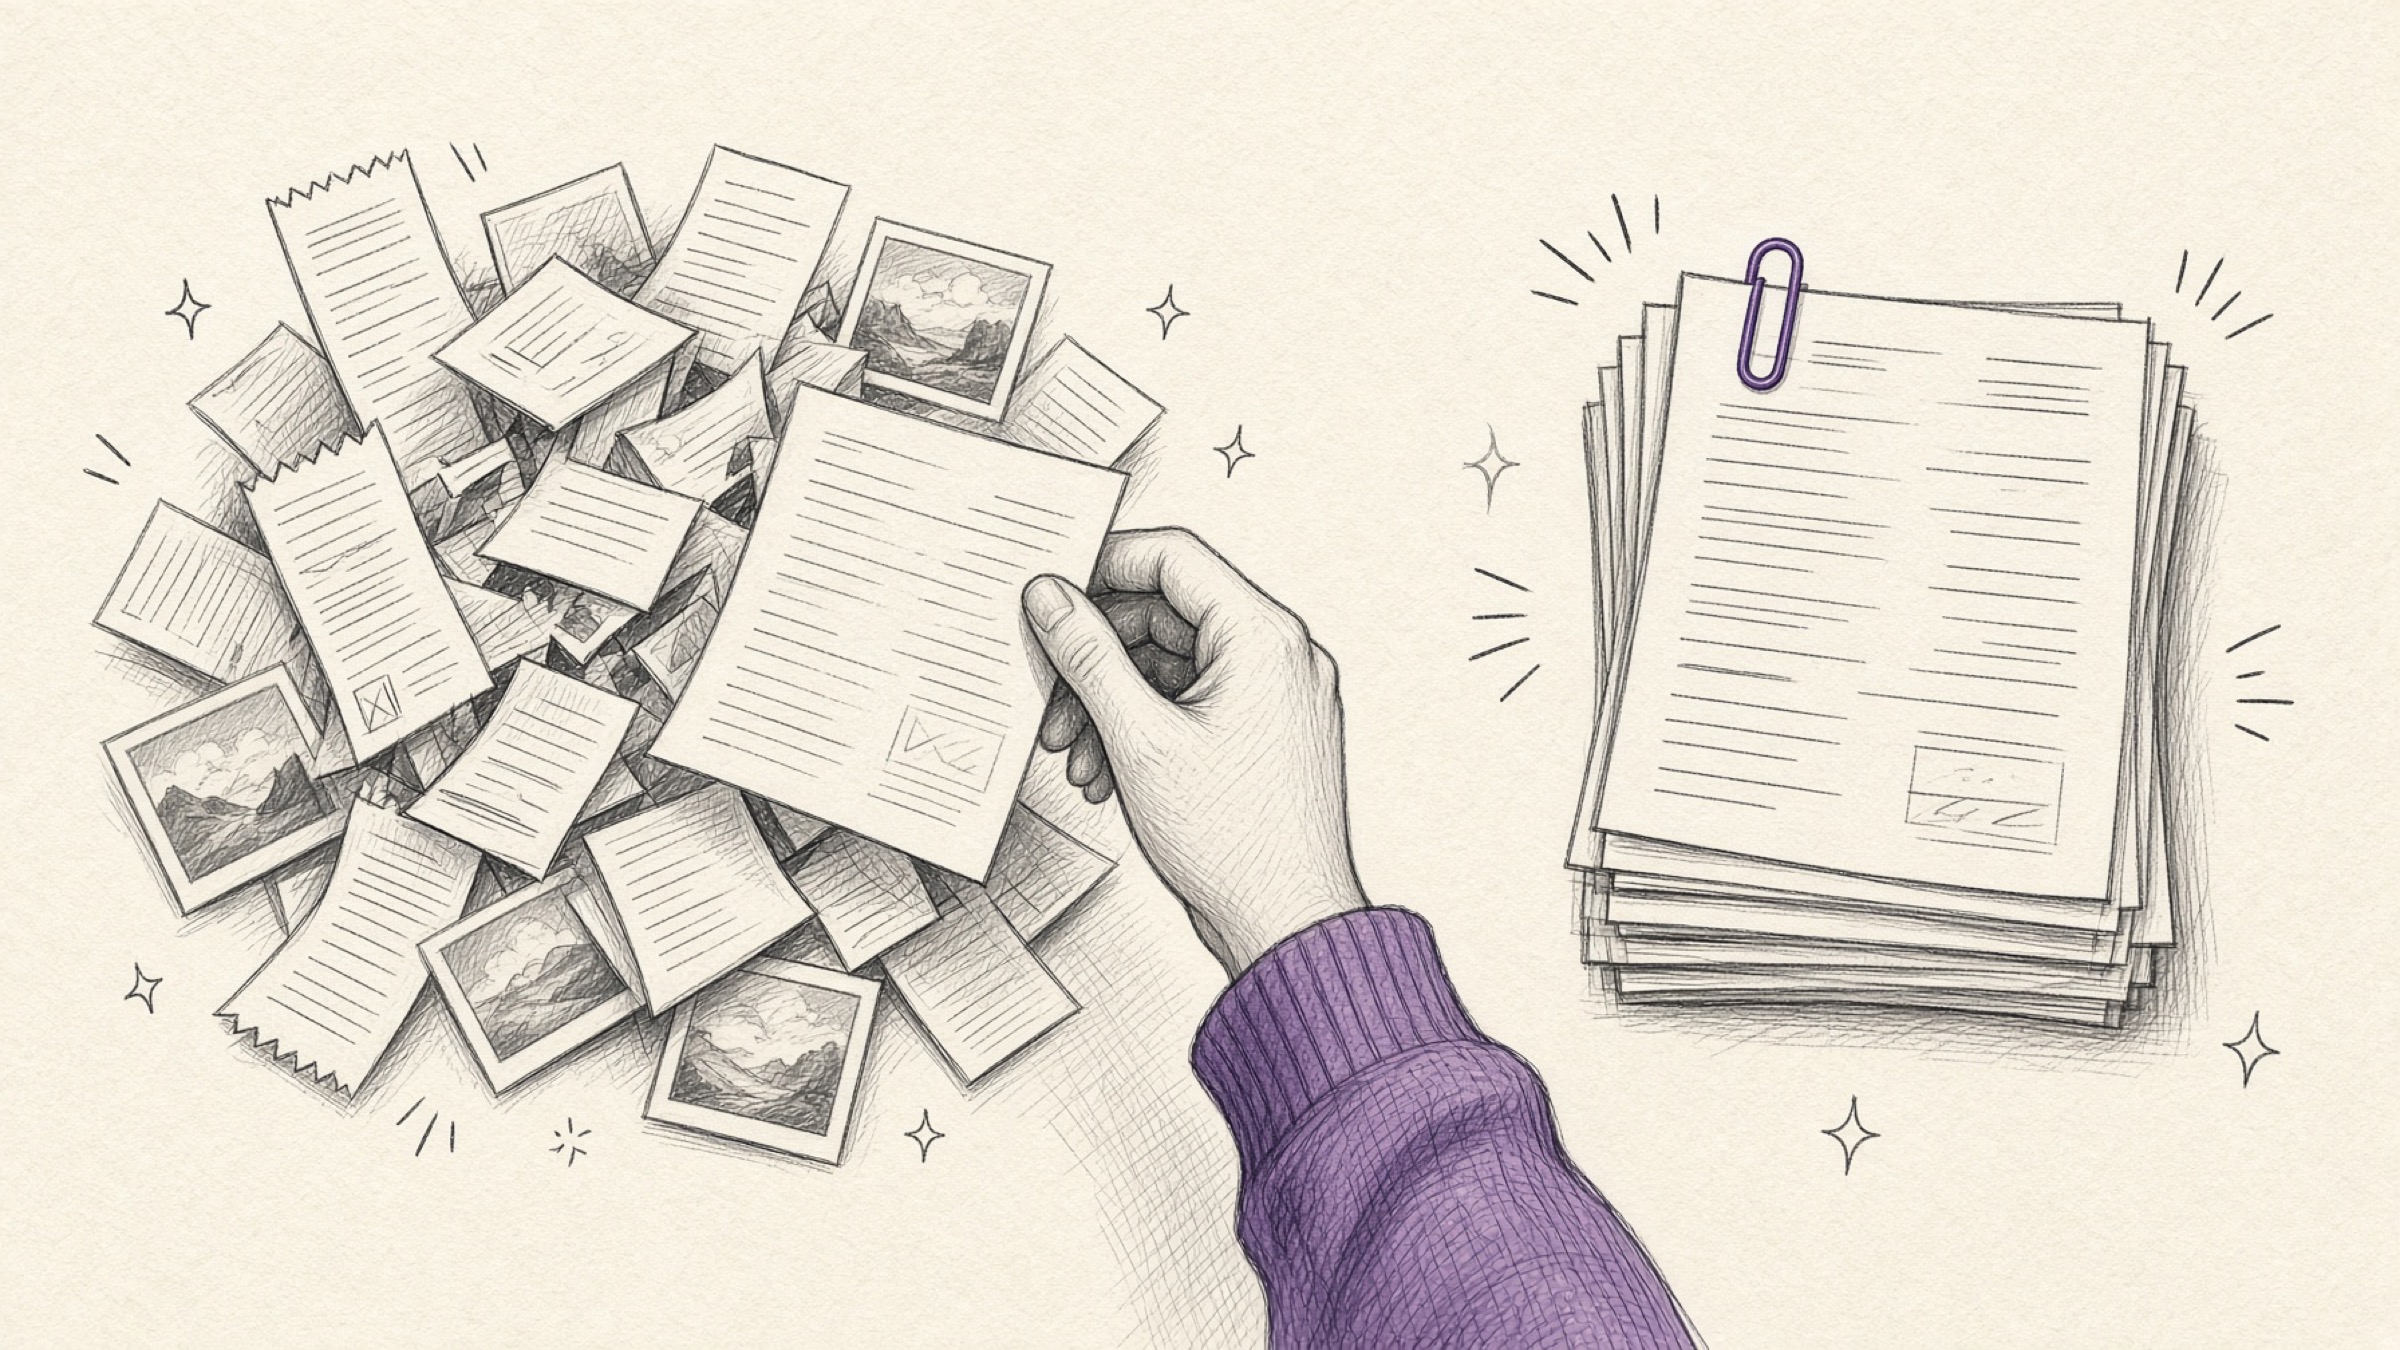
Most of us have had that request at least once: merge PDF files and photos into one submission. What is actually in your hands, though, is a few receipt photos sent over chat, a contract that arrived by email, and a scan of a bank statement from who knows when.
The difficulty is not that there are a lot of files. It is that what you need to do changes depending on the state your material is in, and most people start without knowing which state that is.
- A way to see which state your material is in and pick only the steps you need.
- A clear answer on what to handle first when photos and PDFs are mixed together.
- The right slots for masking and compression so you never redo the work.
What state are your documents in right now?
Where you need to intervene depends on the state of your material. Each step down adds another stage at the front, but in many cases you are done at step one.
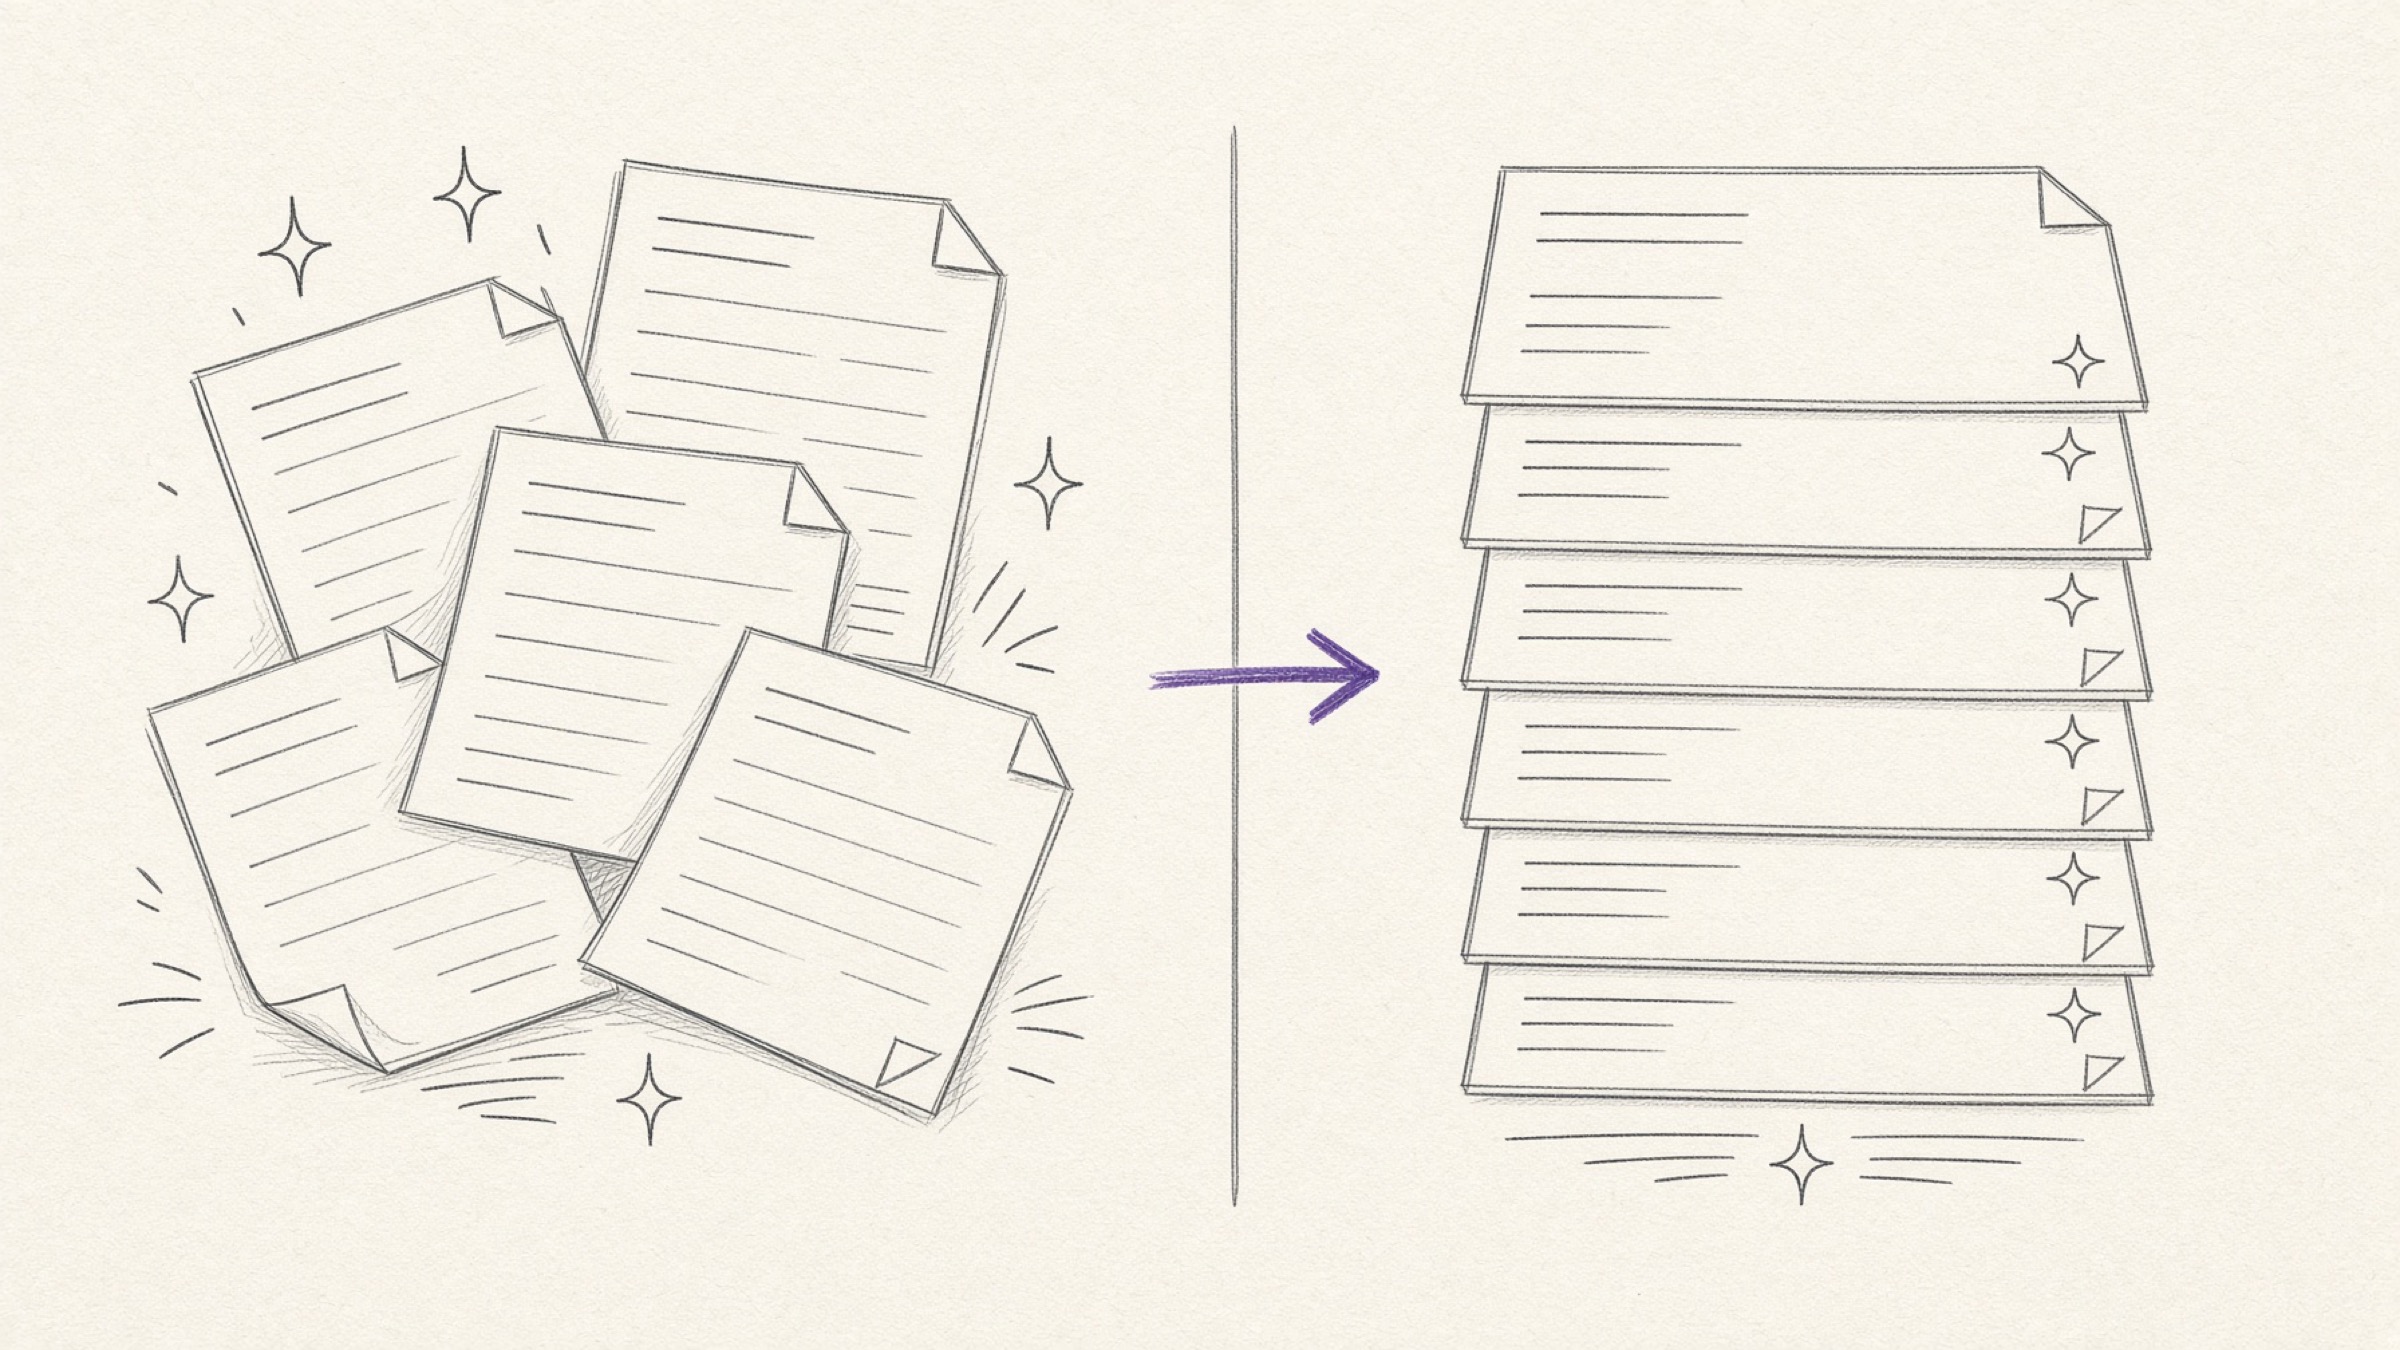
The contract and the statement are already PDF files. Upload them to Merge PDF, arrange the order, and you are finished.
The upload order becomes the page order, so decide beforehand how you want it to read. The usual flow puts contracts and forms first, transaction evidence in the middle, and account details at the back.
This is when you have receipts or statements photographed on your phone. Upload them to Image to PDF in submission order and several images become one PDF.
With everything now in a single format, the merge that follows is straightforward. When shooting, the key is good light and a square framing that fills the screen with the document.
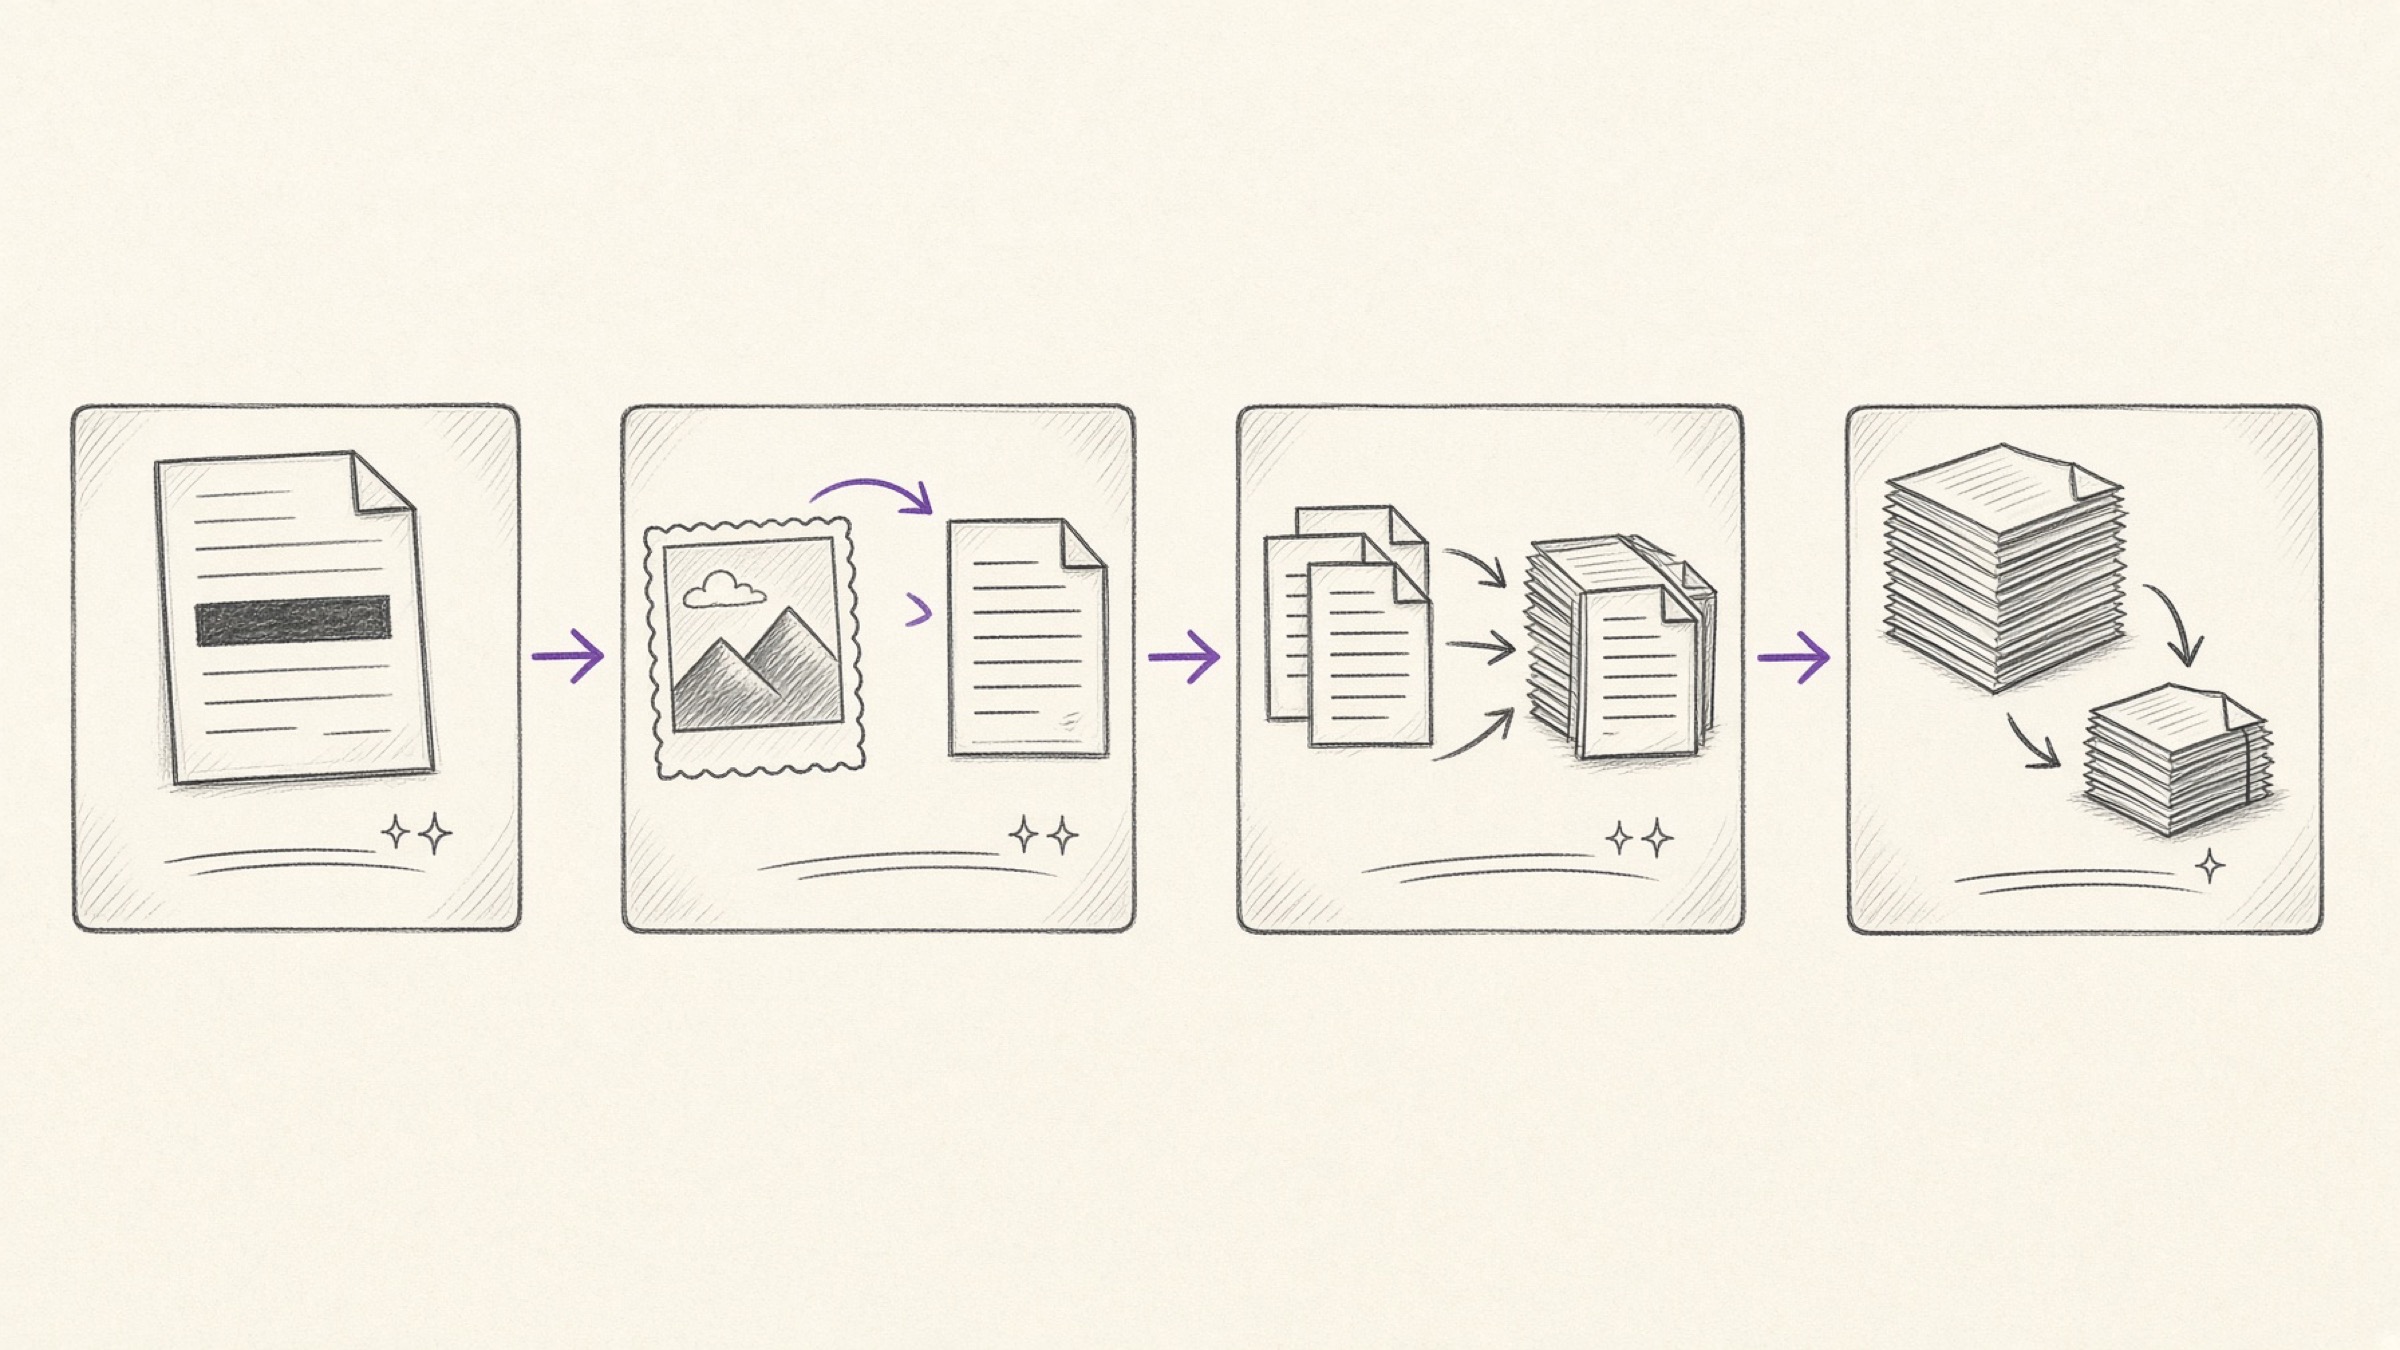
This is when a bank statement or an ID document is in the pile and the file is heavy on top of that. Here the order matters. Mask while the material is still an image, and compress only once you have the finished file. The next two sections explain why.
Why mask before you merge PDF files?
Privacy Mask works on image files. Cover the sensitive parts while the material is still a photo or scan and the masking carries into the PDF, whereas merging into a PDF first forces you back to the image stage.
That is the single point where getting the order wrong means doing the work twice — and the reason you should merge PDF files only after masking.
How you mask matters as well. Simply laying a black shape over text in a PDF editor leaves the original text alive underneath, where copying or searching can surface it. The mask has to be burned into the image itself to be irreversible.
For the same reason, do not use mosaic or blur on sensitive data. Some original pixels survive and reconstruction is possible, so for a national ID or account number a solid black box is the safe choice. The ID masking article sets out the standards.
What to mask is decided by the purpose of the submission. If the point is to verify an account, the bank name, account number, and holder name are often enough. The required items named by the recipient always take precedence, though.
Why does compression go last?
Compress in the middle and later steps either inflate the file again or compress what is already compressed. Every pass costs image quality, so running it once, on the finished file, loses the least.
When an upload is blocked, Compress PDF brings the size down — but there is a common accident here. Squeeze too hard to hit a size target and the text blurs, and the submission comes back as illegible.
Go only as far as the recipient's limit requires, then zoom in on the compressed file to check that figures and seals are sharp before you send.
| Your situation | What to do |
|---|---|
| All PDF, nothing sensitive | Set the order and merge |
| Photos in the mix | Convert photos to PDF, then merge |
| Bank statement or ID included | Mask while still an image, then proceed |
| Upload is blocked | Compress the finished file once |
When this comes up most

- Grant settlement: contract, quotation, tax invoice, transfer confirmation, and bank statement as one supporting-document PDF
- Loan and credit review: employment and income evidence plus transaction history, bundled in order
- Vendor substantiation: purchase orders, transaction statements, and receipt photos gathered into one
- Insurance and reimbursement claims: medical certificate, receipts, and account details in a single go
Going the other way, if you need to pull specific pages out of one file, Split PDF lets you select just the range you want. Occasionally a recipient does require each item uploaded separately — in that case, do not bundle, and follow their instructions.
In one line
To merge PDF submissions cleanly, everything comes down to order. Mask what needs masking while it is still an image, convert photos, merge in the order it should be read, then compress once, at the end. Keep to that order and you never double back.
If there is a set of documents due today, you can start right now in Merge PDF.
References
- Personal Information Protection Act, Article 3(1) (Principles for Protecting Personal Information): requires collecting only the minimum personal information necessary for the processing purpose. Korean Law Information Center
- Bishop Fox, "Never, Ever, Ever Use Pixelation for Redacting Text": release and demonstration of a tool that reconstructs pixelated text. Read the original